16
Optimizing video images
Your projector has been factory optimized for very good performance no matter what the source. However, if you wish to make further changes you can optimize the image using onscreen menus. For general information on using the menus, see page 16.
•Adjust the Keystone, Contrast, Brightness, Color, or Tint in the Picture menu (page 17).
•Select a Sharpness setting (page 18 ).
•Use the Color Control to adjust the color gain and offset (page 19).
•Adjust the Color Temperature. Select a listed value (page 19).
•Turn on Overscan to remove noise on the edges of the video image (page 19).
•Change the Aspect ratio (page17). Aspect ratio is the ratio of the image width to image height. TV screens are usually 1.33:1, also known as 4:3. HDTV and most DVDs are 1.78:1, or 16:9 (the projector’s default). Choose the option that best fits your input source in the menus, or press the Resize button on the remote to cycle through the options. See page15.
•Select a specific Color Space. See page 19.
•Select a different Video Standard. Auto tries to determine the standard of the incoming video. Select a different standard if necessary. See page 19.
•Make sure your DVD player is set for a 16:9 television. See your DVD player’s user’s guide for instructions.
Customizing the projector
You can customize the projector for your specific setup and needs. See page 19 to page 21 for details on these features.
•For rear projection, turn rear mode on in the Settings>System menu.
•For ceiling mounted projection, turn ceiling mode on in the Settings> System menu.
•Turn the projector’s display messages on and off.
•Turn on power saving features.
•Specify blank screen colors and start up logos.
•Specify the language viewed on the menus.
•Save the settings for the active source as a preset.
Using the menus |
|
|
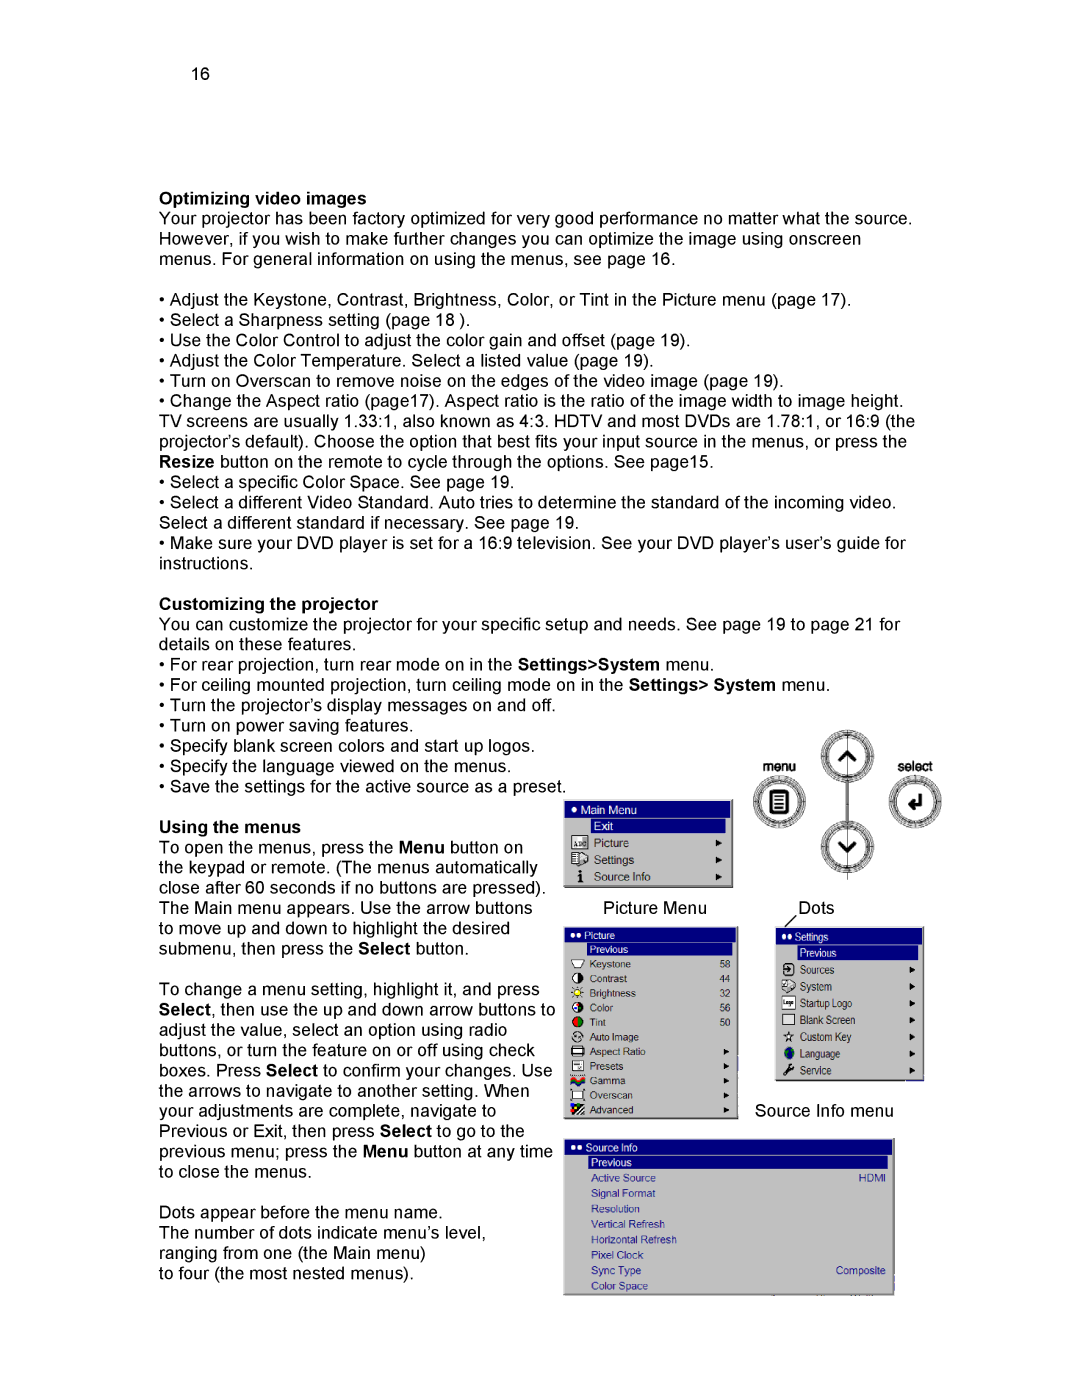
To open the menus, press the Menu button on |
|
|
the keypad or remote. (The menus automatically |
|
|
close after 60 seconds if no buttons are pressed). |
|
|
The Main menu appears. Use the arrow buttons | Picture Menu | Dots |
to move up and down to highlight the desired |
|
|
submenu, then press the Select button. |
|
|
To change a menu setting, highlight it, and press Select, then use the up and down arrow buttons to adjust the value, select an option using radio buttons, or turn the feature on or off using check boxes. Press Select to confirm your changes. Use the arrows to navigate to another setting. When
your adjustments are complete, navigate toSource Info menu Previous or Exit, then press Select to go to the
previous menu; press the Menu button at any time to close the menus.
Dots appear before the menu name.
The number of dots indicate menu’s level, ranging from one (the Main menu)
to four (the most nested menus).
