15
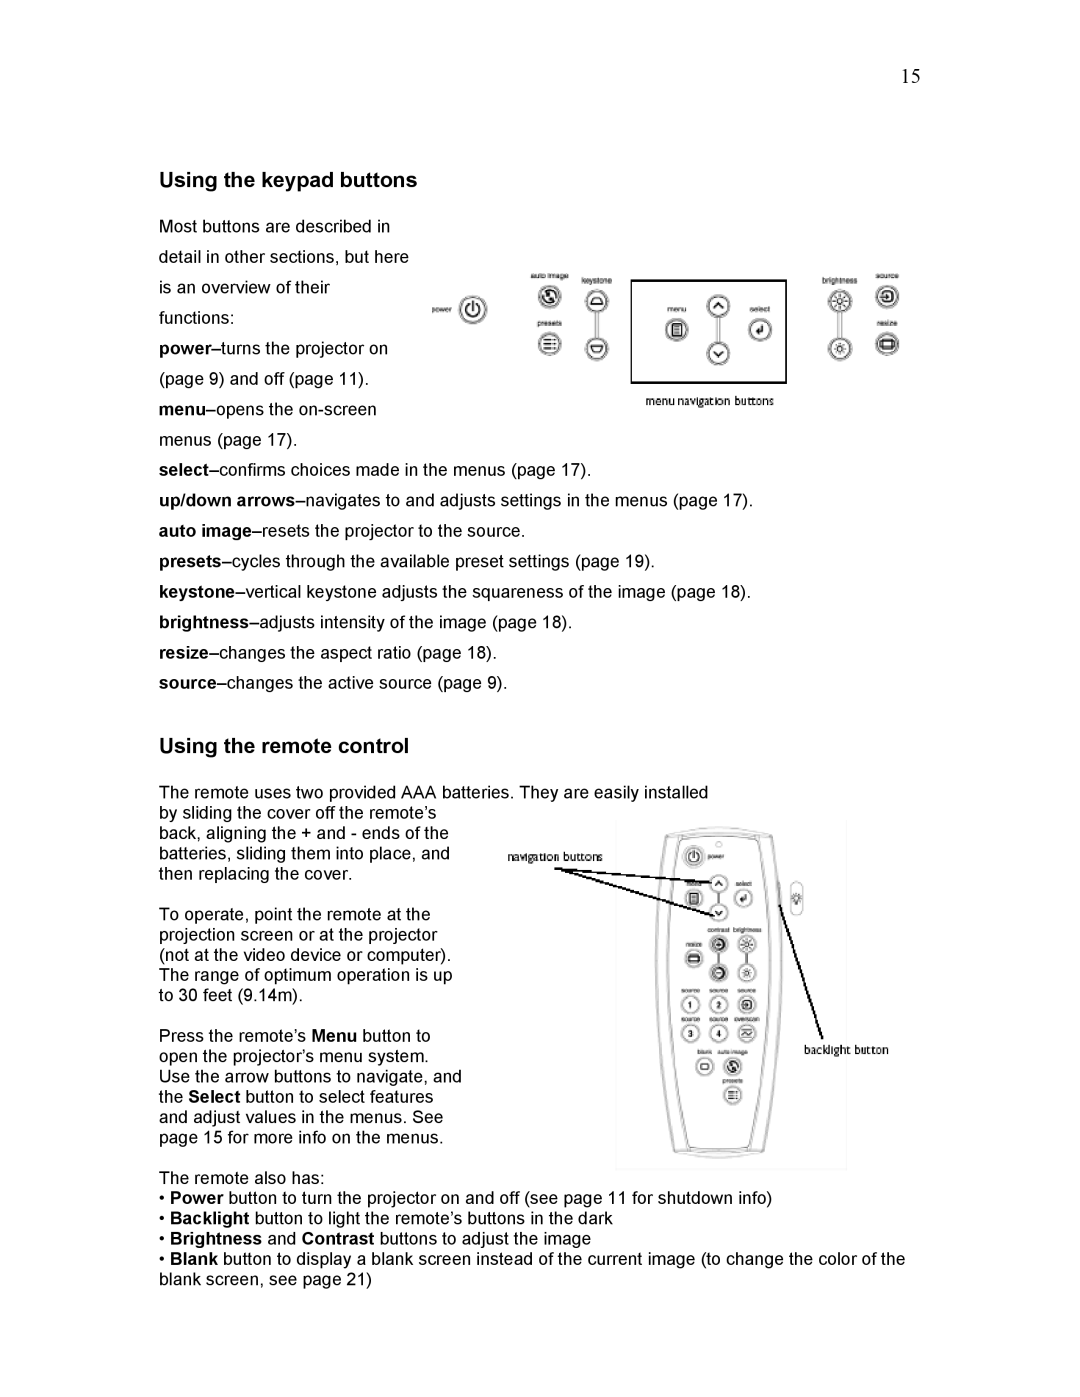
Using the keypad buttons
Most buttons are described in detail in other sections, but here is an overview of their functions:
up/down
Using the remote control
The remote uses two provided AAA batteries. They are easily installed by sliding the cover off the remote’s
back, aligning the + and - ends of the batteries, sliding them into place, and then replacing the cover.
To operate, point the remote at the projection screen or at the projector (not at the video device or computer). The range of optimum operation is up to 30 feet (9.14m).
Press the remote’s Menu button to open the projector’s menu system. Use the arrow buttons to navigate, and the Select button to select features and adjust values in the menus. See page 15 for more info on the menus.
The remote also has:
•Power button to turn the projector on and off (see page 11 for shutdown info)
•Backlight button to light the remote’s buttons in the dark
•Brightness and Contrast buttons to adjust the image
•Blank button to display a blank screen instead of the current image (to change the color of the blank screen, see page 21)