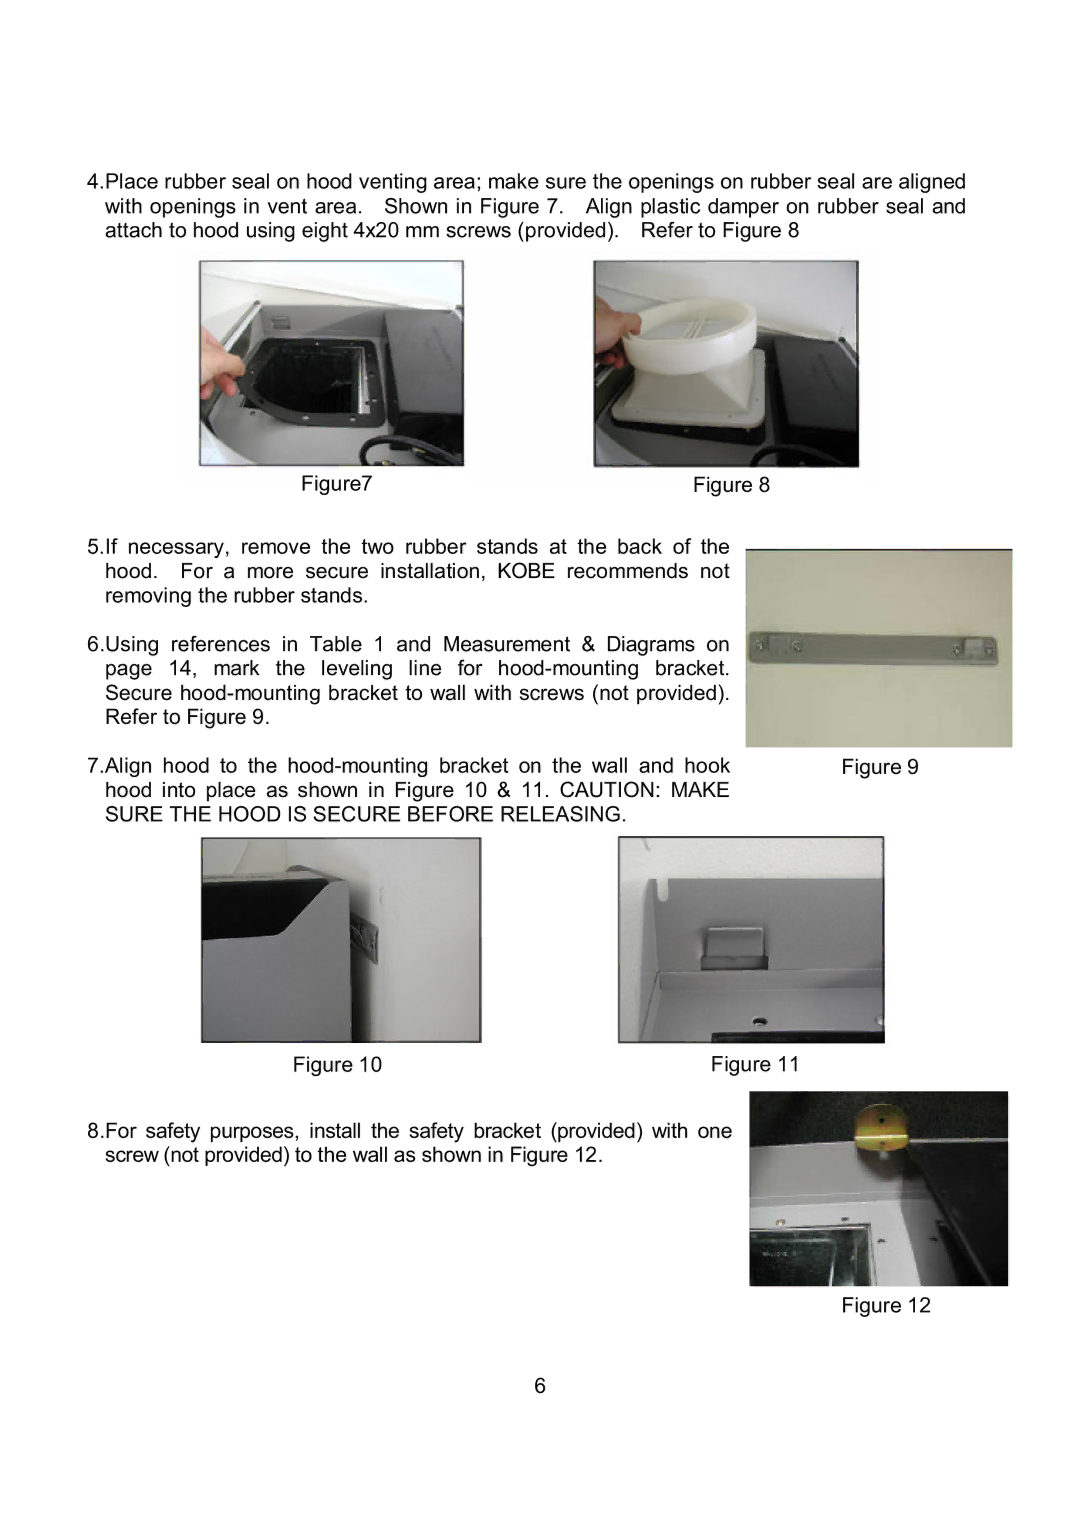
4.Place rubber seal on hood venting area; make sure the openings on rubber seal are aligned with openings in vent area. Shown in Figure 7. Align plastic damper on rubber seal and attach to hood using eight 4x20 mm screws (provided). Refer to Figure 8
Figure7 | Figure 8 |
|
5.If necessary, remove the two rubber stands at the back of the |
| |
hood. For a more secure installation, KOBE recommends not |
| |
removing the rubber stands. |
|
|
6.Using references in Table 1 and Measurement & Diagrams on |
| |
page 14, mark the leveling line for |
| |
Secure |
| |
Refer to Figure 9. |
|
|
7.Align hood to the | Figure 9 | |
hood into place as shown in Figure 10 & 11. CAUTION: MAKE |
| |
SURE THE HOOD IS SECURE BEFORE RELEASING. |
|
|
Figure 10 | Figure 11 |
8.For safety purposes, install the safety bracket (provided) with one screw (not provided) to the wall as shown in Figure 12.
Figure 12
6