Wiring to Power Supply
 SAFETY WARNING
RISK OF ELECTRICAL SHOCK. THIS RANGE HOOD MUST BE PROPERLY GROUNDED. MAKE SURE THIS IS DONE BY SPECIALIZED ELECTRICIAN IN ACCORDANCE WITH ALL APPLICABLE NATIONAL AND LOCAL ELECTRICAL CODES. BEFORE CONNECTING WIRES, SWITCH POWER OFF AT SERVICE PANEL AND LOCK SERVICE PANEL TO PREVENT POWER FROM BEING SWITCHED ON ACCIDENTALLY.
9.Connect three wires (black, white and green) to house wires.
10.Connect according to color: black to black, white to white, and green to green and cap with wire connectors.
11.Test the operation of the hood before moving on to the next step. Make sure power is supplied to the hood.
12.If venting outside, skip to Step 19, Ductwork Installation.
Recirculating Conversion
Requires Purchase of Recirculating Kit Model No.
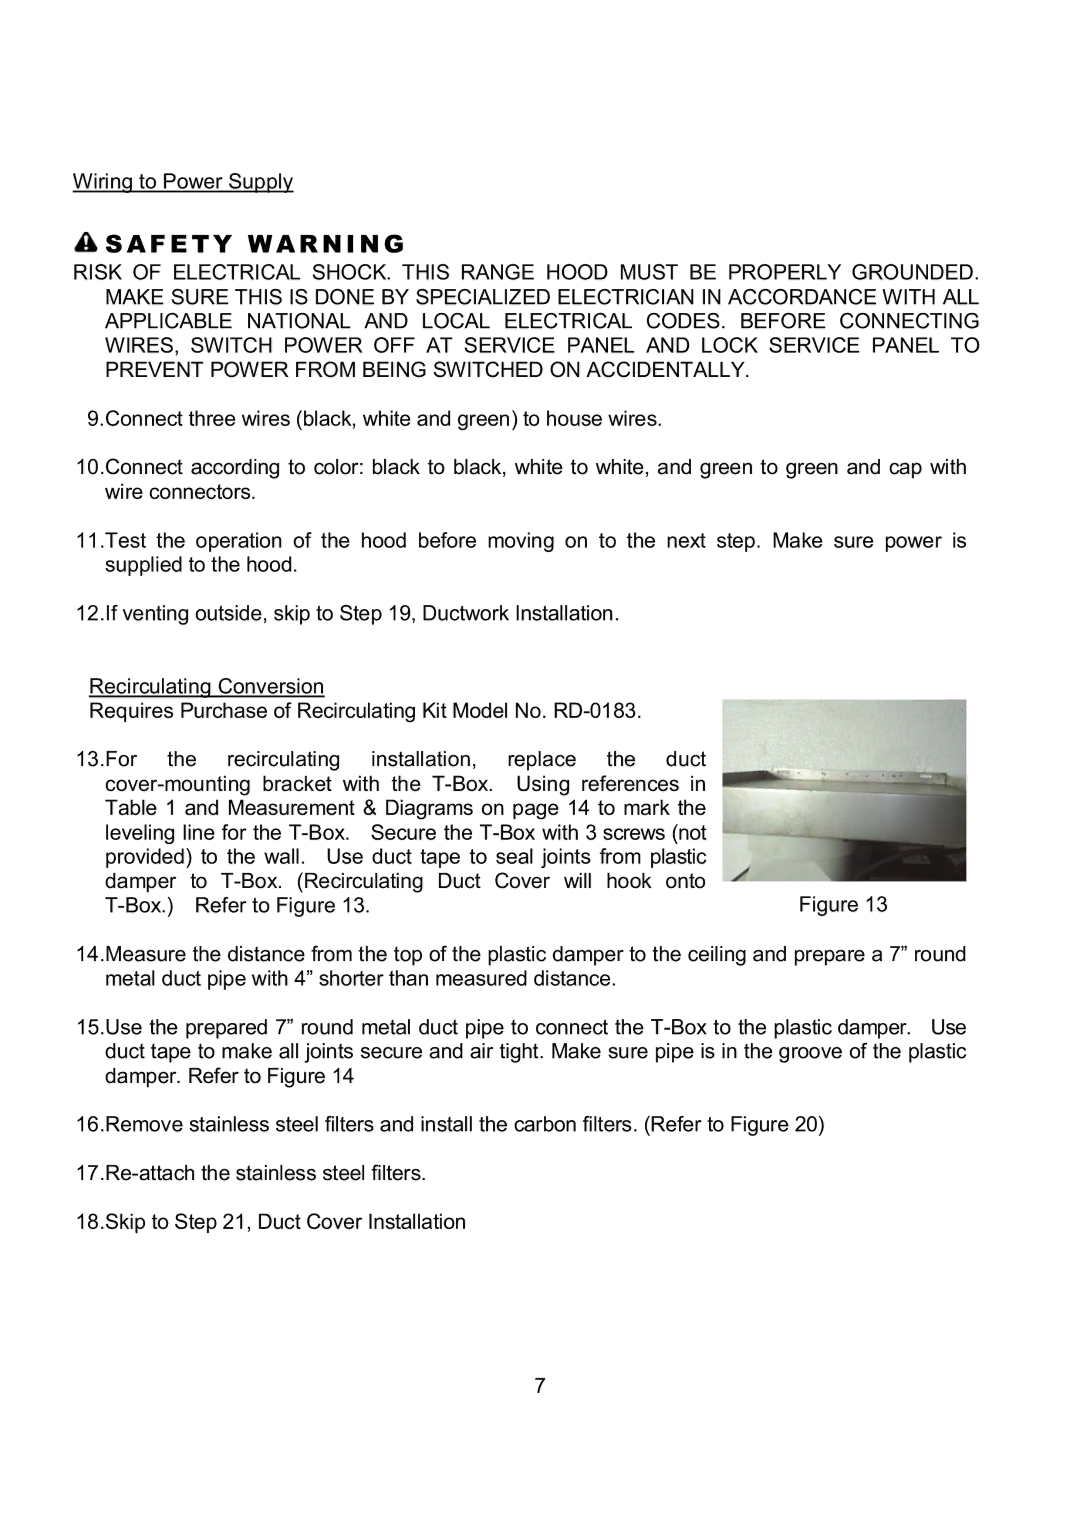
13.For the recirculating installation, replace the duct
damper | to | will hook onto |
Refer to Figure 13. | Figure 13 |
14.Measure the distance from the top of the plastic damper to the ceiling and prepare a 7” round metal duct pipe with 4” shorter than measured distance.
15.Use the prepared 7” round metal duct pipe to connect the
16.Remove stainless steel filters and install the carbon filters. (Refer to Figure 20)
18.Skip to Step 21, Duct Cover Installation
7