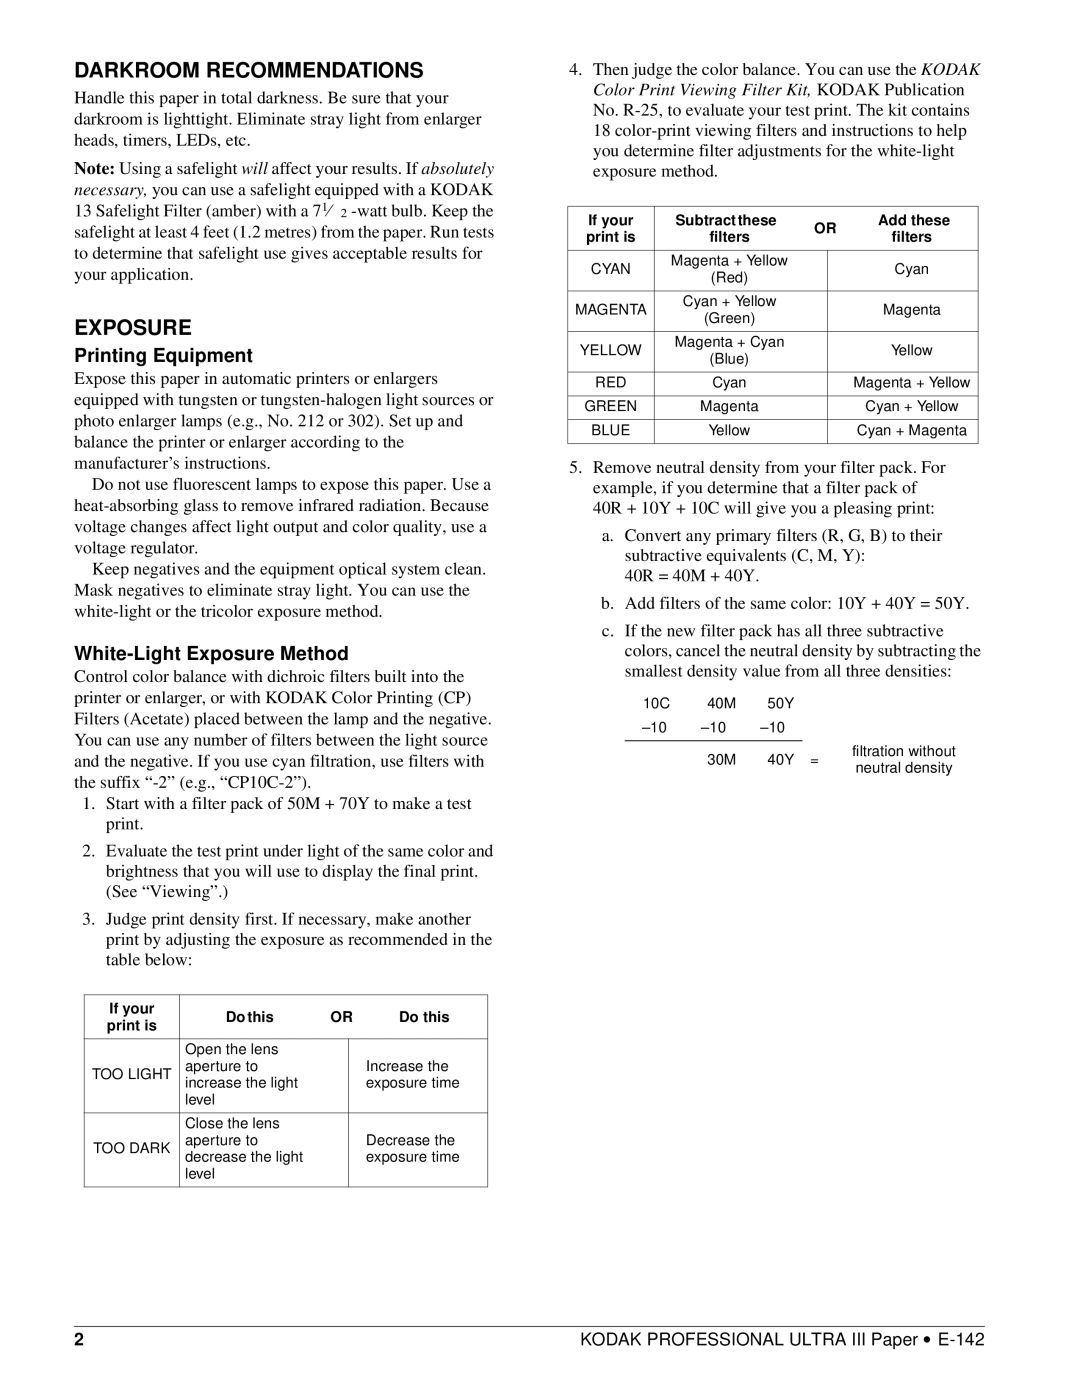
DARKROOM RECOMMENDATIONS
Handle this paper in total darkness. Be sure that your darkroom is lighttight. Eliminate stray light from enlarger heads, timers, LEDs, etc.
Note: Using a safelight will affect your results. If absolutely necessary, you can use a safelight equipped with a KODAK 13 Safelight Filter (amber) with a 71⁄ 2
EXPOSURE
Printing Equipment
Expose this paper in automatic printers or enlargers equipped with tungsten or
Do not use fluorescent lamps to expose this paper. Use a
Keep negatives and the equipment optical system clean. Mask negatives to eliminate stray light. You can use the
White-Light Exposure Method
Control color balance with dichroic filters built into the printer or enlarger, or with KODAK Color Printing (CP) Filters (Acetate) placed between the lamp and the negative. You can use any number of filters between the light source and the negative. If you use cyan filtration, use filters with the suffix
1.Start with a filter pack of 50M + 70Y to make a test print.
2.Evaluate the test print under light of the same color and brightness that you will use to display the final print. (See “Viewing”.)
3.Judge print density first. If necessary, make another print by adjusting the exposure as recommended in the table below:
If your | Do this | OR | Do this | ||
print is | |||||
|
|
|
| ||
|
|
|
|
| |
| Open the lens |
|
|
| |
TOO LIGHT | aperture to |
|
| Increase the | |
| increase the light |
|
| exposure time | |
| level |
|
|
| |
|
|
|
|
| |
| Close the lens |
|
|
| |
TOO DARK | aperture to |
|
| Decrease the | |
decrease the light |
|
| exposure time | ||
|
|
| |||
| level |
|
|
| |
|
|
|
|
| |
4.Then judge the color balance. You can use the KODAK Color Print Viewing Filter Kit, KODAK Publication No.
If your | Subtractthese | OR | Add these | ||
print is | filters | filters | |||
|
| ||||
|
|
|
|
| |
CYAN | Magenta + Yellow |
|
| Cyan | |
(Red) |
|
| |||
|
|
|
| ||
|
|
|
|
| |
MAGENTA | Cyan + Yellow |
|
| Magenta | |
(Green) |
|
| |||
|
|
|
| ||
|
|
|
|
| |
YELLOW | Magenta + Cyan |
|
| Yellow | |
(Blue) |
|
| |||
|
|
|
| ||
|
|
|
|
| |
RED | Cyan |
|
| Magenta + Yellow | |
|
|
|
|
| |
GREEN | Magenta |
|
| Cyan + Yellow | |
|
|
|
|
| |
BLUE | Yellow |
|
| Cyan + Magenta | |
|
|
|
|
| |
5.Remove neutral density from your filter pack. For example, if you determine that a filter pack of
40R + 10Y + 10C will give you a pleasing print:
a.Convert any primary filters (R, G, B) to their subtractive equivalents (C, M, Y):
40R = 40M + 40Y.
b.Add filters of the same color: 10Y + 40Y = 50Y.
c.If the new filter pack has all three subtractive colors, cancel the neutral density by subtracting the smallest density value from all three densities:
10C 40M 50Y
filtration without
30M 40Y =
neutral density
2 | KODAK PROFESSIONAL ULTRA III Paper • |
