K-16102, K-108, K-16104, K-8215, K-6954 specifications
Kohler is synonymous with innovation in the bathroom and kitchen fixtures market, and its range of products exemplifies quality, design, and user-friendly technologies. Among its esteemed offerings are the Kohler K-280, K-223, K-8215, K-6954, and K-6811, each featuring distinct attributes that cater to diverse needs.The Kohler K-280 toilet stands out with its sleek design and innovative features. It boasts a powerful flush system that ensures efficient water usage while maintaining performance. The K-280 is equipped with a comfortable height and elongated bowl, making it accessible for all users. Additionally, its chair-height design provides ease of use, especially for those with mobility issues.
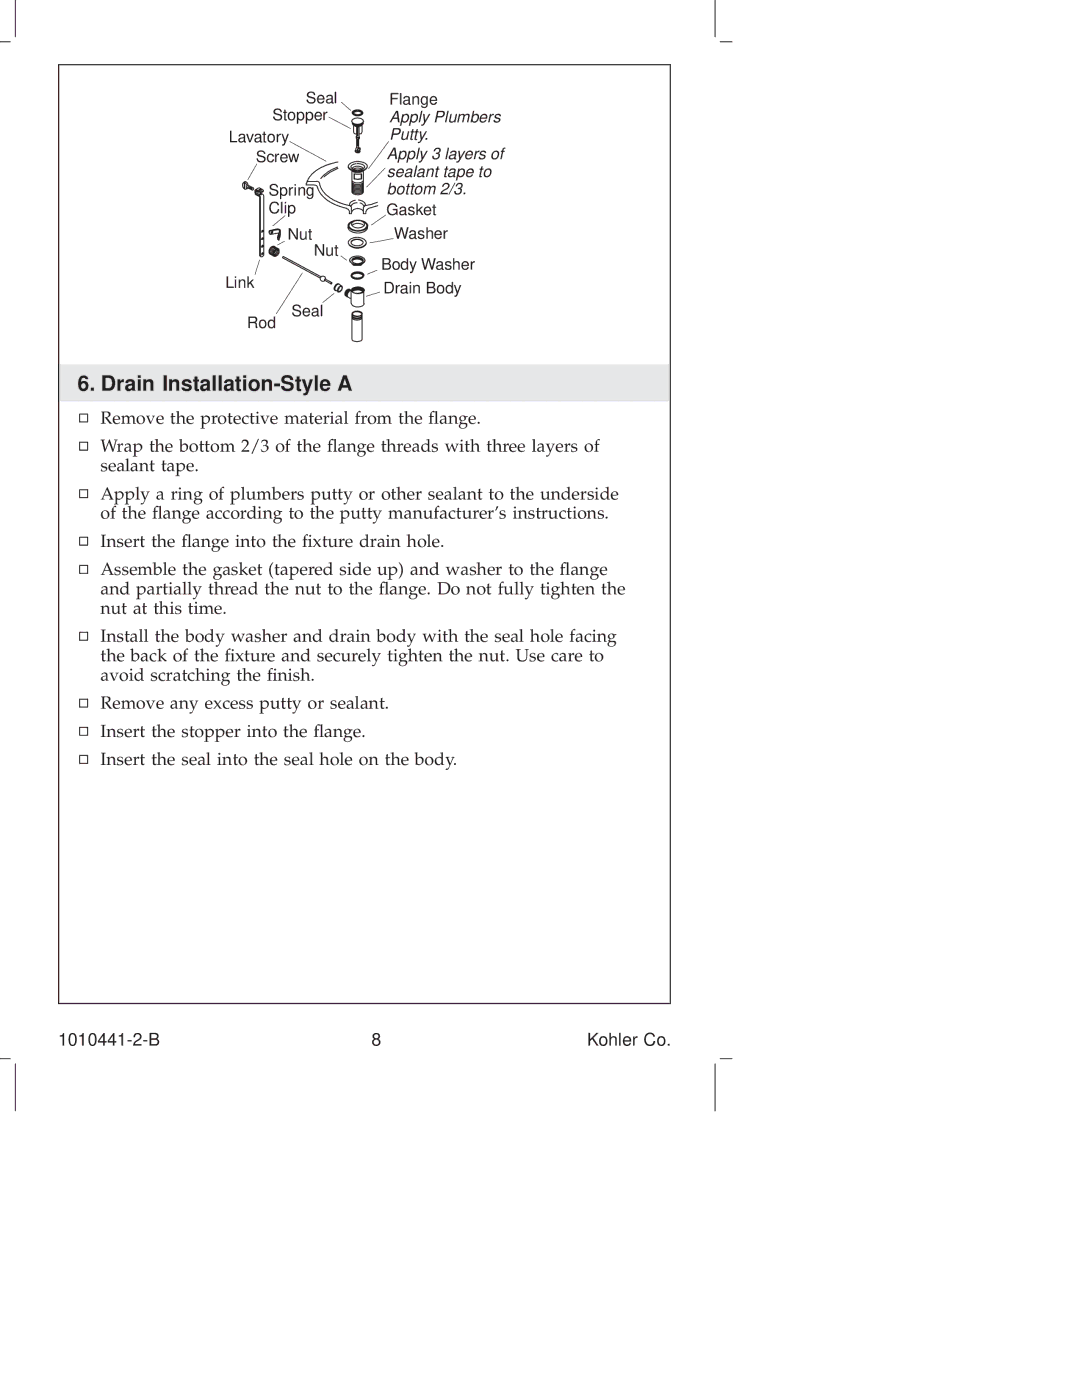
Kohler's K-223 is another remarkable addition to their bathroom lineup. This lavatory sink combines function with aesthetic appeal, featuring a versatile undermount design that fits well with various countertop materials. Its minimalistic basin allows for easy cleaning and provides ample space for daily tasks, making it a favorite for busy households. The K-223 also showcases Kohler's commitment to eco-friendliness by promoting water conservation without compromising performance.
The K-8215 is Kohler's response to the demand for modern shower technologies. This multifunctional showerhead offers a variety of spray settings, allowing users to customize their experience. With its easy-clean nozzles, maintenance becomes a breeze. The K-8215 is designed with state-of-the-art hydromassage technology that provides a spa-like experience at home, aiming for relaxation and rejuvenation.
Kohler's K-6954 sink presents an elegant solution for those looking for space-saving designs. This compact, wall-mounted option is ideal for smaller bathrooms or powder rooms. Its sleek lines and modern aesthetic ensure it complements any décor while providing a functional space for handwashing and grooming. The K-6954 also incorporates durable materials that stand the test of time, maintaining its beauty with minimal maintenance.
Lastly, the K-6811 is a statement piece in Kohler's collection of bathtubs. Its freestanding design exudes luxury and sophistication. The K-6811 is crafted for comfort, featuring a deep soaking design that encourages relaxation. The ergonomic contours provide support for the body, transforming the bathing experience into a revitalizing retreat.
Together, these Kohler products represent a harmonious blend of functionality, technology, and style, enhancing the overall experience of everyday routines in bathrooms across the globe.

