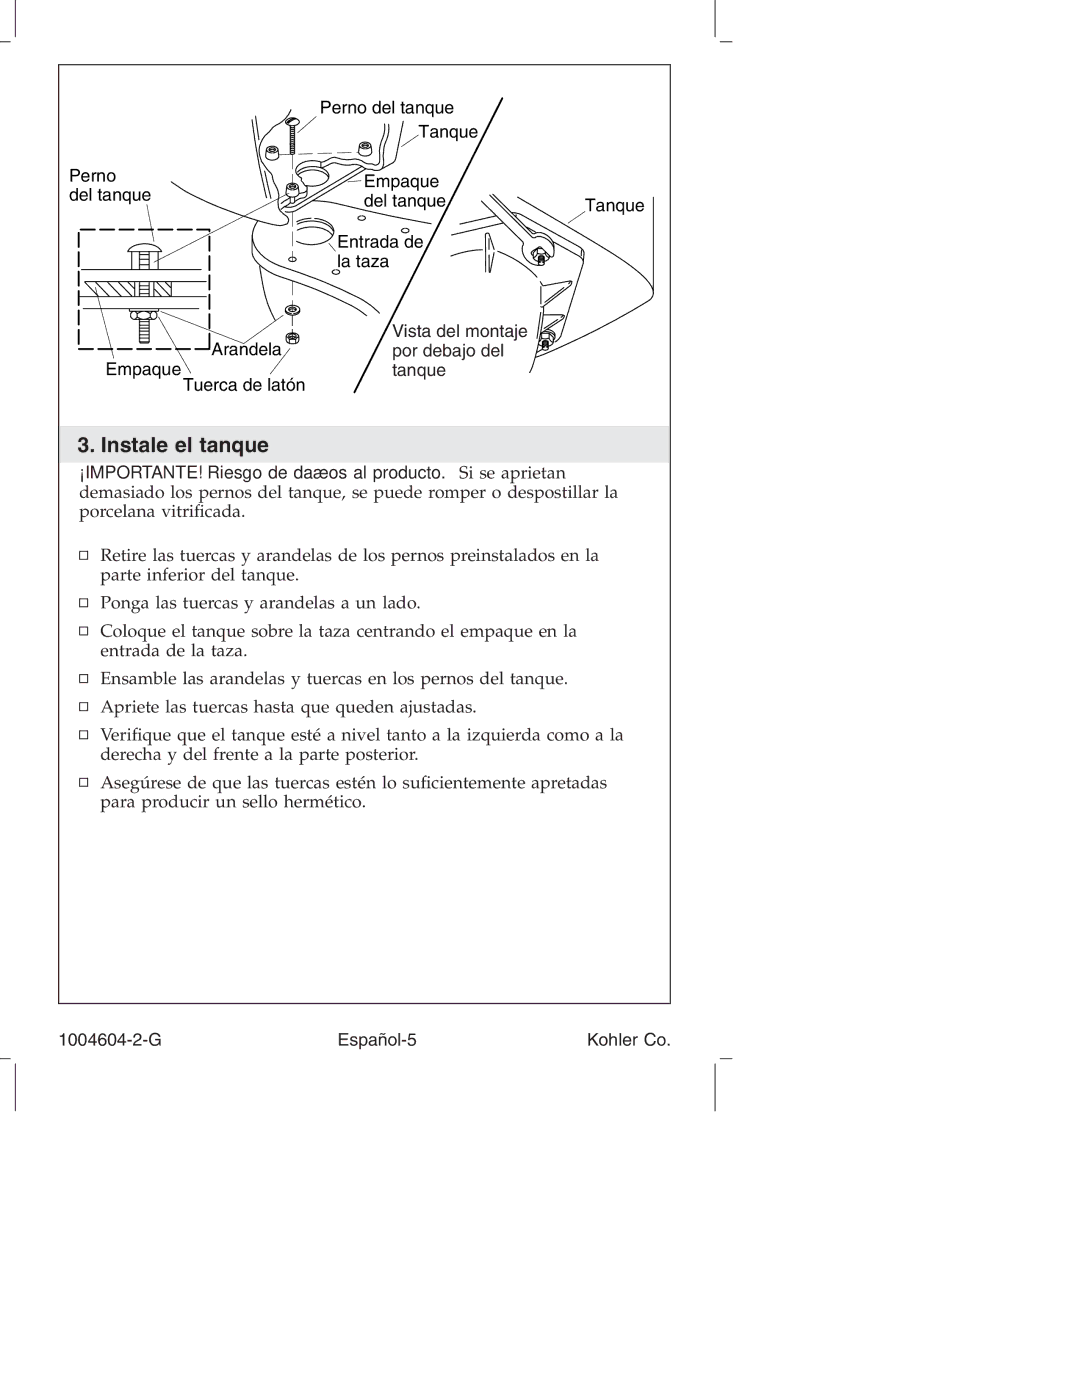
K3422, K3423, K3428, K3429, K3427 specifications
Kohler, a leading bathroom and kitchen fixtures brand, has made a significant mark in the industry with its range of high-quality toilets. Among its well-regarded models are the Kohler K3429, K3427, K3428, K3423, and K3422, each designed to combine form and function while providing innovative features.The Kohler K3429, known for its sleek and modern design, promotes comfort with its elongated bowl, ensuring ample seating space. This model utilizes the AquaPiston flushing system, which offers a powerful flush without wasting water, helping to conserve resources while maintaining performance.
The K3427 model stands out for its versatility, available in various colors to match any bathroom décor. This toilet also employs the same AquaPiston technology, ensuring a clean and efficient flush. Additionally, its compact design makes it suitable for smaller spaces without sacrificing comfort.
Moving to the K3428, this model is particularly noteworthy for its eco-friendly features. It delivers a low-flow option that meets WaterSense criteria, using less water per flush while still providing a strong performance. This makes it an excellent choice for those looking to reduce their environmental impact without compromising on quality.
The Kohler K3423 leads the charge in style and functionality. Its design is both chic and elegant, making it a centerpiece in any restroom. The K3423 also incorporates innovative flushing technology, reducing the risk of clogs and ensuring a thorough clean with every flush.
Finally, the K3422 model emphasizes user comfort with its higher toilet seat height, catering to individuals who may need additional support. It also features a quiet close lid, providing peace of mind by preventing slamming.
Together, these models reflect Kohler's commitment to quality, innovation, and user experience in bathroom design. With a variety of features tailored to meet different needs, they stand as excellent choices for homeowners looking to upgrade their bathrooms. Each model not only focuses on aesthetics but also emphasizes water efficiency and durability, making them investments that can enhance any home’s functionality and style.

