Example
The voltage source should provide for a continuous load of 300 W and also for a minimum of 27,7 A.
![]() Attention!
Attention!
Never connect the power inverter to a 24 V supply system. Otherwise the device will be da- maged.
The device can only be connected to a voltage source with a rated voltage of 12 V.
Connection to a voltage source
![]() Attention!
Attention!
Before connecting the power inverter to a vol- tage source make sure that the on/off switch on the device is in the position 0.
You can connect the power inverter with the 12 V plug to a 12 V in vehicle receptacle or attach directly to an automobile battery with the connection termi- nals.
For both connection variants the connection cable must be connected to the power inverter's 12 V connection screw.
Setup
•The power inverter should be positioned on an even, flat surface. Make sure that there is 1 cm free space remaining all around the power inverter for air circulation.
•A distance of 50 cm must be maintained behind the fan's ventilation slots.
In vehicle operation
If you are operating the power inverter in a vehicle make sure that the installation is not a hindrance when driving the vehicle.
For this, install cables so that they do not come into contact with moveable parts in the vehicles interior and they do not obstruct the view.
![]() Note:
Note:
The power inverter can also be operated when the engine is switched off. However be aware that the power inverter possibly may not func- tion during an engine startup.
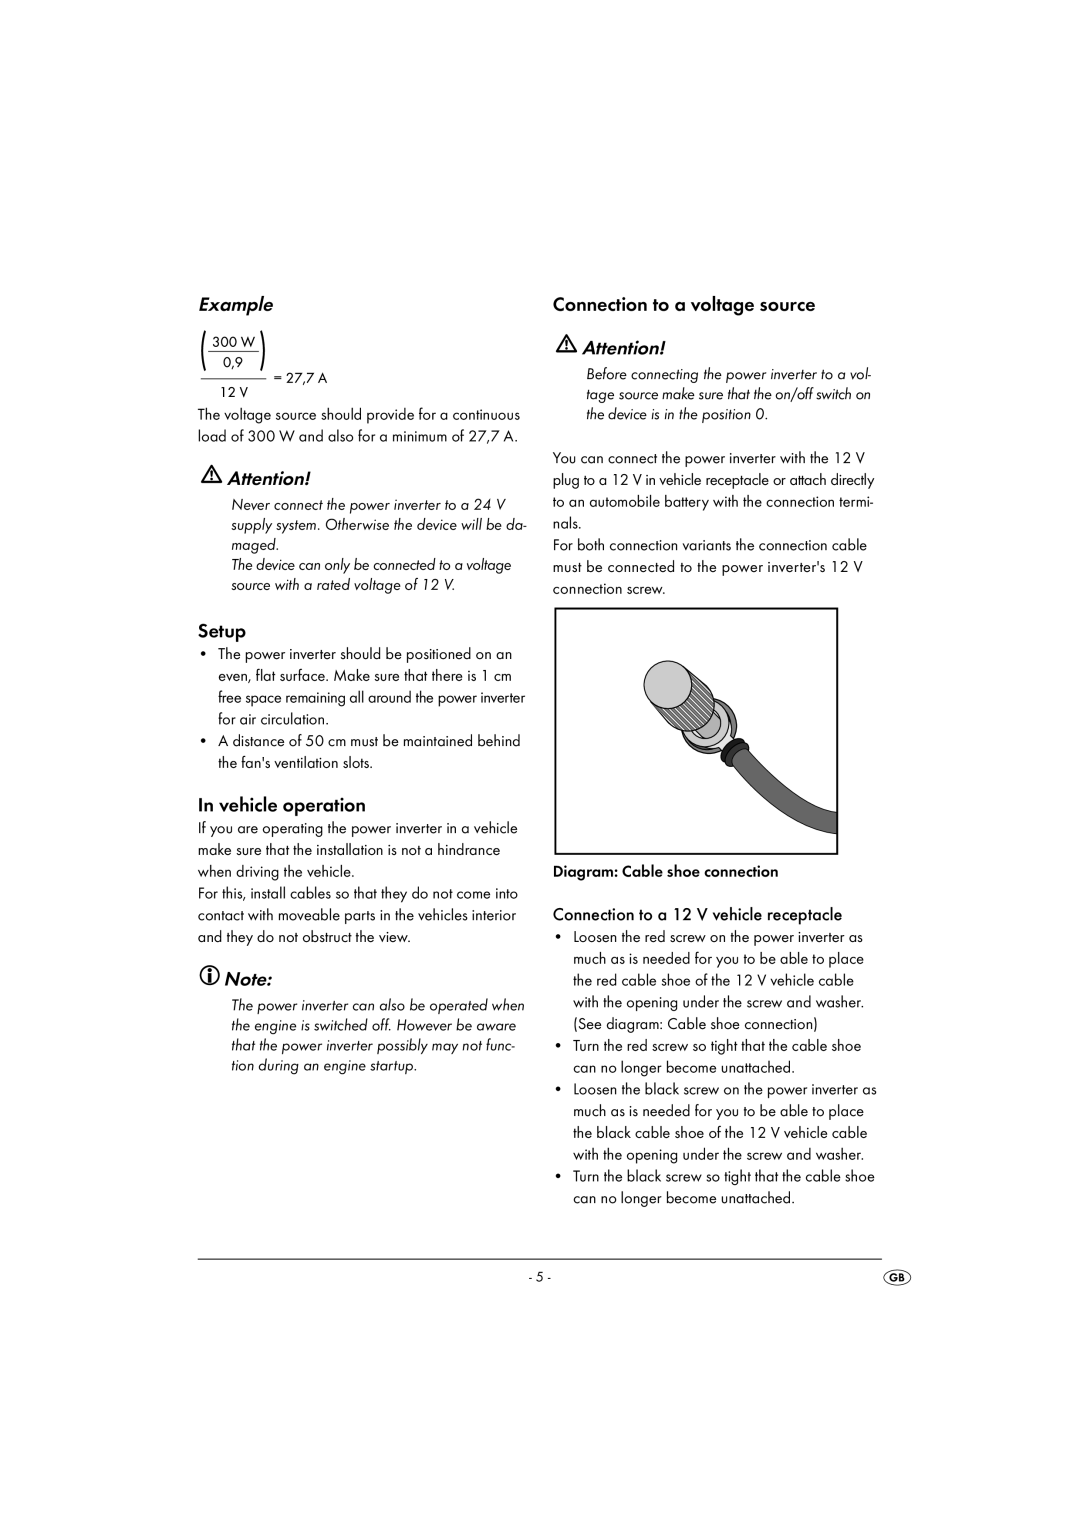
Diagram: Cable shoe connection
Connection to a 12 V vehicle receptacle
•Loosen the red screw on the power inverter as much as is needed for you to be able to place the red cable shoe of the 12 V vehicle cable with the opening under the screw and washer. (See diagram: Cable shoe connection)
•Turn the red screw so tight that the cable shoe can no longer become unattached.
•Loosen the black screw on the power inverter as much as is needed for you to be able to place the black cable shoe of the 12 V vehicle cable with the opening under the screw and washer.
•Turn the black screw so tight that the cable shoe can no longer become unattached.
- 5 -
