Pin
Hemstitch and edging
For these two tasks proceed as follows:
1.In the section "Adjusting the sewing foot" reread the instructions for adjusting the sewing foot o.
2.Turn the handwheel 6 to yourself until the needles stand fully at the top.
3.Open the front flap 8 and remove the left needle (see section " Exchanging needles").
4.Adjust the stitching length to 1.0 - 2.0 mm. Ensure that the adjustment wheel for the differential feed motion u is placed at “N”.
5.Adjust the stitching width as described in the sec- tion “Setting the cutting width”.
6.If a yarn is not threaded, now rethread a new yarn.
7.Lay your material under the sewing foot o and start to sew.
Note:
Before you begin to sew on your actual workpiece, always check the adjustments for stitching length and thread tension on a material remnant.
Note:
Always remember to return the adjustment for the sewing foot o from this special to normal operation (sewing tasks) after the sewing of hems.
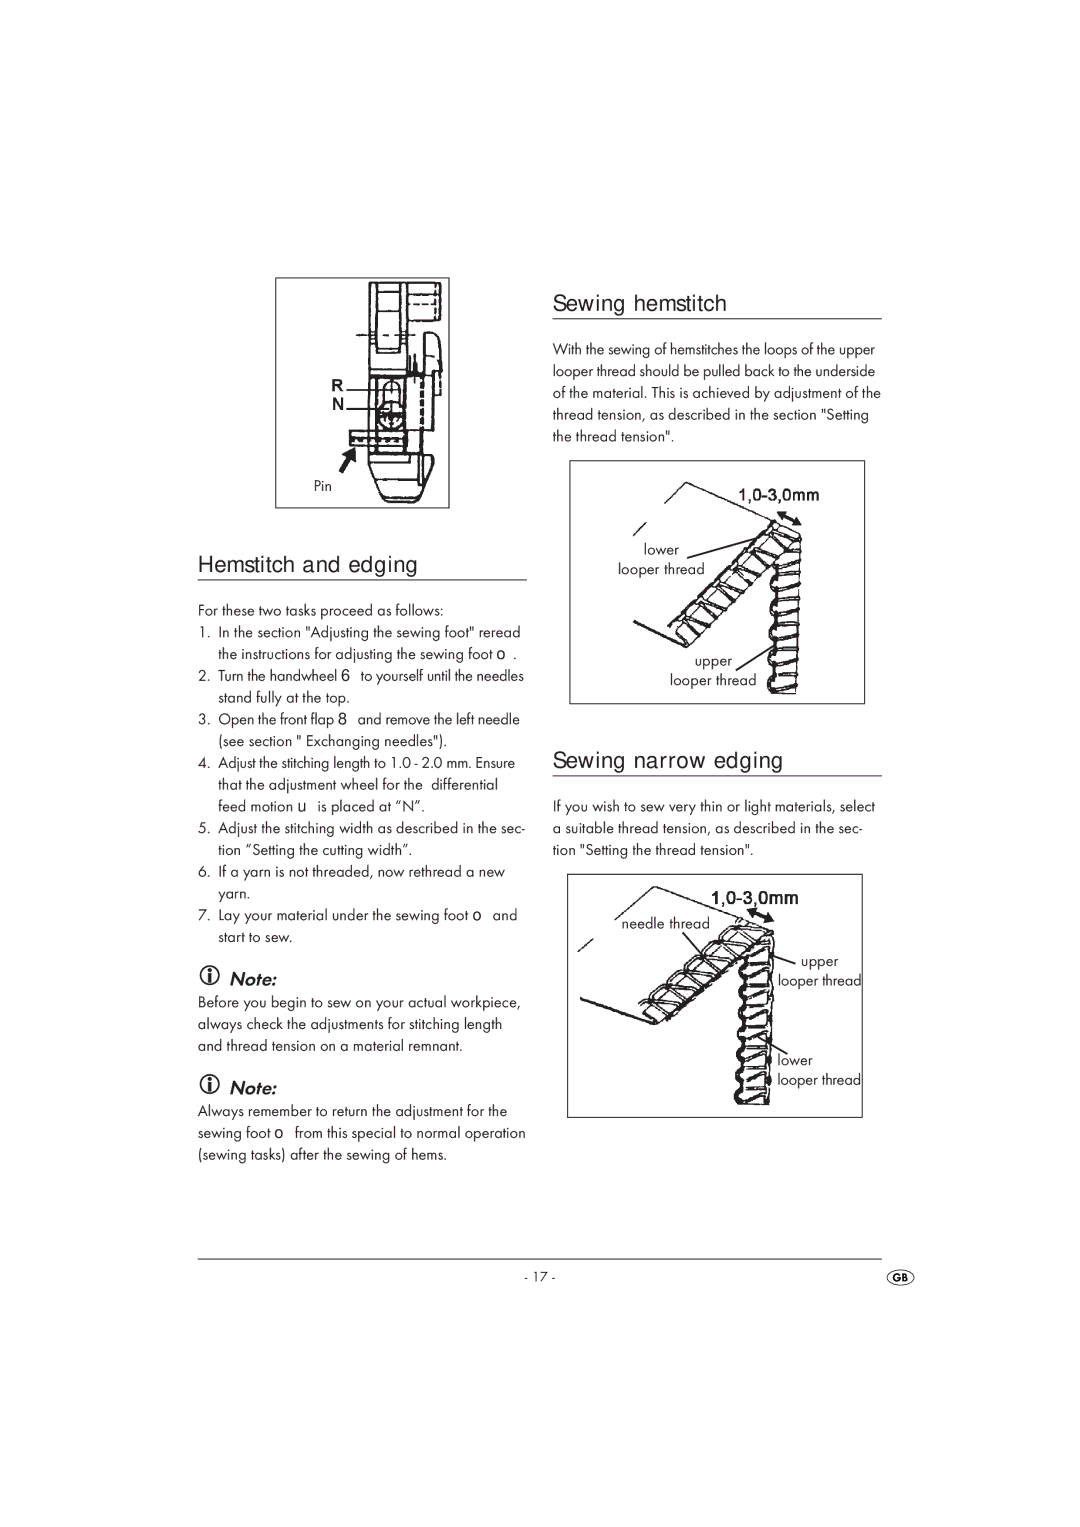
Sewing hemstitch
With the sewing of hemstitches the loops of the upper looper thread should be pulled back to the underside of the material. This is achieved by adjustment of the thread tension, as described in the section "Setting the thread tension".
lower ![]() looper thread
looper thread
upper ![]() looper thread
looper thread
Sewing narrow edging
If you wish to sew very thin or light materials, select a suitable thread tension, as described in the sec- tion "Setting the thread tension".
needle thread
![]() upper looper thread
upper looper thread
lower
looper thread
- 17 -