Connecting an Audio/Video Distribution System
5Connecting an Audio/Video Distribution System
To configure a
1.On the
A composite video source (for example, a video player) to the CV IN BNC connector
A digital audio source (for example, the video player’s audio signal) to the AUDIO IN S/PDIF RCA connector
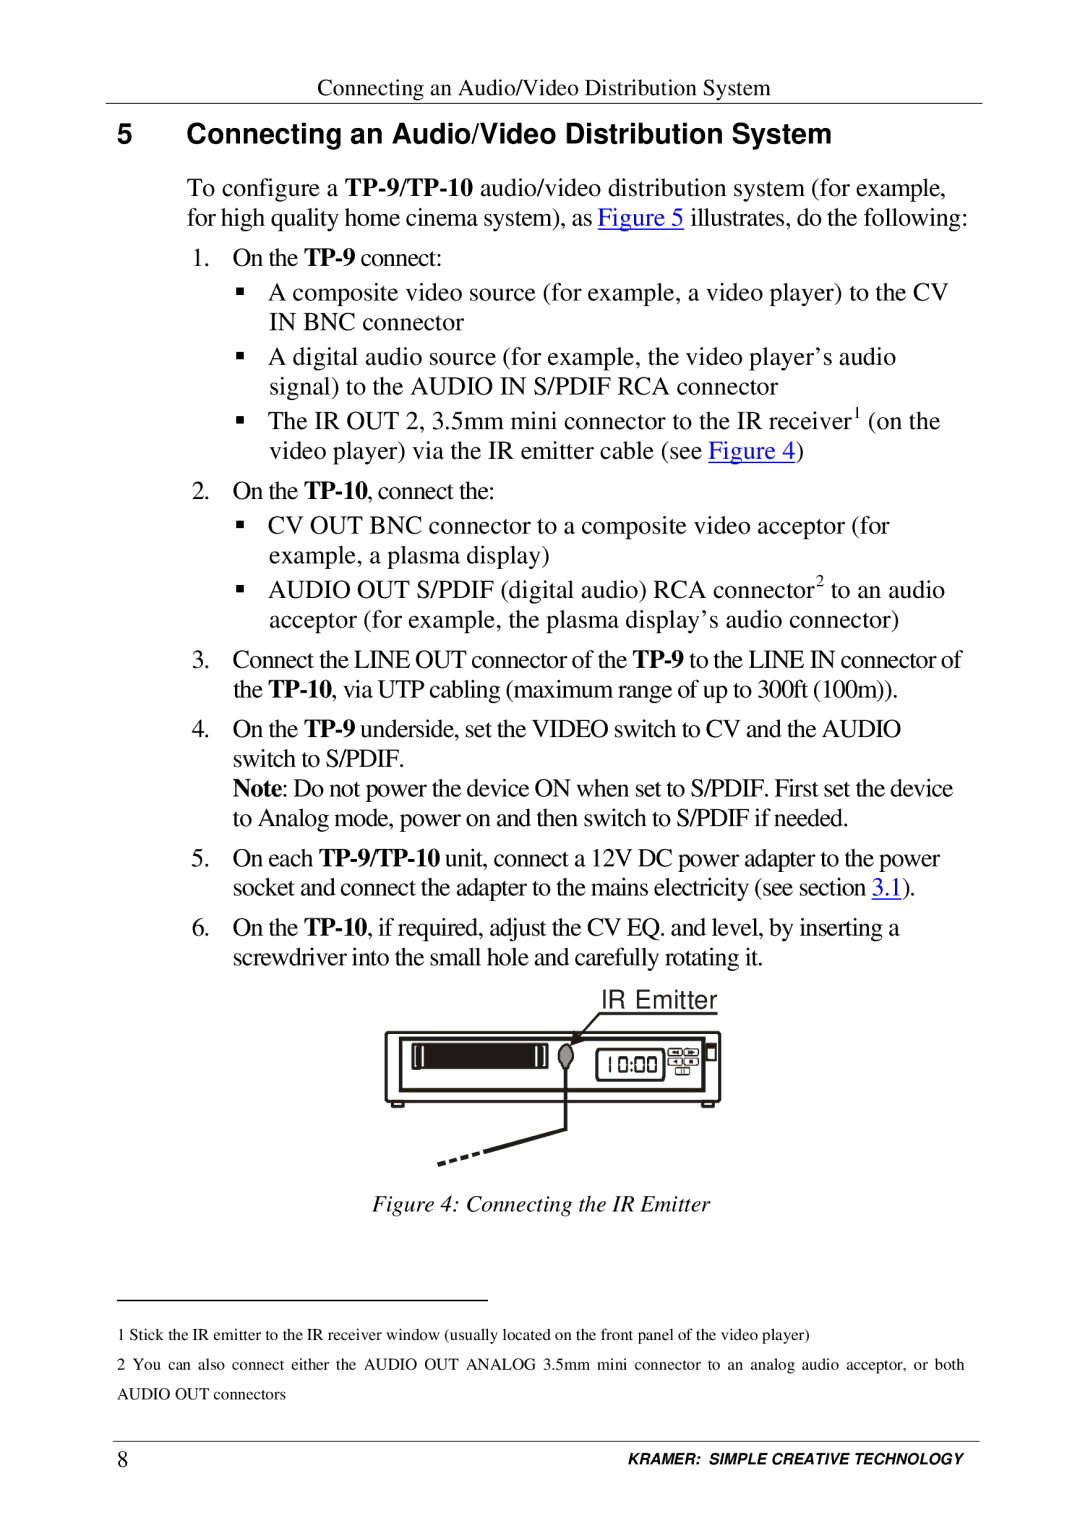
The IR OUT 2, 3.5mm mini connector to the IR receiver1 (on the video player) via the IR emitter cable (see Figure 4)
2.On the
CV OUT BNC connector to a composite video acceptor (for example, a plasma display)
AUDIO OUT S/PDIF (digital audio) RCA connector2 to an audio acceptor (for example, the plasma display’s audio connector)
3.Connect the LINE OUT connector of the
4.On the
Note: Do not power the device ON when set to S/PDIF. First set the device to Analog mode, power on and then switch to S/PDIF if needed.
5.On each
6.On the
IR Emitter
Figure 4: Connecting the IR Emitter
1 Stick the IR emitter to the IR receiver window (usually located on the front panel of the video player)
2 You can also connect either the AUDIO OUT ANALOG 3.5mm mini connector to an analog audio acceptor, or both AUDIO OUT connectors
8 | KRAMER: SIMPLE CREATIVE TECHNOLOGY |
