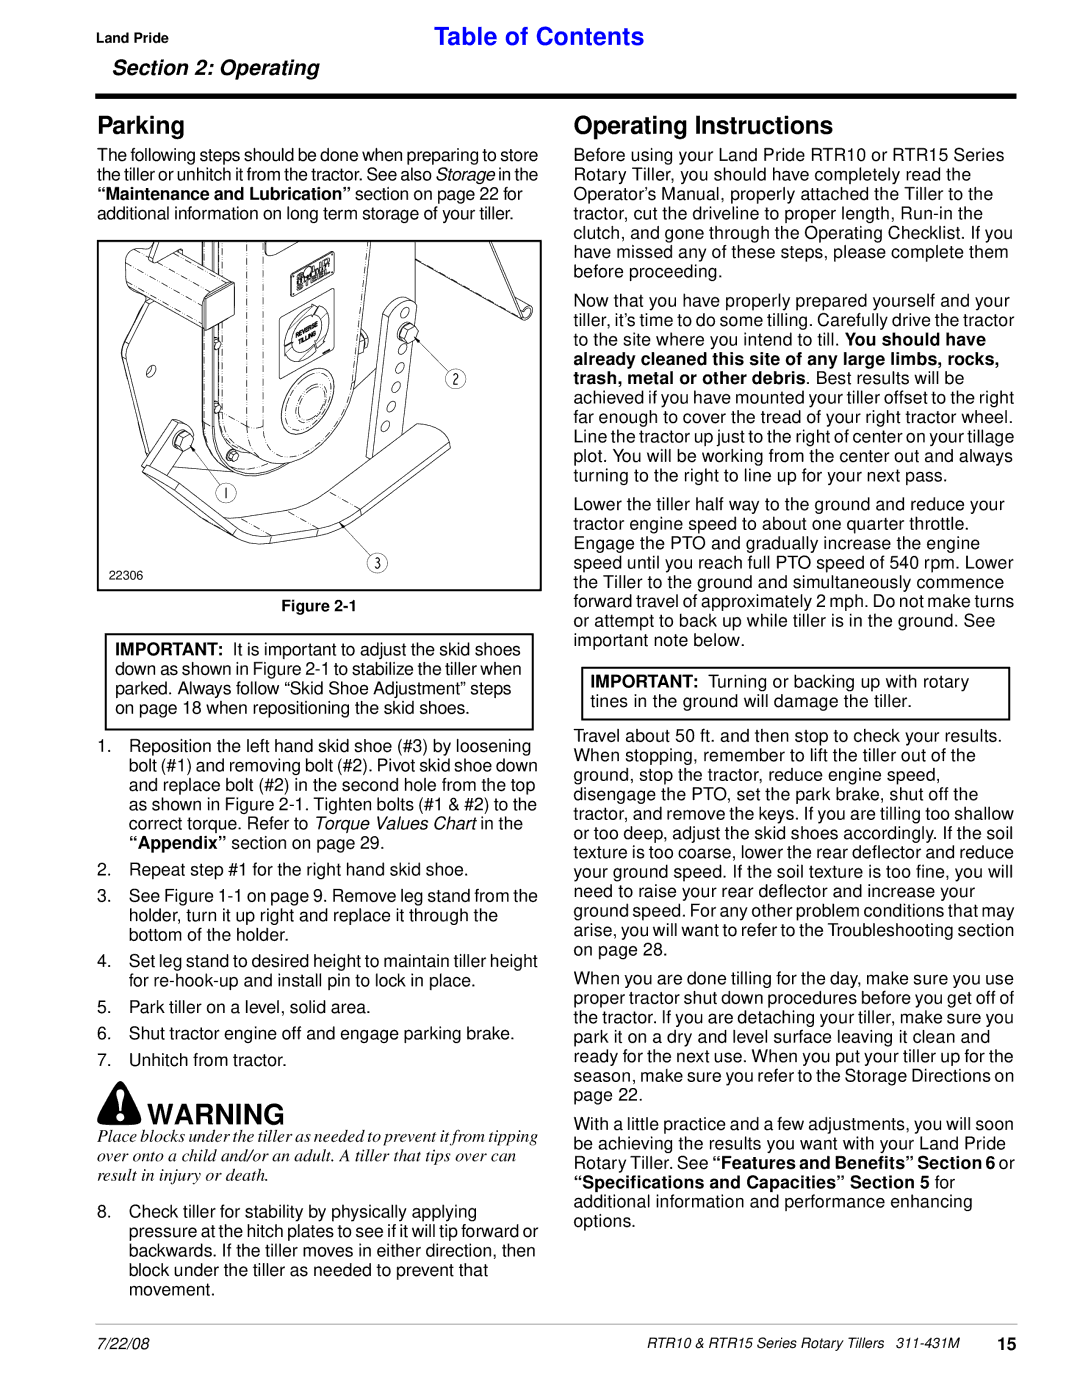
RTR15, RTR1558, RTR1550 specifications
Land Pride is a renowned name in the agricultural equipment industry, and their range of Rotary Tiller models, including the RTR1558, RTR1058, RTR1550, RTR1042, and RTR1542, stands out for their efficiency, robustness, and innovative design. These tillers are ideal for both commercial farmers and garden enthusiasts, offering flexible solutions for soil preparation.The RTR1558 and RTR1550 models, designed for larger tractors, boast a heavy-duty construction and are equipped with a wide cutting width, allowing them to cover more ground in less time. This efficiency is complemented by a series of rotor knives that ensure a thorough tilling action, breaking up compacted soil while enabling better aeration and nutrient absorption. The RTR1558 features a unique gear-driven design that enhances durability and performance, making it suitable for heavy-duty applications.
For those with smaller tractors, the RTR1042 and RTR1542 models are a perfect fit. These tillers maintain a robust design while being lightweight, ensuring they can be easily maneuvered in smaller plots. With their effective rotary tilling capabilities, they help prepare seedbeds, enhance garden spaces, and efficiently mix in organic matter or fertilizers. These models also feature adjustable tilling depths, allowing users to customize the tilling process according to specific soil conditions.
The RTR1058 model, meanwhile, serves as a middle ground, delivering a balance between power and versatility. This rotary tiller’s unique design allows it to perform exceptionally well in various soil types, promoting better crop yields. Each of these tillers is equipped with a durable chain drive system that provides optimal performance and minimal downtime.
Additionally, Land Pride’s focus on user-friendly features extends to the ease of maintenance. The equipment is designed with accessible components that simplify repairs and reduce pivot point wear. Coupled with the innovative technology in their design, such as the heavy-duty frame and reinforced tines, these tillers provide long-term reliability.
In conclusion, the Land Pride RTR1558, RTR1058, RTR1550, RTR1042, and RTR1542 rotary tillers exemplify cutting-edge technology and thoughtful engineering. Their unique features make them suitable for a variety of applications, ensuring that whether you are tilling a large field or preparing a small garden, there is a Land Pride tiller that meets your needs effectively.

