Assembly Instructions
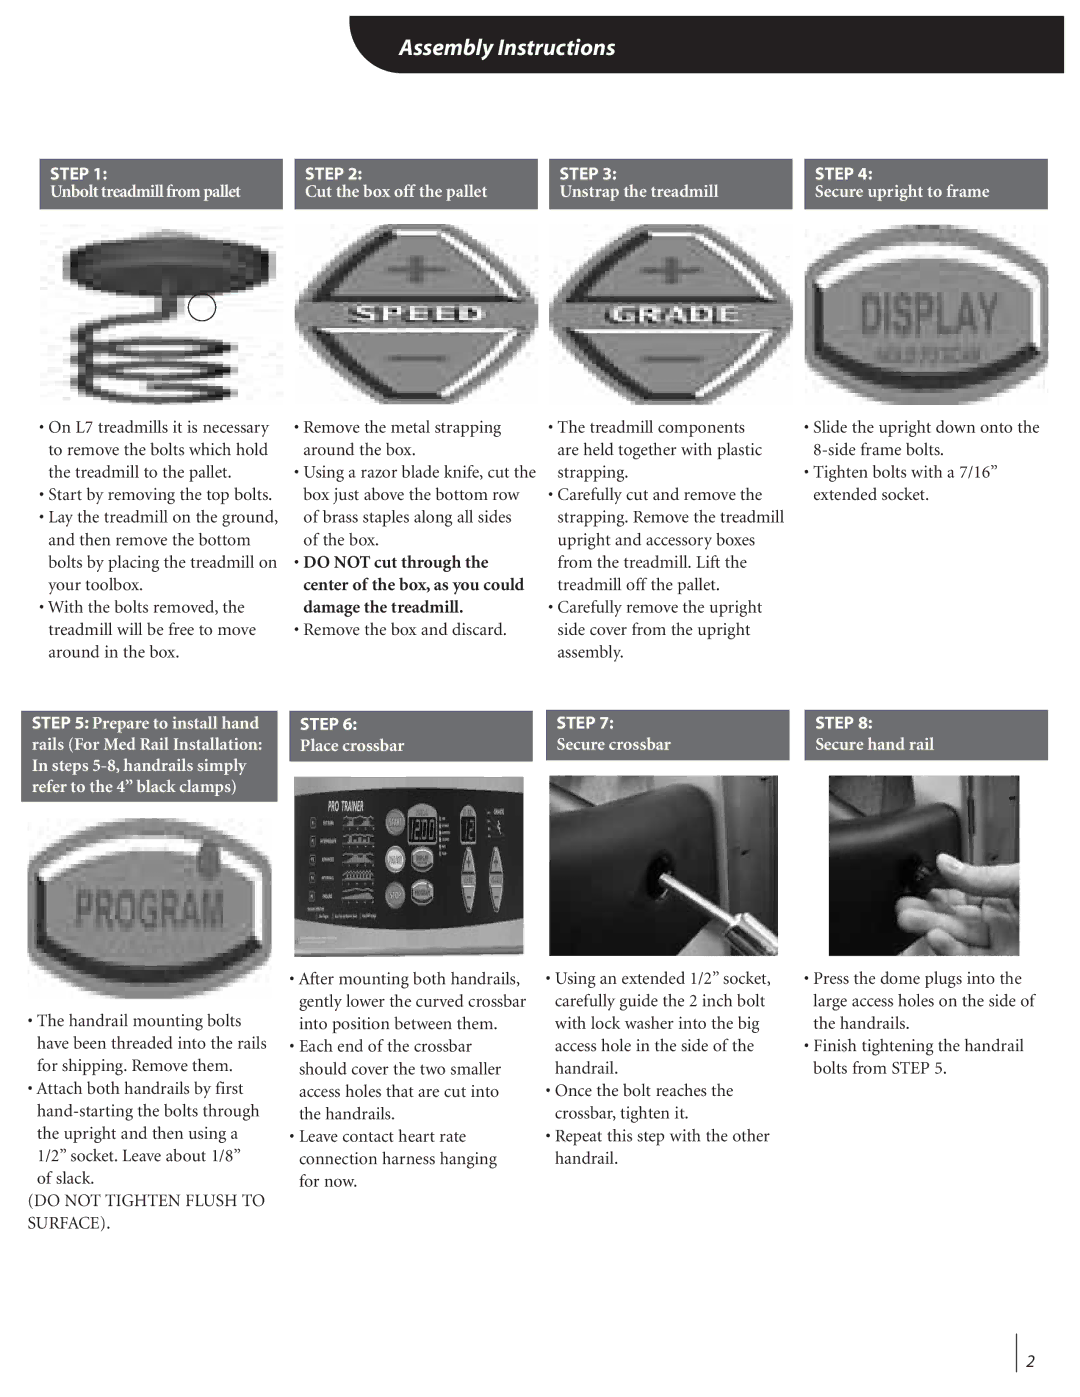
STEP 1: |
| STEP 2: |
| STEP 3: |
Unbolt treadmill from pallet |
| Cut the box off the pallet |
| Unstrap the treadmill |
|
|
|
|
|
• On L7 treadmills it is necessary | • Remove the metal strapping | • The treadmill components |
to remove the bolts which hold | around the box. | are held together with plastic |
the treadmill to the pallet. | • Using a razor blade knife, cut the | strapping. |
• Start by removing the top bolts. | box just above the bottom row | • Carefully cut and remove the |
• Lay the treadmill on the ground, | of brass staples along all sides | strapping. Remove the treadmill |
and then remove the bottom | of the box. | upright and accessory boxes |
bolts by placing the treadmill on | • DO NOT cut through the | from the treadmill. Lift the |
your toolbox. | center of the box, as you could | treadmill off the pallet. |
• With the bolts removed, the | damage the treadmill. | • Carefully remove the upright |
treadmill will be free to move | • Remove the box and discard. | side cover from the upright |
around in the box. |
| assembly. |
STEP 4:
Secure upright to frame
•Slide the upright down onto the
•Tighten bolts with a 7/16” extended socket.
STEP 5: Prepare to install hand rails (For Med Rail Installation: In steps
STEP 6:
Place crossbar
STEP 7: |
| STEP 8: |
Secure crossbar |
| Secure hand rail |
|
|
|
•The handrail mounting bolts have been threaded into the rails for shipping. Remove them.
•Attach both handrails by first
(DO NOT TIGHTEN FLUSH TO SURFACE).
•After mounting both handrails, gently lower the curved crossbar into position between them.
•Each end of the crossbar should cover the two smaller access holes that are cut into the handrails.
•Leave contact heart rate connection harness hanging for now.
•Using an extended 1/2” socket, carefully guide the 2 inch bolt with lock washer into the big access hole in the side of the handrail.
•Once the bolt reaches the crossbar, tighten it.
•Repeat this step with the other handrail.
•Press the dome plugs into the large access holes on the side of the handrails.
•Finish tightening the handrail bolts from STEP 5.
2