|
| Q u i c k S t a r t G u i d e |
|
|
| U B o x 4 1 0 0 |
|
| WHAT’S IN THE BOX |
|
|
| The package includes: |
|
|
| • Lantronix UBox USB Device Server | • Power Supply |
|
| • Quick Start Guide | • CD with software and User Guide |
|
The Lantronix UBox USB Device Server makes it possible for computers on a Local Area Network (LAN) to connect and share USB devices such as printers, scanners, and storage drives. This Quick Start will get you up and running with your new UBox. For more detailed instructions, please refer to the UBox USB Device Server User Guide on the product CD or the Lantronix web site.
GETTING STARTED
STEP 1: INSTALL THE HARDWARE
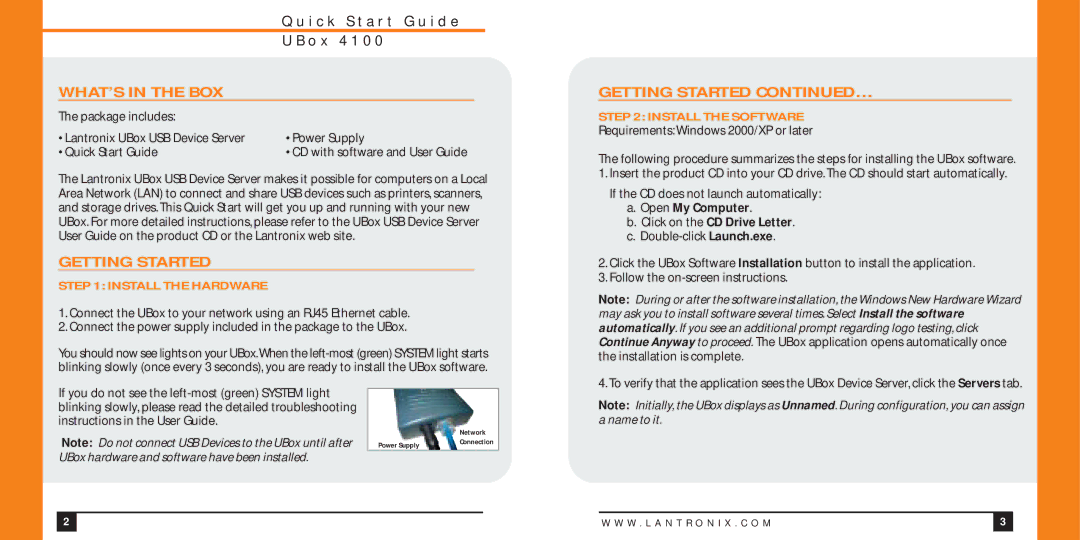
1.Connect the UBox to your network using an RJ45 Ethernet cable.
2.Connect the power supply included in the package to the UBox.
You should now see lights on your UBox.When the
GETTING STARTED CONTINUED…
STEP 2: INSTALL THE SOFTWARE
Requirements: Windows 2000/XP or later
The following procedure summarizes the steps for installing the UBox software.
1.Insert the product CD into your CD drive. The CD should start automatically. If the CD does not launch automatically:
a.Open My Computer.
b.Click on the CD Drive Letter.
c.
2.Click the UBox Software Installation button to install the application.
3.Follow the
Note: During or after the software installation, the Windows New Hardware Wizard may ask you to install software several times. Select Install the software automatically. If you see an additional prompt regarding logo testing, click Continue Anyway to proceed. The UBox application opens automatically once the installation is complete.
4. To verify that the application sees the UBox Device Server, click the Servers tab.
If you do not see the
Note: Do not connect USB Devices to the UBox until after UBox hardware and software have been installed.
| Network |
Power Supply | Connection |
|
Note: Initially, the UBox displays as Unnamed. During configuration, you can assign a name to it.
2 |
|
| W W W . L A N T R O N I X . C O M | 3 |
|
|
|
|
|
