ATX6 Installation and User Guide
1.Choose an appropriate location to install the ATX6 on a wall.
a.If you intend to use the
b.If the ATX6 will be used in synchronizing a wide area / campus, then the site should, generally, be close to the center of the facility; rather than at the perimeter.
c.If you intend to synchronize the ATX6 to an ATX Transceiver in Master mode then select a site within approximately 130 feet from where the ATX Transceiver will be located..
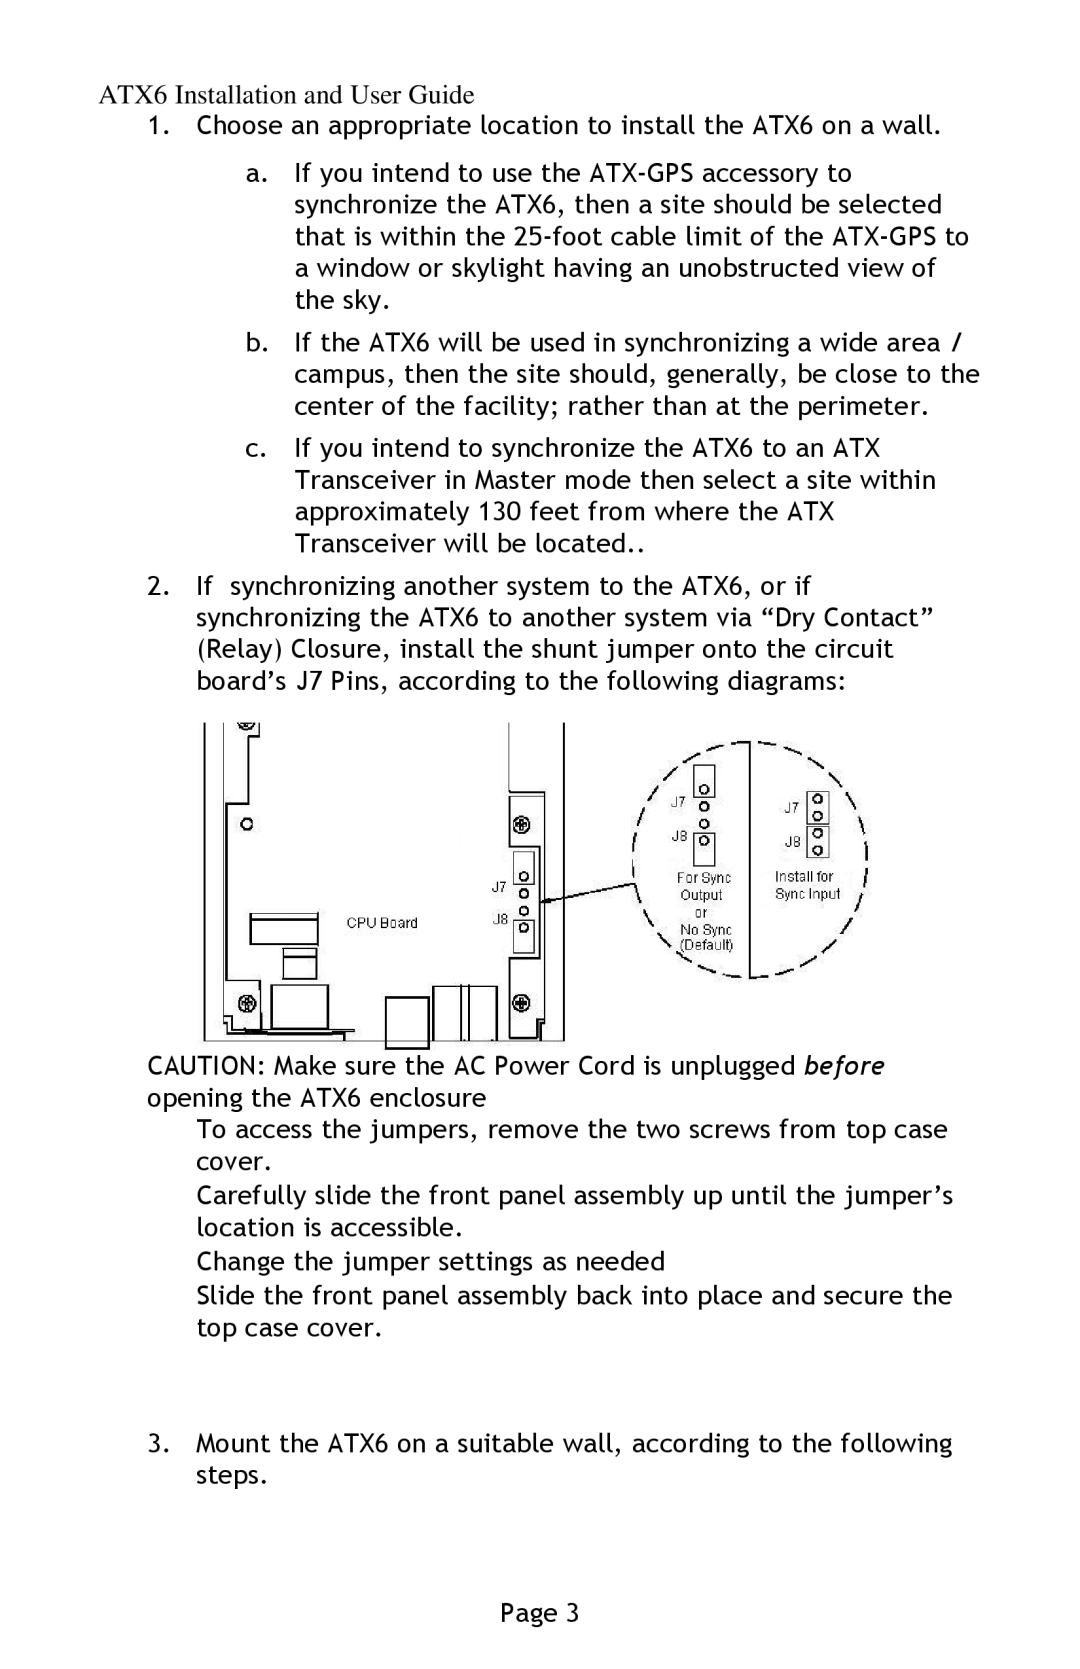
2.If synchronizing another system to the ATX6, or if synchronizing the ATX6 to another system via “Dry Contact” (Relay) Closure, install the shunt jumper onto the circuit board’s J7 Pins, according to the following diagrams:
CAUTION: Make sure the AC Power Cord is unplugged before opening the ATX6 enclosure
To access the jumpers, remove the two screws from top case cover.
Carefully slide the front panel assembly up until the jumper’s location is accessible.
Change the jumper settings as needed
Slide the front panel assembly back into place and secure the top case cover.
3.Mount the ATX6 on a suitable wall, according to the following steps.
Page 3