15). Make sure the stage does not move at all between the images or image quality decreases.
3.4 Capturing the image
Press the Camera button next to the Live button to take an image. After acquisition, the image will appear in Studio Lite.
3.5 Viewing images
To zoom in or out, select the zoom tool in the toolbar at the right edge of the screen (Figure 18, middle button). When zoomed in, you can pan around the view with the panning tool (Figure 18, bottom button).
Figure 18. Selection, Zoom and Panning tools
3.6 Post-imaging adjustments
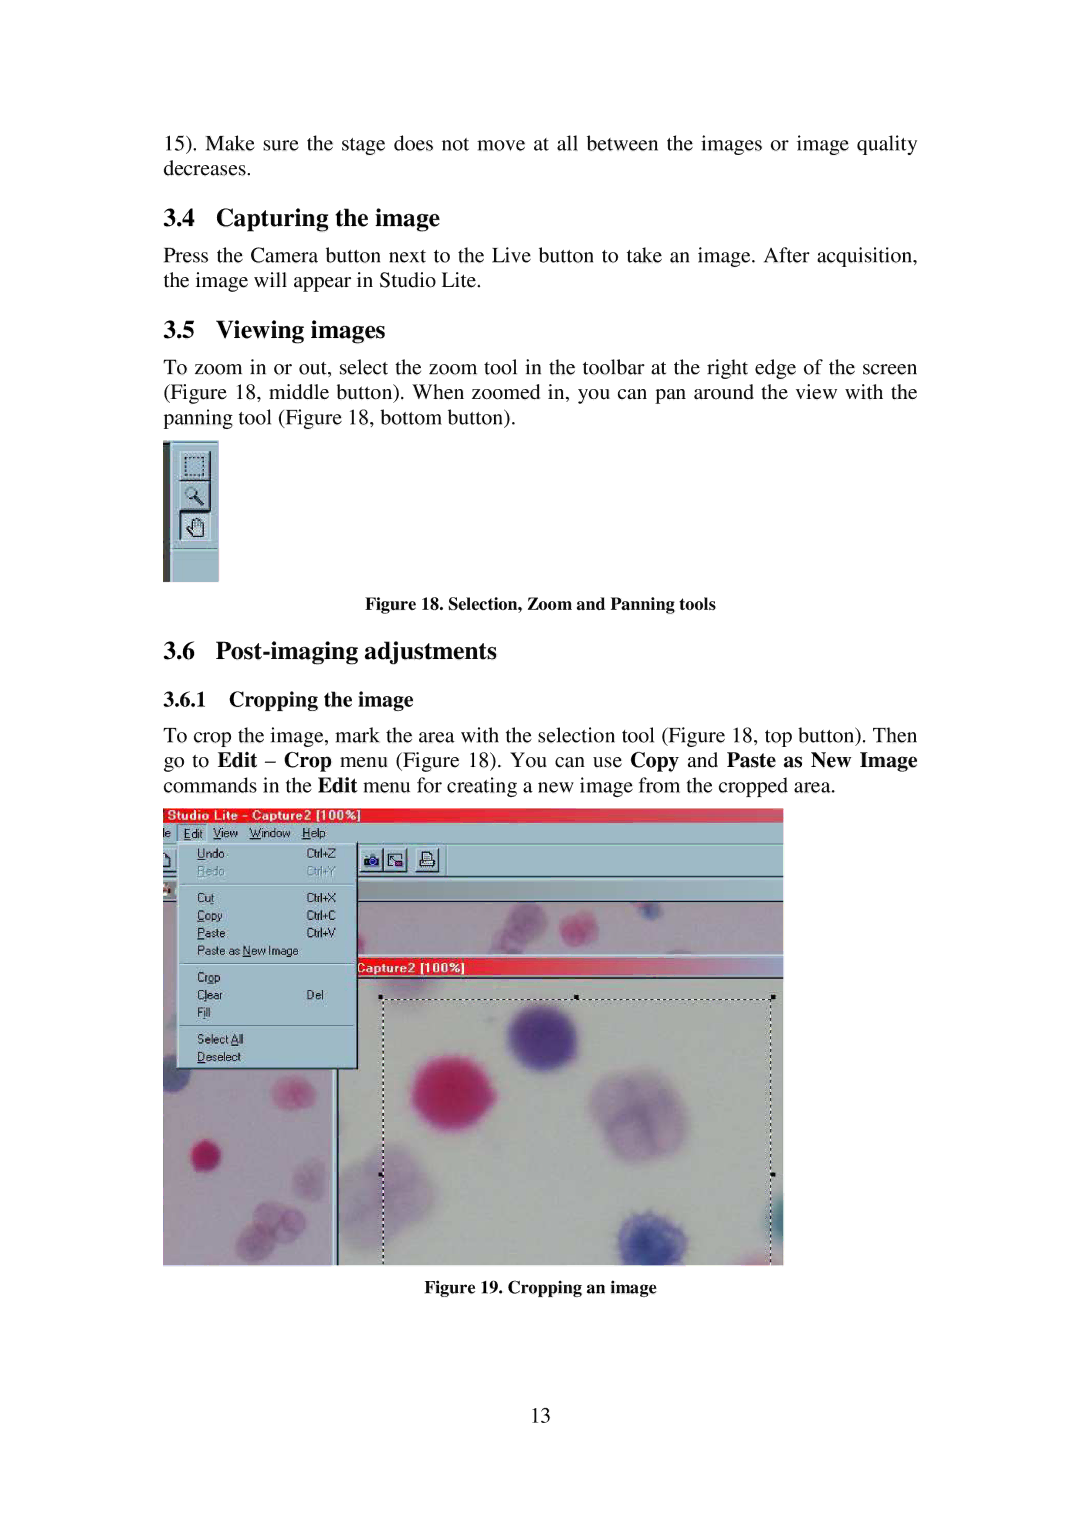
3.6.1Cropping the image
To crop the image, mark the area with the selection tool (Figure 18, top button). Then go to Edit – Crop menu (Figure 18). You can use Copy and Paste as New Image commands in the Edit menu for creating a new image from the cropped area.
Figure 19. Cropping an image
13