Replacing the system board assembly
Attention:
Do not remove the computer cover or attempt any repair before reading the “Important safety information” in the Quick Reference that was included with your computer or in the Hardware Maintenance Manual (HMM) for the computer. To obtain copies of the Quick Reference or HMM, go to the Support Web site at http://www.lenovo.com/think/support.
To replace the system board assembly:
1.Remove the computer cover. See “Removing the computer cover” on page 5.
2.Lay the computer on its side.
3.Disconnect the cables connected to the system board. See “Identifying parts on the system board” on page 4.
Important
Note the cable routing. It is important to route the cables the same way after you install the new system board.
4.Remove the system fan assembly. See “Replacing the system fan assembly” on page 25.
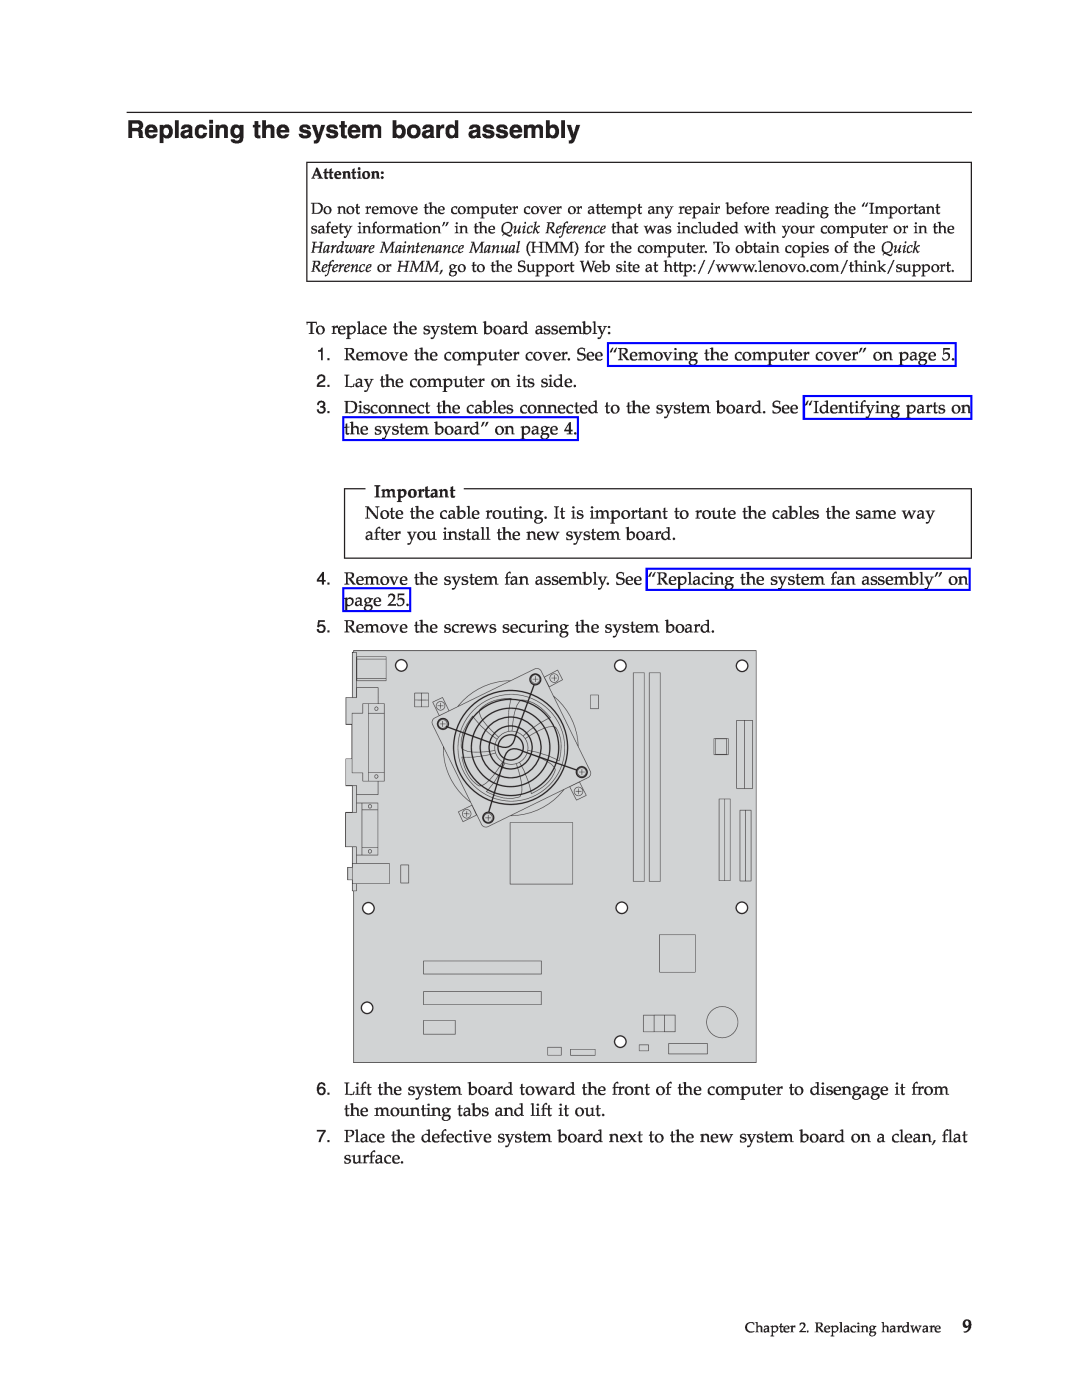
5.Remove the screws securing the system board.
6.Lift the system board toward the front of the computer to disengage it from the mounting tabs and lift it out.
7.Place the defective system board next to the new system board on a clean, flat surface.
Chapter 2. Replacing hardware 9