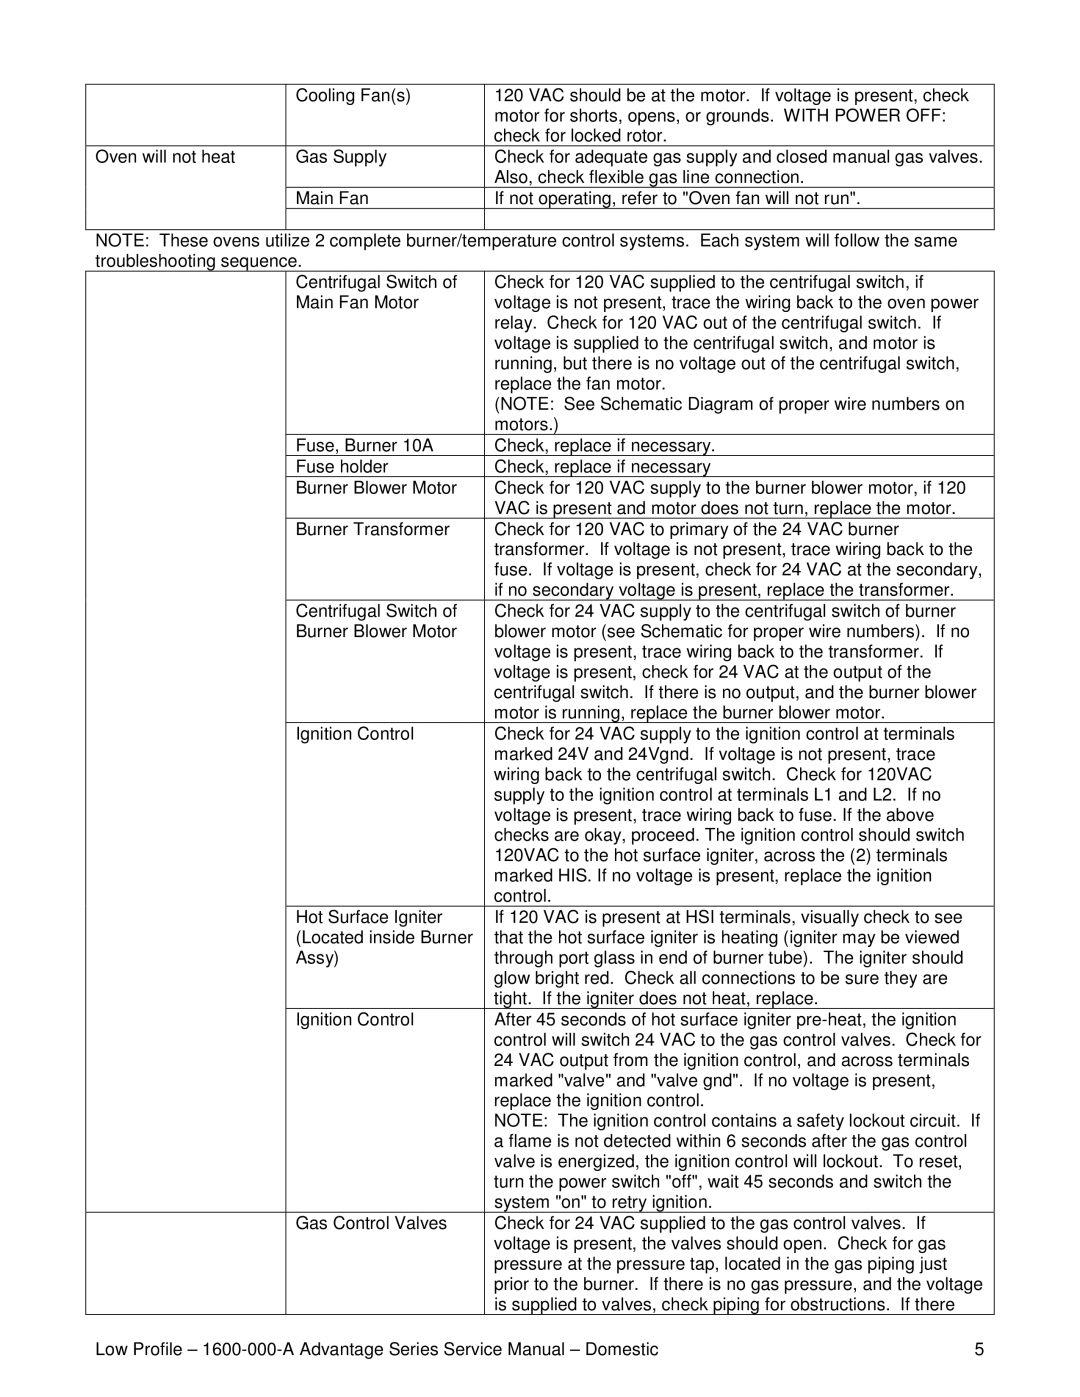
Cooling Fan(s)

120 VAC should be at the motor. If voltage is present, check


motor for shorts, opens, or grounds. WITH POWER OFF:


check for locked rotor.


Oven will not heat

Gas Supply

Check for adequate gas supply and closed manual gas valves.


Also, check flexible gas line connection.


Main Fan

If not operating, refer to "Oven fan will not run".


NOTE: These ovens utilize 2 complete burner/temperature control systems. Each system will follow the same


troubleshooting sequence.


Centrifugal Switch of

Check for 120 VAC supplied to the centrifugal switch, if


Main Fan Motor

voltage is not present, trace the wiring back to the oven power


relay. Check for 120 VAC out of the centrifugal switch. If


voltage is supplied to the centrifugal switch, and motor is


running, but there is no voltage out of the centrifugal switch,


replace the fan motor.


(NOTE: See Schematic Diagram of proper wire numbers on


motors.)


Fuse, Burner 10A

Check, replace if necessary.


Fuse holder

Check, replace if necessary


Burner Blower Motor

Check for 120 VAC supply to the burner blower motor, if 120


VAC is present and motor does not turn, replace the motor.


Burner Transformer

Check for 120 VAC to primary of the 24 VAC burner


transformer. If voltage is not present, trace wiring back to the


fuse. If voltage is present, check for 24 VAC at the secondary,


if no secondary voltage is present, replace the transformer.


Centrifugal Switch of

Check for 24 VAC supply to the centrifugal switch of burner


Burner Blower Motor

blower motor (see Schematic for proper wire numbers). If no


voltage is present, trace wiring back to the transformer. If


voltage is present, check for 24 VAC at the output of the


centrifugal switch. If there is no output, and the burner blower


motor is running, replace the burner blower motor.


Ignition Control

Check for 24 VAC supply to the ignition control at terminals


marked 24V and 24Vgnd. If voltage is not present, trace


wiring back to the centrifugal switch. Check for 120VAC


supply to the ignition control at terminals L1 and L2. If no


voltage is present, trace wiring back to fuse. If the above


checks are okay, proceed. The ignition control should switch


120VAC to the hot surface igniter, across the (2) terminals


marked HIS. If no voltage is present, replace the ignition


control.


Hot Surface Igniter

If 120 VAC is present at HSI terminals, visually check to see


(Located inside Burner

that the hot surface igniter is heating (igniter may be viewed


Assy)

through port glass in end of burner tube). The igniter should


glow bright red. Check all connections to be sure they are


tight. If the igniter does not heat, replace.


Ignition Control

After 45 seconds of hot surface igniter pre-heat, the ignition


control will switch 24 VAC to the gas control valves. Check for


24 VAC output from the ignition control, and across terminals


marked "valve" and "valve gnd". If no voltage is present,


replace the ignition control.


NOTE: The ignition control contains a safety lockout circuit. If


a flame is not detected within 6 seconds after the gas control


valve is energized, the ignition control will lockout. To reset,


turn the power switch "off", wait 45 seconds and switch the


system "on" to retry ignition.


Gas Control Valves

Check for 24 VAC supplied to the gas control valves. If


voltage is present, the valves should open. Check for gas


pressure at the pressure tap, located in the gas piping just


prior to the burner. If there is no gas pressure, and the voltage


is supplied to valves, check piping for obstructions. If there


Low Profile – 1600-000-A Advantage Series Service Manual – Domestic

5

Page 5
Image 5
Lincoln 1600 service manual

1600 specifications

The Lincoln 1600, a remarkable offering from Lincoln Electric, stands as a testament to the company's commitment to excellence in welding technology. Designed for professionals and enthusiasts alike, this versatile welding machine boasts a range of features that cater to diverse welding applications.

One of the standout characteristics of the Lincoln 1600 is its robust construction. Built with durability in mind, the machine is engineered to withstand demanding environments, making it a reliable choice for industrial, commercial, and DIY projects. Its compact design enhances portability, allowing welders to easily transport the unit to different job sites without compromising performance.

Equipped with advanced inverter technology, the Lincoln 1600 offers efficient power usage while delivering consistent welding output. The inverter technology not only enhances energy efficiency but also allows for a wider input voltage range, ensuring optimal performance regardless of the power supply available.

Another key feature is its user-friendly interface. The Lincoln 1600 comes with intuitive controls that simplify the setup process, making it accessible for both beginners and experienced welders. The clear display provides real-time feedback on voltage and amperage settings, allowing users to fine-tune their welding parameters for precise results.

The machine supports multiple welding processes, including MIG, TIG, and stick welding. This versatility makes it suitable for a variety of materials, including steel, aluminum, and more, expanding its range of applications. Furthermore, the Lincoln 1600 is compatible with a selection of welding wires and electrodes, giving users the flexibility to choose the best consumables for their projects.

Safety features are also prominent in the Lincoln 1600. The machine is equipped with overcurrent protection and thermal overload shutdown, protecting both the welder and the equipment from damage due to excessive heat or electrical load. These safety measures ensure that users can work confidently, knowing they are safeguarded during operation.

In conclusion, the Lincoln 1600 combines robust construction, advanced technology, and user-centric design to deliver a top-tier welding experience. Its adaptability across multiple welding processes and materials, complemented by essential safety features, positions it as an invaluable tool for anyone serious about welding. Whether for professional or personal use, the Lincoln 1600 is a machine that promises reliability and performance, making it a worthy addition to any welder's arsenal.