|
|
WELDER MOUNTING INSTRUCTIONS
Small SP welder and Weldpak to the Utility Cart
Parts Required:
Part Number | Description | Required |
S19528 | Mounting Clip | 3 |
CF000014 | 3 | |
Lock Washer | 3 | |
CF000017 | 3 |
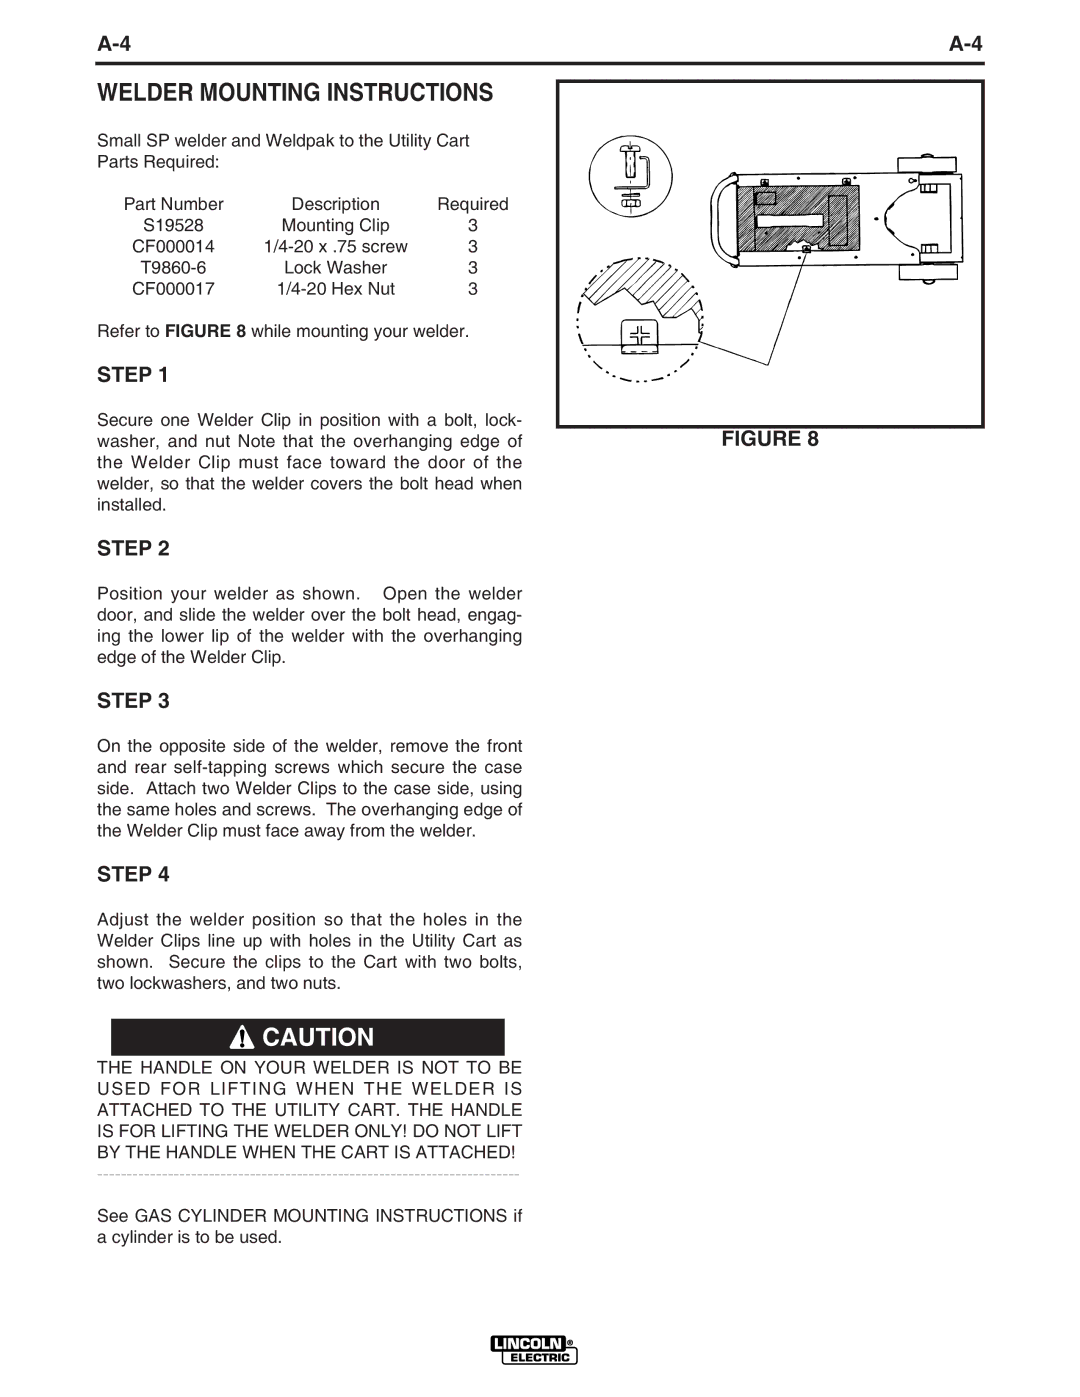
Refer to FIGURE 8 while mounting your welder.
STEP 1
Secure one Welder Clip in position with a bolt, lock-
washer, and nut Note that the overhanging edge ofFIGURE 8 the Welder Clip must face toward the door of the
welder, so that the welder covers the bolt head when installed.
STEP 2
Position your welder as shown. Open the welder door, and slide the welder over the bolt head, engag- ing the lower lip of the welder with the overhanging edge of the Welder Clip.
STEP 3
On the opposite side of the welder, remove the front and rear
STEP 4
Adjust the welder position so that the holes in the Welder Clips line up with holes in the Utility Cart as shown. Secure the clips to the Cart with two bolts, two lockwashers, and two nuts.
![]() CAUTION
CAUTION
THE HANDLE ON YOUR WELDER IS NOT TO BE USED FOR LIFTING WHEN THE WELDER IS ATTACHED TO THE UTILITY CART. THE HANDLE IS FOR LIFTING THE WELDER ONLY! DO NOT LIFT BY THE HANDLE WHEN THE CART IS ATTACHED!
See GAS CYLINDER MOUNTING INSTRUCTIONS if a cylinder is to be used.
