Setting IP access control

The golden rule with this feature is ‘Include before you exclude’ or to put it another way ‘Arrange allowed addresses in the list before the denied addresses’.

This is because the positions of entries in the list are vitally important. Once a range of addresses is denied access, it is not possible to make exceptions for particular addresses within that range. For instance, if the range of addresses from A to F are denied access first, then the address C could not be granted access lower down the list. Address C needs to be placed in the list before the denied range.

IMPORTANT: This feature should be configured with extreme caution as it is possible to deny access to everyone. If such an error occurs, see Clearing IP access control for details about how to regain access.

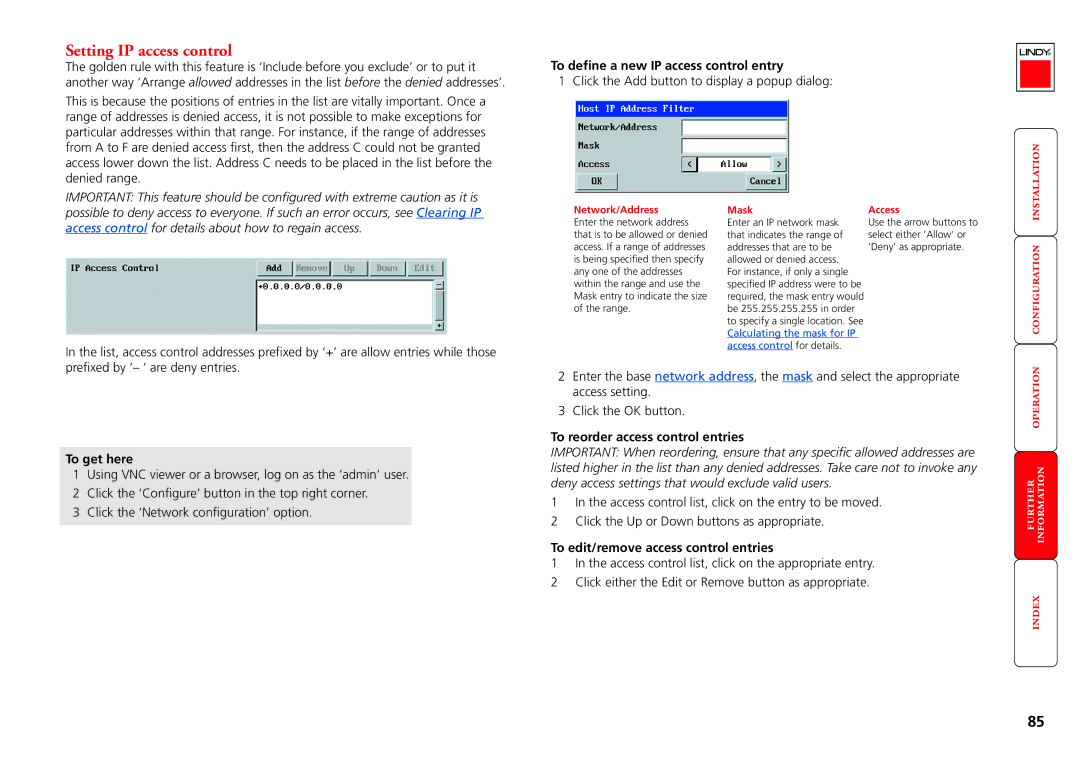
In the list, access control addresses prefixed by ‘+’ are allow entries while those prefixed by ‘– ‘ are deny entries.

To get here

1Using VNC viewer or a browser, log on as the ‘admin’ user.

2 Click the ‘Configure’ button in the top right corner. 3 Click the ‘Network configuration’ option.

To define a new IP access control entry

1 Click the Add button to display a popup dialog:

Network/Address

Mask

Access

Enter the network address

Enter an IP network mask

Use the arrow buttons to

that is to be allowed or denied

that indicates the range of

select either ‘Allow’ or

access. If a range of addresses

addresses that are to be

‘Deny’ as appropriate.

is being specified then specify

allowed or denied access.


any one of the addresses

For instance, if only a single


within the range and use the

specified IP address were to be


Mask entry to indicate the size

required, the mask entry would


of the range.

be 255.255.255.255 in order


to specify a single location. See


Calculating the mask for IP


access control for details.


2Enter the base network address, the mask and select the appropriate access setting.

3 Click the OK button.

To reorder access control entries

IMPORTANT: When reordering, ensure that any specific allowed addresses are listed higher in the list than any denied addresses. Take care not to invoke any deny access settings that would exclude valid users.

1In the access control list, click on the entry to be moved.

2 Click the Up or Down buttons as appropriate.

To edit/remove access control entries

1In the access control list, click on the appropriate entry.

2 Click either the Edit or Remove button as appropriate.

   



85

Page 86
Image 86
Lindy MC5-IP manual Setting IP access control, To define a new IP access control entry, To reorder access control entries

MC5-IP specifications

The Lindy MC5-IP is an innovative and versatile presentation switcher designed for a variety of audiovisual settings, making it ideal for professional environments such as conferences, classrooms, and event spaces. Its primary objective is to provide seamless connectivity and efficient management of multiple video sources, enhancing the overall user experience in presentations and broadcasts.

One of the standout features of the MC5-IP is its capability to handle multiple input formats. It supports HDMI, DisplayPort, and VGA connections, allowing users to easily switch between various devices such as laptops, projectors, and media players. This flexibility promotes a smooth transition during presentations, minimizing downtime and interruptions.

The device is equipped with cutting-edge video processing technology, which ensures high-quality output at resolutions up to 4K. This high definition support is crucial in today’s digital landscape, as it provides crystal-clear images and vibrant colors, essential for impactful presentations. Furthermore, the MC5-IP employs advanced scaling technology that adjusts the output resolution to match the capabilities of the connected display, ensuring optimal visual quality.

Integration capabilities are another highlight of the MC5-IP. It can be easily integrated into existing AV systems and works seamlessly with popular control systems, such as Crestron and AMX. This compatibility allows for centralized control, making it easier for operators to manage video sources, adjust settings, and coordinate multiple displays without the need for complex setups.

In addition, the Lindy MC5-IP features an intuitive user interface that simplifies operation. The device can be controlled via a touch screen, remote control, or web-based application, providing users with convenient options to manage their presentations. The user-friendly design minimizes the learning curve, making it accessible for individuals who may not be tech-savvy.

The MC5-IP also prioritizes reliability and durability. It is built with high-quality components that ensure long-term performance, making it a dependable choice for frequently used environments. Finally, its compact form factor allows for easy transport and installation, catering to the dynamic needs of modern presentation scenarios.

In summary, the Lindy MC5-IP is a robust presentation switcher designed with professionalism in mind. Its versatility, high-resolution support, integration options, user-friendly interface, and durability make it an essential tool for anyone looking to enhance their AV presentations.