Linksys E2000
Status Policies are disabled by default.. To enable a policy, select the policy number from the
To create a policy, follow steps
1.Select a number from the Access Policy
2.Enter a Policy Name in the field provided..
3.To enable this policy, select Enabled..
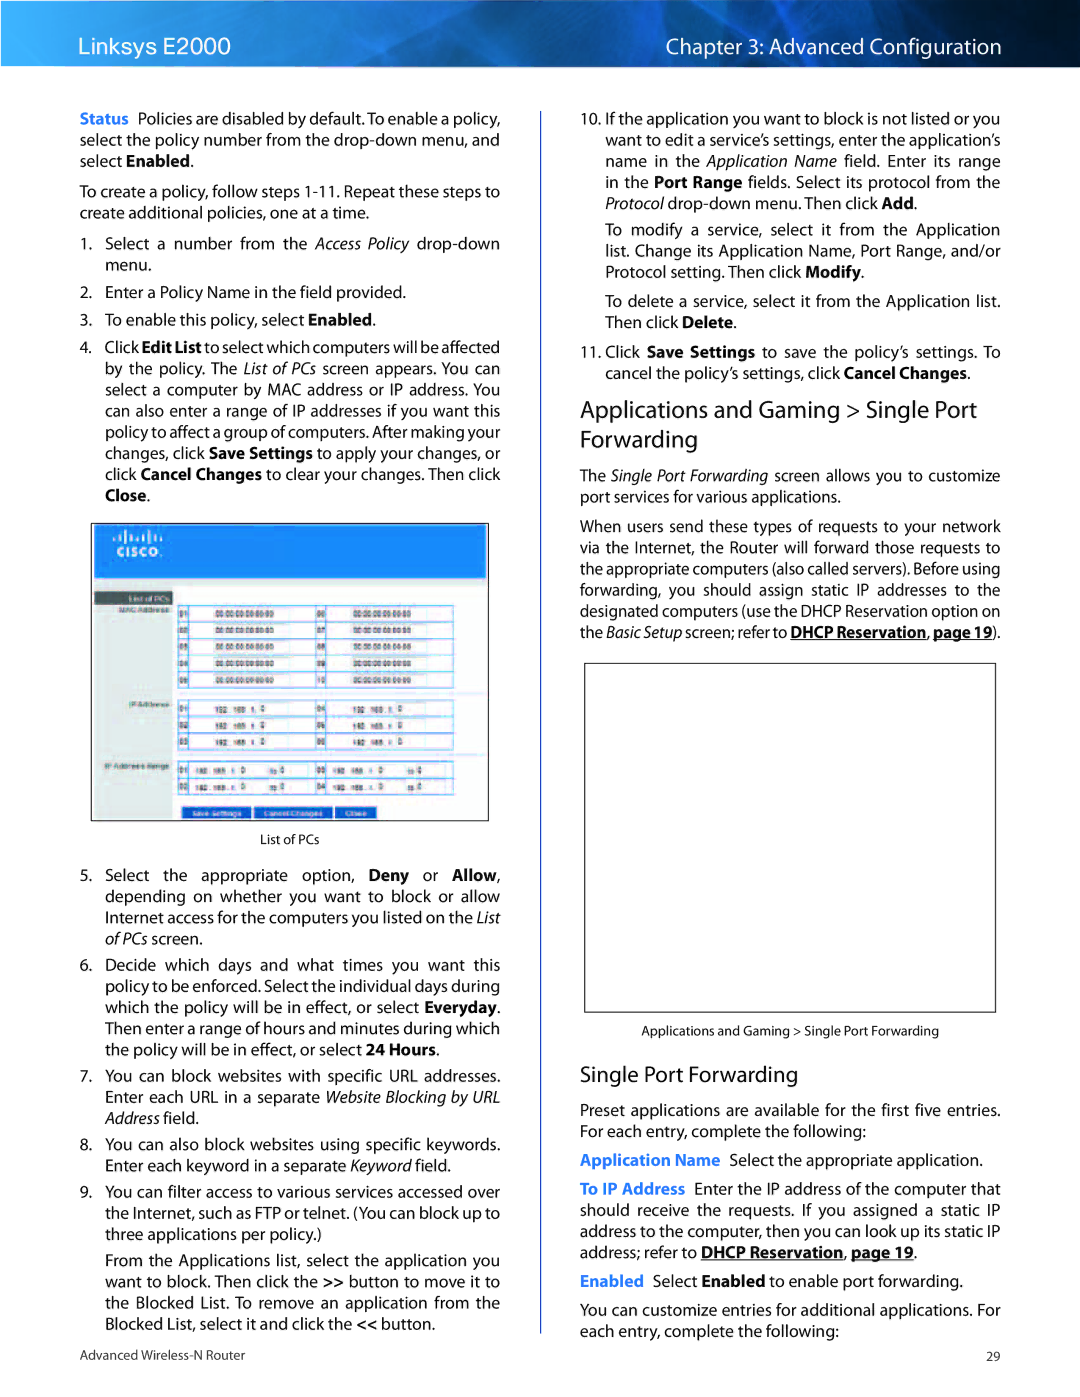
4.Click Edit List to select which computers will be affected by the policy.. The List of PCs screen appears.. You can select a computer by MAC address or IP address.. You can also enter a range of IP addresses if you want this policy to affect a group of computers.. After making your changes, click Save Settings to apply your changes, or click Cancel Changes to clear your changes.. Then click Close..
List of PCs
5.Select the appropriate option, Deny or Allow, depending on whether you want to block or allow Internet access for the computers you listed on the List of PCs screen..
6.Decide which days and what times you want this policy to be enforced.. Select the individual days during which the policy will be in effect, or select Everyday.. Then enter a range of hours and minutes during which the policy will be in effect, or select 24 Hours..
7.You can block websites with specific URL addresses.. Enter each URL in a separate Website Blocking by URL Address field..
8.You can also block websites using specific keywords.. Enter each keyword in a separate Keyword field..
9.You can filter access to various services accessed over the Internet, such as FTP or telnet.. (You can block up to three applications per policy..)
From the Applications list, select the application you want to block.. Then click the >> button to move it to the Blocked List.. To remove an application from the Blocked List, select it and click the << button..
Chapter 3: Advanced Configuration
10.If the application you want to block is not listed or you want to edit a service’s settings, enter the application’s name in the Application Name field.. Enter its range in the Port Range fields.. Select its protocol from the Protocol
To modify a service, select it from the Application list.. Change its Application Name, Port Range, and/or Protocol setting.. Then click Modify..
To delete a service, select it from the Application list.. Then click Delete..
11.Click Save Settings to save the policy’s settings.. To cancel the policy’s settings, click Cancel Changes..
Applications and Gaming > Single Port Forwarding
The Single Port Forwarding screen allows you to customize port services for various applications..
When users send these types of requests to your network via the Internet, the Router will forward those requests to the appropriate computers (also called servers).. Before using forwarding, you should assign static IP addresses to the designated computers (use the DHCP Reservation option on the Basic Setup screen; refer to DHCP Reservation, page 19)..
Applications and Gaming > Single Port Forwarding
Single Port Forwarding
Preset applications are available for the first five entries.. For each entry, complete the following:
Application Name Select the appropriate application..
To IP Address Enter the IP address of the computer that should receive the requests.. If you assigned a static IP address to the computer, then you can look up its static IP address; refer to DHCP Reservation, page 19..
Enabled Select Enabled to enable port forwarding..
You can customize entries for additional applications.. For each entry, complete the following:
Advanced | 29 |