Instant WirelessTM Series
Chapter 4: Connecting the
Wireless Access Point
1.Locate an optimum location for the Access Point. The best place for the Access Point is usually at the center of your wireless network, with line of sight to all of your mobile stations.
2.Fix the direction of the antenna. Try to place it in a position which can best cover your wireless network. Normally, the higher you place the anten- na, the better the performance will be. The antenna’s position enhances the receiving sensitivity.
3.Connect a standard Ethernet network cable to the Access Point. Then, connect the other end of the Ethernet cable to a switch or hub. The Access Point will then be connected to your 10/100 Network.
4.Connect the AC Power Adapter to the Access Point’s Power Socket. Only use the power adapter supplied with the Access Point. Use of a differ- ent adapter may result in product damage.
Now that the hardware installation is complete, proceed to Chapter 5: Configuring the Wireless Access Point for directions on how to setup the Access Point.
Note: In order for all other wireless devices to communicate with the Access Point, those devices must be operating in the Infrastructure Mode. If any wireless devices are configured in the Ad Hoc Mode, they will not be recognized by the Access Point.
Instant WirelessTM Series
Chapter 5: Configuring the Wireless Access Point
Important: Before configuring the Access Point, be sure to set up the TCP/IP protocol on your wireless PCs. If this has not already been done, please refer to Appendix B: Setting Up the TCP/IP Protocol.
The Access Point has been designed to be functional right out of the box, with its default settings. However, if you’d like to change these settings, the Access Point can be configured through your web browser with the
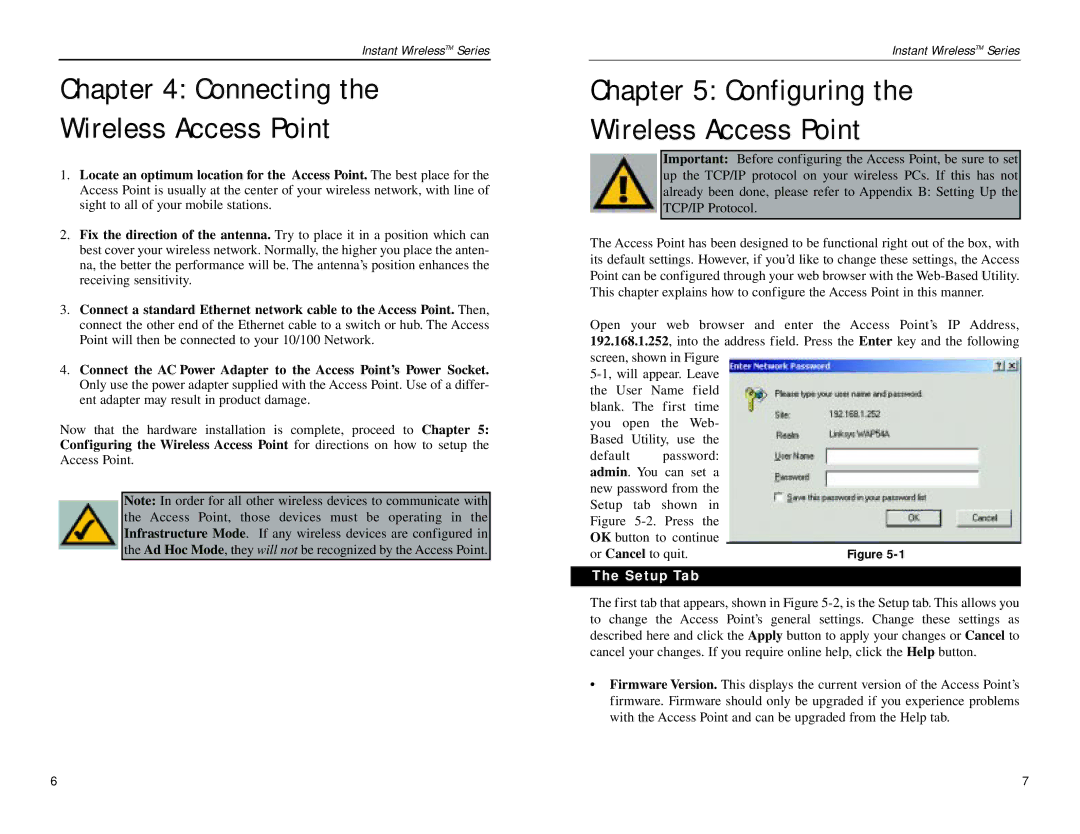
Open your web browser and enter the Access Point’s IP Address, 192.168.1.252, into the address field. Press the Enter key and the following screen, shown in Figure
default password: admin. You can set a new password from the Setup tab shown in Figure
The Setup Tab
The first tab that appears, shown in Figure
•Firmware Version. This displays the current version of the Access Point’s firmware. Firmware should only be upgraded if you experience problems with the Access Point and can be upgraded from the Help tab.
6 | 7 |