TM
of the speaker, use a piece of bat insulation at least 3 inches thick in the stud cavity. This insulation should not have a backing or if it does, the backing must be installed facing away from the speaker. The insulation should extend about 2 ft. on either side of the speaker opening.
Do not install speakers in outside walls, stud cavities containing 120/240V appliances, within 18 inches of dimmers, security wiring and other control wiring.
Speaker Installation for New Construction
Ceiling Speakers
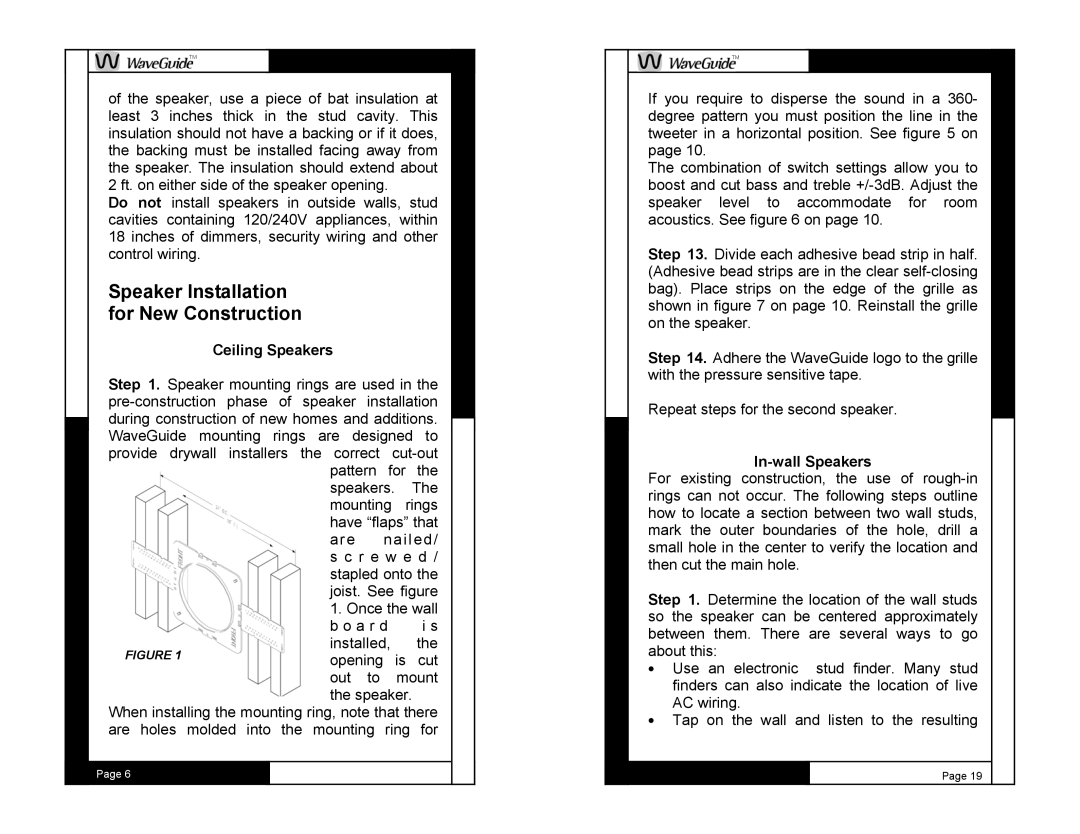
Step 1. Speaker mounting rings are used in the
| pattern | for the | ||
| speakers. | The | ||
| mounting | rings | ||
| have “flaps” that | |||
| are | nailed/ | ||
| s c r e w e d / | |||
| stapled onto the | |||
| joist. See figure | |||
| 1. Once the wall | |||
| b o a r d | i s | ||
| installed, | the | ||
FIGURE 1 | ||||
opening |
| is cut | ||
|
| |||
| out to |
| mount | |
the speaker.
When installing the mounting ring, note that there are holes molded into the mounting ring for
Page 6
TM
If you require to disperse the sound in a 360- degree pattern you must position the line in the tweeter in a horizontal position. See figure 5 on page 10.
The combination of switch settings allow you to boost and cut bass and treble
Step 13. Divide each adhesive bead strip in half. (Adhesive bead strips are in the clear
Step 14. Adhere the WaveGuide logo to the grille with the pressure sensitive tape.
Repeat steps for the second speaker.
In-wall Speakers
For existing construction, the use of
Step 1. Determine the location of the wall studs so the speaker can be centered approximately between them. There are several ways to go about this:
•Use an electronic stud finder. Many stud finders can also indicate the location of live AC wiring.
•Tap on the wall and listen to the resulting
Page 19