TM
tabs (see figure 2), such as the M&S Systems MS16X, for attachment to the speakers after the dry wall has been installed. Leave at least 18 inches additional cable for the connection during final speaker installation. Run the other end of the speaker cable to the audio source.
NOTE: Make a drawing of each speaker location. This will assist you in locating the wires if they have been covered after the wall board has been installed.
Step 3. This is the
Step 4. Follow the instructions included with the volume control and amplifier.
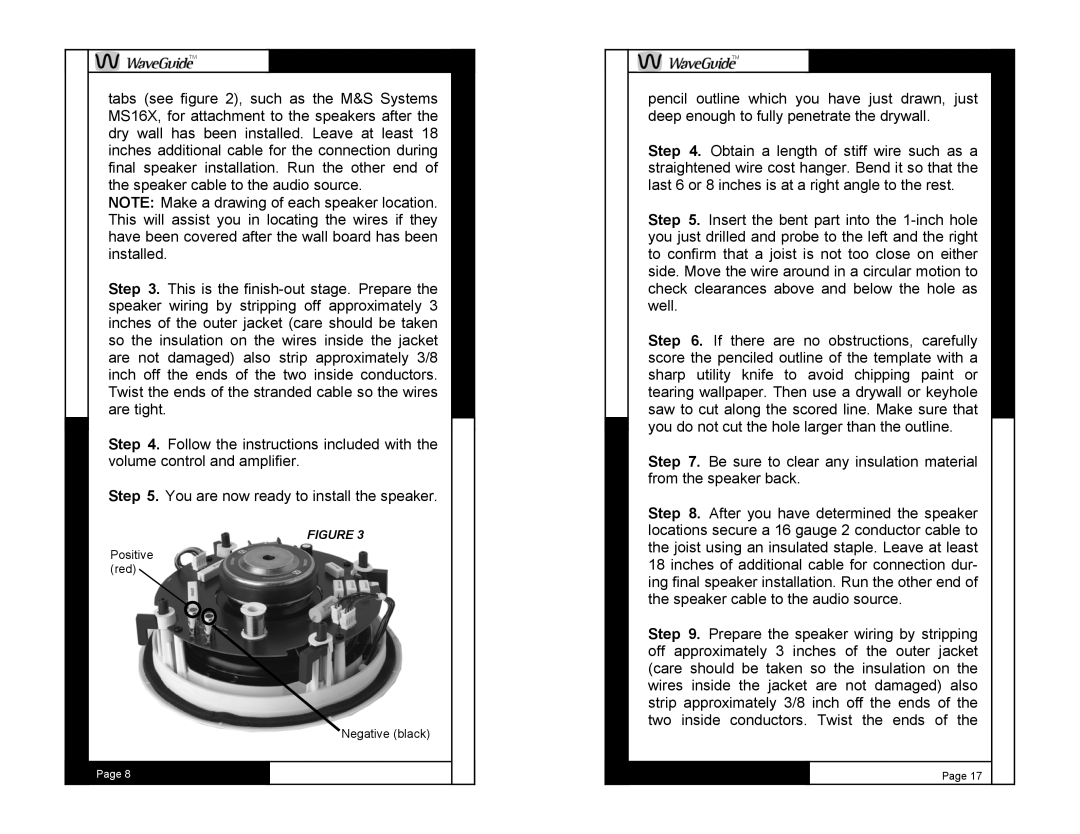
Step 5. You are now ready to install the speaker.
FIGURE 3
Positive (red)
Negative (black)
Page 8
TM
pencil outline which you have just drawn, just deep enough to fully penetrate the drywall.
Step 4. Obtain a length of stiff wire such as a straightened wire cost hanger. Bend it so that the last 6 or 8 inches is at a right angle to the rest.
Step 5. Insert the bent part into the
Step 6. If there are no obstructions, carefully score the penciled outline of the template with a sharp utility knife to avoid chipping paint or tearing wallpaper. Then use a drywall or keyhole saw to cut along the scored line. Make sure that you do not cut the hole larger than the outline.
Step 7. Be sure to clear any insulation material from the speaker back.
Step 8. After you have determined the speaker locations secure a 16 gauge 2 conductor cable to the joist using an insulated staple. Leave at least 18 inches of additional cable for connection dur- ing final speaker installation. Run the other end of the speaker cable to the audio source.
Step 9. Prepare the speaker wiring by stripping off approximately 3 inches of the outer jacket (care should be taken so the insulation on the wires inside the jacket are not damaged) also strip approximately 3/8 inch off the ends of the two inside conductors. Twist the ends of the
Page 17