TM
Speaker Installation
for Existing Construction
Ceiling Speakers
For existing construction, the use of mounting rings can not occur. The following steps outline how to locate a section between two joists, mark the outer boundaries of the hole, drill a small hole in the center to verify the location and then cut the main hole.
Step 1. Determine the location of the joists so the speaker can be centered approximately between them. There are several ways to go about this:
•Use an electronic stud finder. Many finders can also indicate the location of live AC wiring.
•Tap on the wall and listen to the resulting sound. When the sound is deeper and more hollow sounding, you are between joists. When the sound is sharper and more flat sounding, you are close or over a stud.
•Identify joists by the position of electrical light fixtures. There may be a joist directly to the left or right of these electrical fixture. This gives you a point of measurement since joists are either 24 or 16 inches on center in newer houses, 12 inches in older homes.
Step 2. When you are sure of where the ceiling’s joists are (and are completely sure there isn’t an electrical cable, water pipe or heating duct in that vicinity of the wall), position the cardboard mounting template, and draw around the outer perimeter with a pencil.
Step 3. Drill a
Page 16
TM
Remove the paint mask from the baffle. Be careful not to touch the speaker cones and tweeter when removing the paint mask in order to prevent any damage. Attach the speaker cable to the speaker by pressing down on the red (+) or black
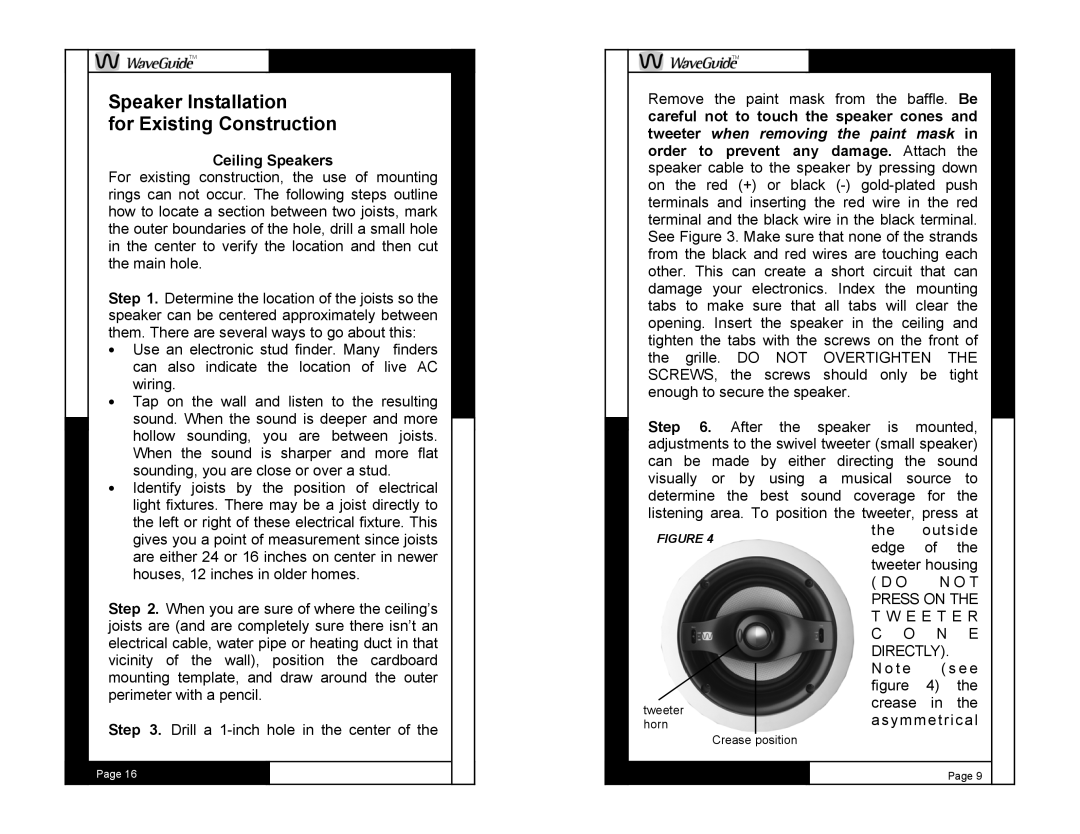
Step 6. After the speaker is mounted, adjustments to the swivel tweeter (small speaker) can be made by either directing the sound visually or by using a musical source to determine the best sound coverage for the listening area. To position the tweeter, press at
| FIGURE 4 | the | outside |
| ||
| edge | of | the |
| ||
|
|
|
| |||
|
|
| tweeter housing |
| ||
|
|
| ( D O | N O T |
| |
|
|
| PRESS ON THE |
| ||
|
|
| T W E E T E R |
| ||
|
|
| C O | N | E |
|
|
|
| DIRECTLY). |
| ||
|
|
| N o t e | ( s e e |
| |
|
|
|
| |||
|
|
| figure | 4) | the |
|
| tweeter |
| crease | in | the |
|
|
| asymmetrical |
| |||
| horn |
|
| |||
| Crease | position |
|
|
|
|
|
|
|
|
|
|
|
|
|
|
|
| Page 9 |
|