TM
touching each other. This can create a short circuit that can damage your electronics. Mount the baffle using the 6 screws provided. DO NOT OVERTIGHTEN THE SCREWS, the screws should on only be tight enough to secure the speaker.
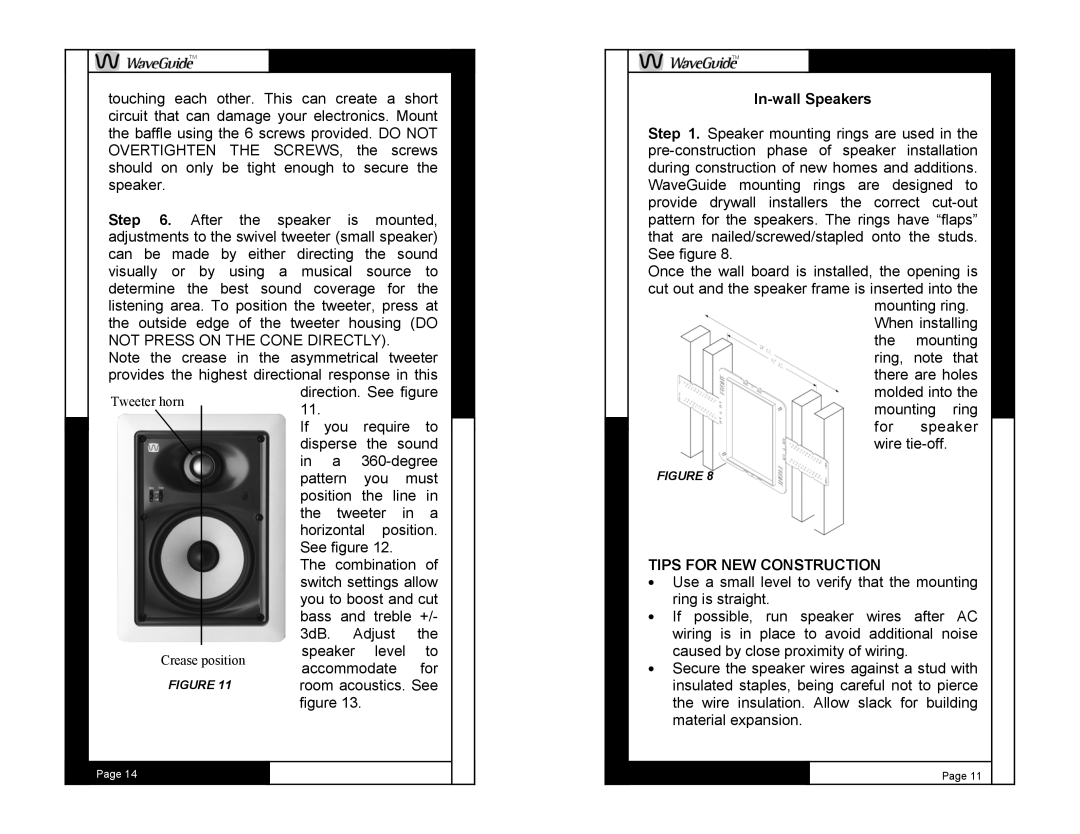
Step 6. After the speaker is mounted, adjustments to the swivel tweeter (small speaker) can be made by either directing the sound visually or by using a musical source to determine the best sound coverage for the listening area. To position the tweeter, press at the outside edge of the tweeter housing (DO
NOT PRESS ON THE CONE DIRECTLY).
Note the crease in the asymmetrical tweeter provides the highest directional response in this direction. See figure
11.
If you require to disperse the sound in a
The combination of switch settings allow you to boost and cut bass and treble +/- 3dB. Adjust the speaker level to accommodate for room acoustics. See figure 13.
Page 14
TM
In-wall Speakers
Step 1. Speaker mounting rings are used in the
Once the wall board is installed, the opening is cut out and the speaker frame is inserted into the
mounting ring. When installing the mounting ring, note that there are holes molded into the mounting ring for speaker wire
FIGURE 8
TIPS FOR NEW CONSTRUCTION
•Use a small level to verify that the mounting ring is straight.
•If possible, run speaker wires after AC wiring is in place to avoid additional noise caused by close proximity of wiring.
•Secure the speaker wires against a stud with insulated staples, being careful not to pierce the wire insulation. Allow slack for building material expansion.
Page 11