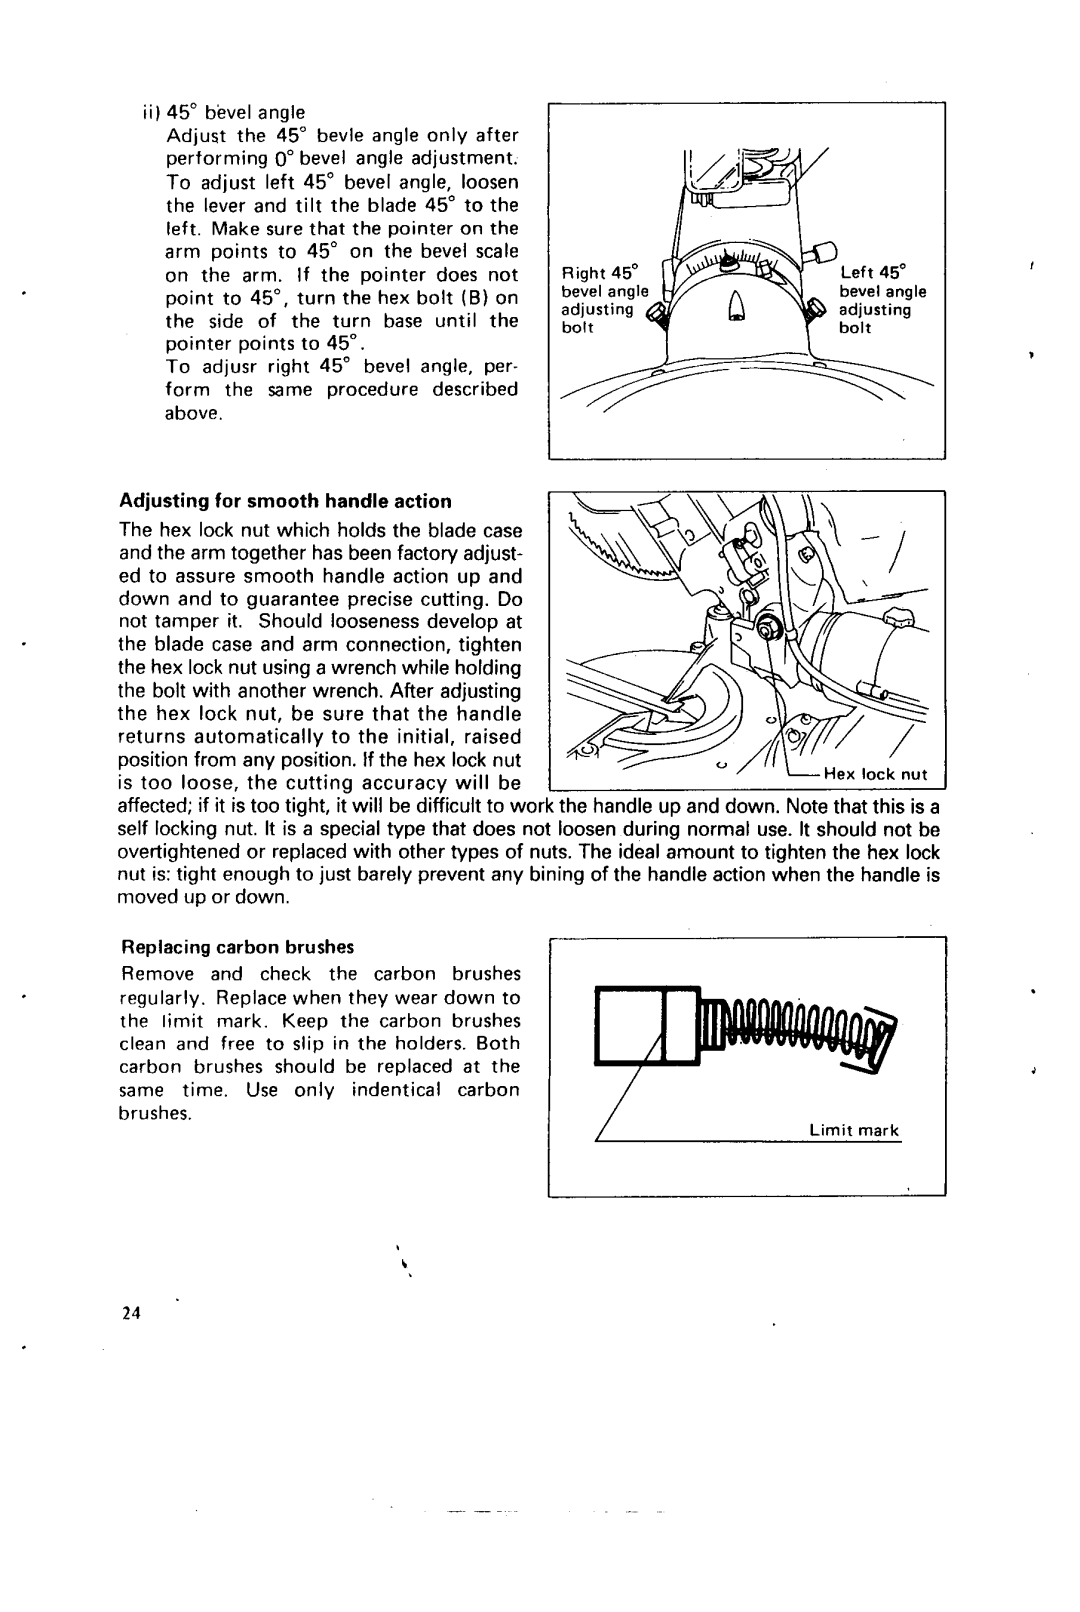
ii) 45" bevel angle |
|
|
Adjust the 45" bevle angle only after |
|
|
performing 0"bevel angle adjustment. |
|
|
To adjust left 45" bevel angle, loosen |
|
|
the lever and tilt the blade 45" to the |
|
|
left. Make sure that the pointer on the |
|
|
arm points to 45" on the bevel scale | Right 45" | Left 45" |
on the arm. If the pointer does not | ||
point to 45". turn the hex bolt (€3)on | bevel angl | bevel angle |
the side of the turn base until the | adjusting | adjusting |
bolt | bolt | |
pointer points to 45". |
|
|
To adjusr right 45" bevel angle, per- |
|
|
form the same procedure described |
|
|
above. |
|
|
Adjusting for smooth handle action
The hex lock nut which holds the blade case and the arm together has been factory adjust- ed to assure smooth handle action up and down and to guarantee precise cutting. Do not tamper it. Should looseness develop at the blade case and arm connection, tighten the hex lock nut using a wrench while holding the bolt with another wrench. After adjusting the hex lock nut, be sure that the handle returns automatically to the initial, raised position from any position. If the hex lock nut is too loose, the cutting accuracy will be
affected; if it is too tight, it will be difficult to work the handle up and down. Note that this is a self locking nut. It is a special type that does not loosen during normal use. It should not be overtightened or replaced with other types of nuts. The ideal amount to tighten the hex lock nut is: tight enough to just barely prevent any bining of the handle action when the handle is moved up or down.
Replacing carbon brushes
Remove and check the carbon brushes regularly. Replacewhen they wear down to the limit mark. Keep the carbon brushes clean and free to slip in the holders. Both
carbon brushes should be replaced at theJ same time. Use only indentical carbon
brushes.
24
