SR-14EX specifications
The Marantz SR-14EX is a renowned home theater receiver that has garnered acclaim for its superb audio performance and rich feature set. Launched as part of Marantz's commitment to high-fidelity sound, the SR-14EX is designed to elevate both music and movie experiences for audiophiles and casual listeners alike.At the heart of the SR-14EX is its powerful amplification system. With 140 watts per channel across its seven channels, this receiver can drive a variety of speaker configurations, delivering clear, detailed sound even at high volumes. The receiver supports various surround sound formats, including Dolby Digital, DTS, and DTS 96/24, ensuring immersive audio for cinematic experiences. Its robust power supply contributes to lower distortion levels, resulting in clean and dynamic playback.
One of the standout features of the Marantz SR-14EX is its advanced digital signal processing capabilities. The receiver is equipped with the acclaimed Marantz audio technologies, including the proprietary HDAM (Hyper Dynamic Amplifier Module) circuitry, which is designed to minimize signal loss and improve sound quality. This ensures that whether you’re watching a movie or listening to your favorite music, the sound quality remains premium and true to the original recording.
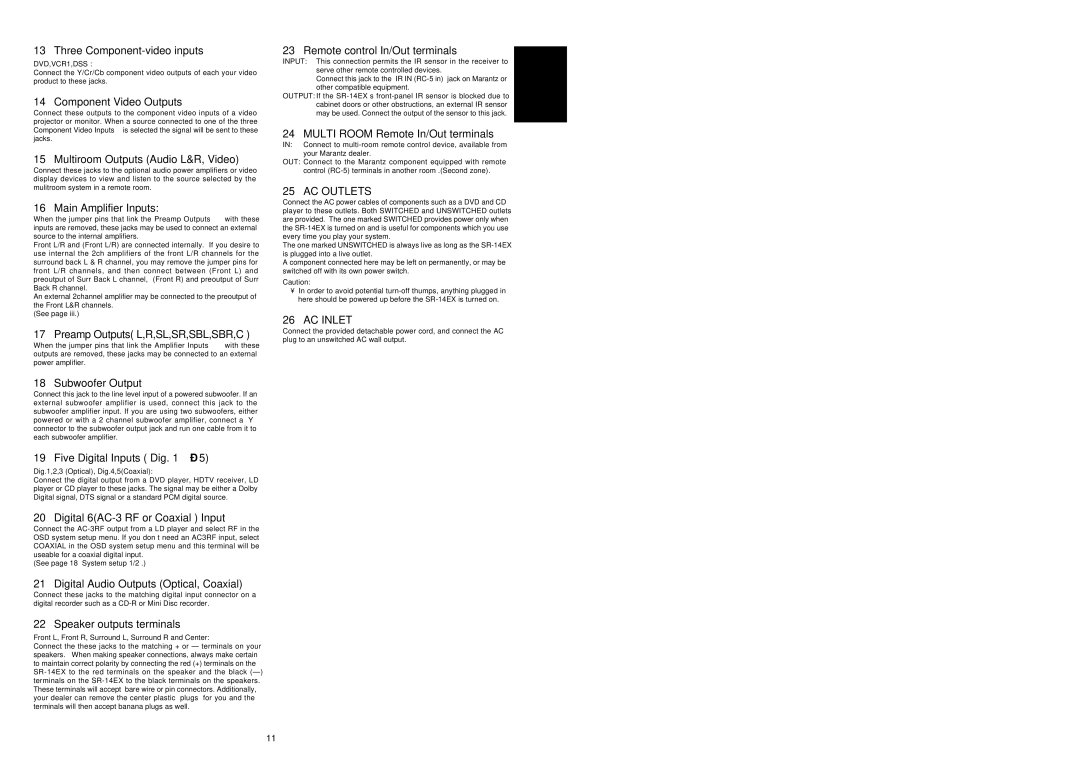
The SR-14EX also boasts a comprehensive array of connectivity options. It includes multiple HDMI inputs and outputs, accommodating a range of high-definition devices, from Blu-ray players to gaming consoles. This versatility extends to analog and digital audio inputs, enabling integration with legacy equipment as well as modern streaming sources. The receiver even features full multi-room audio capabilities, allowing users to enjoy music in different zones of their home.
Further enhancing user experience, the receiver includes an intuitive on-screen display and setup assistant to simplify installation and configuration. This, paired with an ergonomic remote control, empowers users to customize their audio settings with ease. The Marantz SR-14EX balances versatility and performance, making it an ideal choice for those seeking a high-end home theater experience.
In summary, the Marantz SR-14EX represents a blend of cutting-edge technology with a time-honored commitment to sound quality. Its powerful amplification, advanced signal processing, extensive connectivity, and user-friendly interface all contribute to its reputation as a leading choice for home entertainment systems, making every listening experience one to remember.
