N26 specifications
The Mark Levinson N26 is a distinguished high-performance audio component that showcases the brand's commitment to exquisite sound quality and advanced technology. Renowned for its exceptional engineering, the N26 is an integral part of any audiophile's setup, offering a combination of precision, elegance, and power.At its core, the N26 is a state-of-the-art stereo preamplifier that delivers uncompromising audio performance. One of its primary features is the use of a fully differential signal path, which helps to minimize noise and distortion, ensuring pristine sound reproduction across all frequency ranges. This technology contributes to the unit's ability to deliver an expansive soundstage, allowing listeners to experience music with remarkable clarity and depth.
Another standout characteristic of the N26 is its versatile connectivity options. It is equipped with a variety of analog and digital inputs, including XLR and RCA connectors, as well as high-resolution digital inputs that support audio formats up to 24-bit/192kHz. This ensures seamless integration with a wide range of source components, from vinyl turntables to high-definition streaming devices.
The preamplifier’s user-friendly interface is another highlight. The N26 features a dedicated OLED display that provides clear visibility of settings and source selections. Additionally, the intuitive remote control allows for easy adjustments from anywhere in the room, making it convenient for users to enjoy their audio experience without hassle.
Mark Levinson's dedication to build quality is evident in the N26’s design. The chassis is crafted from premium materials that not only enhance its aesthetic appeal but also contribute to its overall durability. The component is engineered to minimize resonance and vibration, further enhancing sound quality.
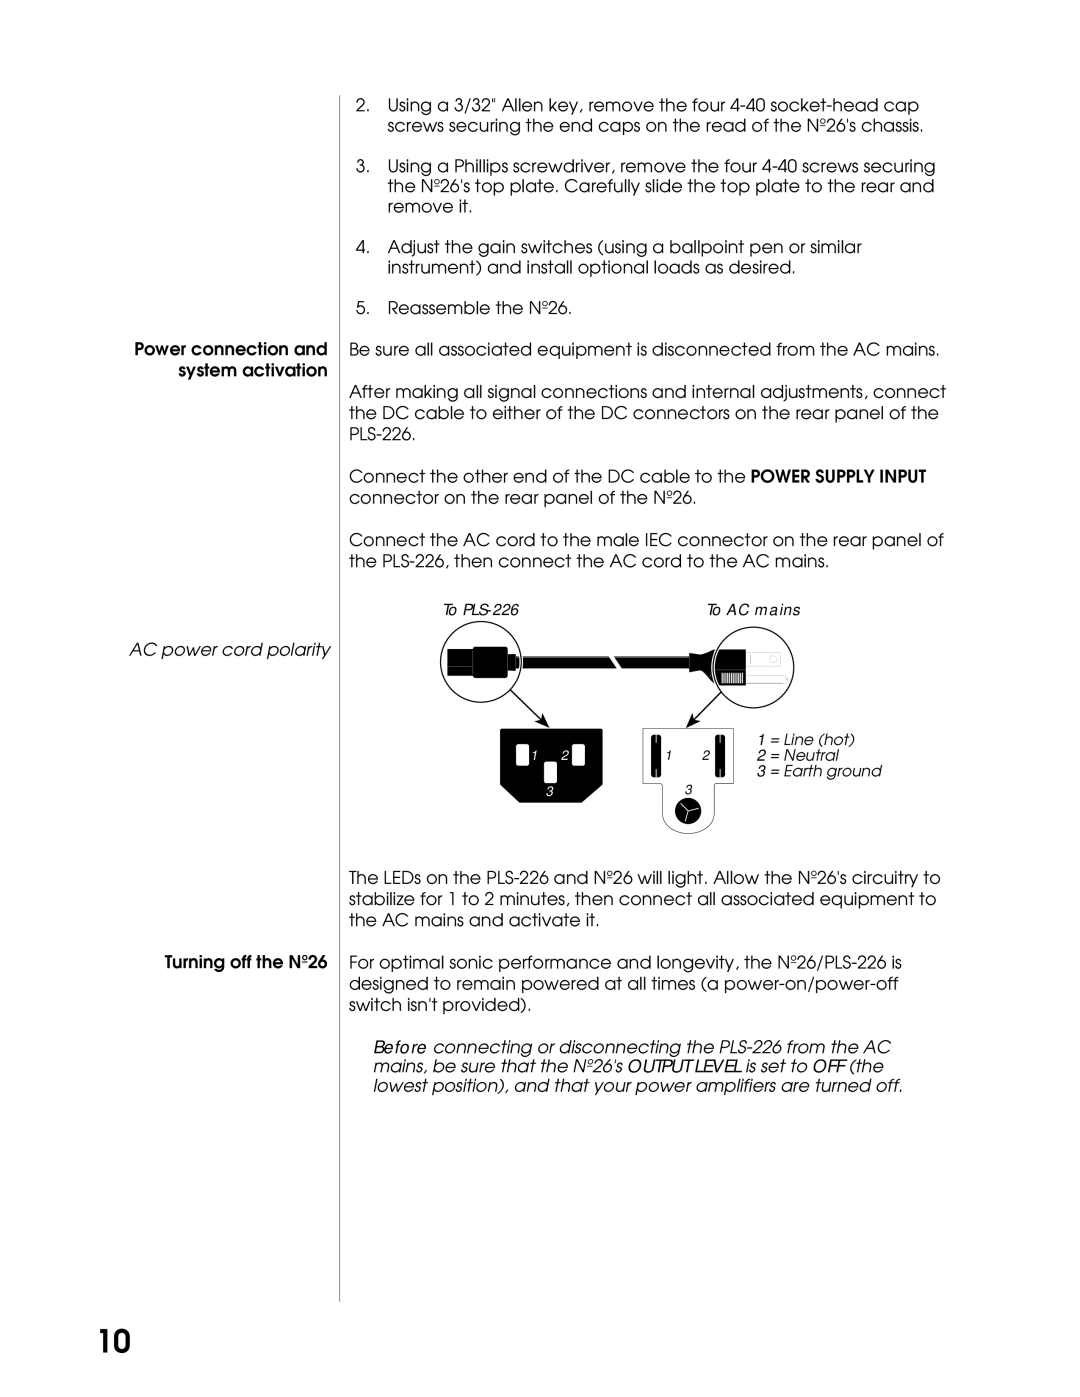
In terms of power management, the N26 employs advanced power supply technologies that help to maintain stability and performance even during dynamic playback. This is crucial for handling complex musical passages without compromising clarity or detail.
Overall, the Mark Levinson N26 represents a perfect fusion of artistry and technology, making it a desirable option for audio enthusiasts looking to elevate their listening experience. With its advanced features, versatile connectivity, and stunning performance, the N26 stands out as a premier choice for those who demand nothing less than the best in audio reproduction.

