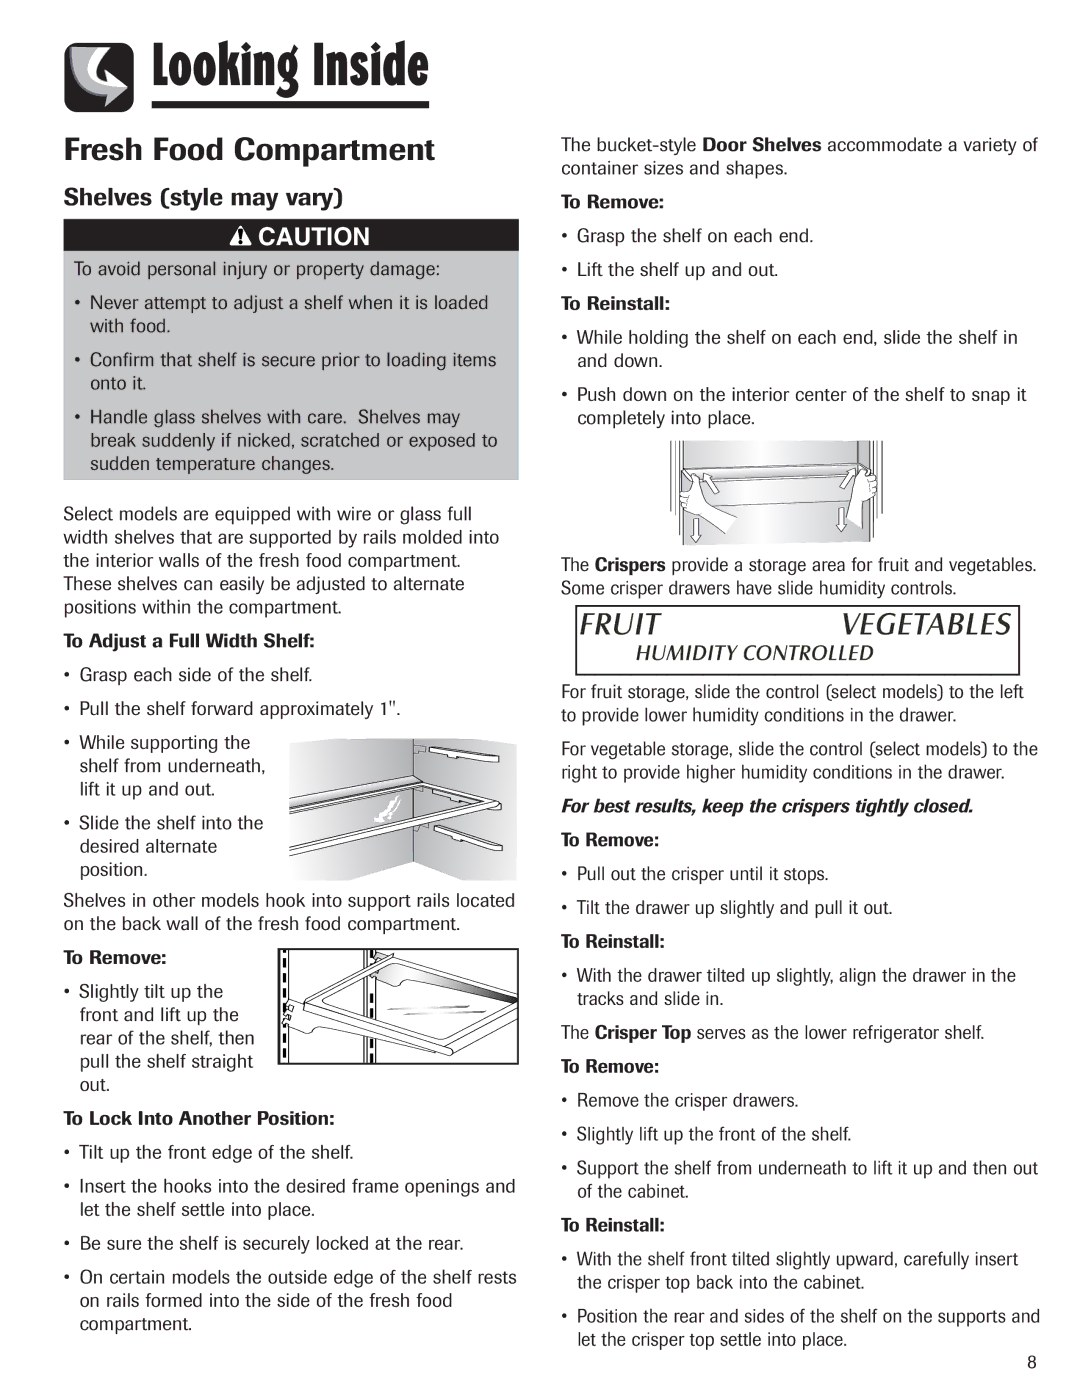
Looking Inside
Fresh Food Compartment
Shelves (style may vary)
![]() CAUTION
CAUTION
To avoid personal injury or property damage:
•Never attempt to adjust a shelf when it is loaded with food.
•Confirm that shelf is secure prior to loading items onto it.
•Handle glass shelves with care. Shelves may break suddenly if nicked, scratched or exposed to sudden temperature changes.
Select models are equipped with wire or glass full width shelves that are supported by rails molded into the interior walls of the fresh food compartment. These shelves can easily be adjusted to alternate positions within the compartment.
To Adjust a Full Width Shelf:
•Grasp each side of the shelf.
•Pull the shelf forward approximately 1".
•While supporting the shelf from underneath,
lift it up and out.
•Slide the shelf into the desired alternate position.
Shelves in other models hook into support rails located on the back wall of the fresh food compartment.
To Remove:
• Slightly tilt up the front and lift up the rear of the shelf, then pull the shelf straight out.
To Lock Into Another Position:
•Tilt up the front edge of the shelf.
•Insert the hooks into the desired frame openings and let the shelf settle into place.
•Be sure the shelf is securely locked at the rear.
•On certain models the outside edge of the shelf rests on rails formed into the side of the fresh food compartment.
The
To Remove:
•Grasp the shelf on each end.
•Lift the shelf up and out.
To Reinstall:
•While holding the shelf on each end, slide the shelf in and down.
•Push down on the interior center of the shelf to snap it completely into place.
The Crispers provide a storage area for fruit and vegetables. Some crisper drawers have slide humidity controls.
For fruit storage, slide the control (select models) to the left to provide lower humidity conditions in the drawer.
For vegetable storage, slide the control (select models) to the right to provide higher humidity conditions in the drawer.
For best results, keep the crispers tightly closed.
To Remove:
•Pull out the crisper until it stops.
•Tilt the drawer up slightly and pull it out.
To Reinstall:
•With the drawer tilted up slightly, align the drawer in the tracks and slide in.
The Crisper Top serves as the lower refrigerator shelf.
To Remove:
•Remove the crisper drawers.
•Slightly lift up the front of the shelf.
•Support the shelf from underneath to lift it up and then out of the cabinet.
To Reinstall:
•With the shelf front tilted slightly upward, carefully insert the crisper top back into the cabinet.
•Position the rear and sides of the shelf on the supports and let the crisper top settle into place.
8