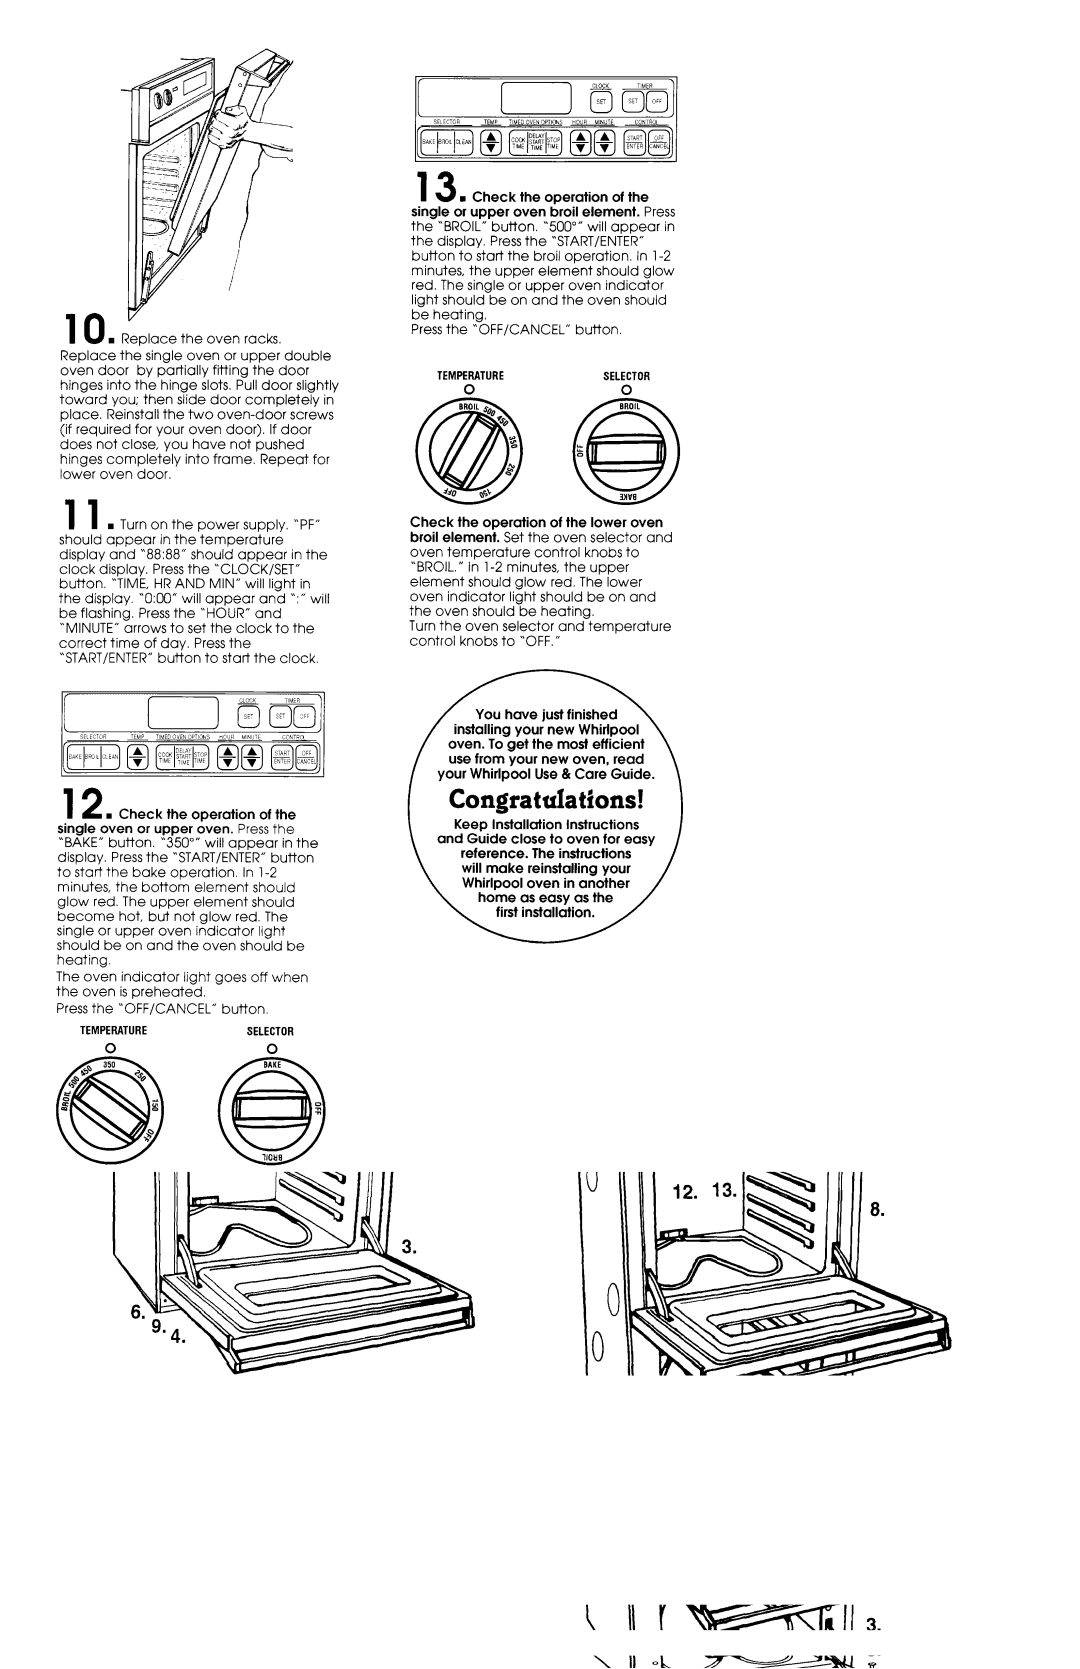
Replace the oven racks. Replace the single oven or upper double oven door by partially fitting the door hinges into the hinge slots. Pull door slightly toward you; then slide door completely in place. Reinstall the two oven-door screws (if required for your oven door). If door does not close, you have not pushed hinges completely into frame. Repeat for lower oven door.

11n Turn on the power supply. ‘PF” should appear in the’temperature

display and “88:88” should appear in the clock display. Press the “CLOCK/SET” button. ‘TIME, HR AND MIN” will light in the display. ‘0:OO” will appear and “:”will be flashing. Press the “HOUR” and “MINUTE” arrows to set the clock to the correct time of day. Press the “START/ENTER” button to start the clock.

12n Check the operation of the single oven or upper oven. Press the “BAKE” but-ton. ‘350”” will appear in the display. Press the “START/ENTER” button to start the bake operation. In 1-2 minutes, the bottom element should glow red. The upper element should become hot, but not glow red. The single or upper oven indicator light should be on and the oven should be heating.

The oven indicator light goes off when the oven is preheated.

Press the “OFF/CANCEL” button,

TEMPERATURESELECTOR

00-

Check the operation of the lower oven. Set the oven selector control knob to ‘BAKE.” Set the oven temperature control knob to “350°F.” In l-2 minutes, the bottom element should glow red. The upper element should become hot, but not glow red. The lower oven indicator light should be on and the oven should be heating.

The oven indicator light goes off when the oven is preheated.

Turn the oven selector and temperature control knobs to ‘OFF.”

13n Check the operation of the single or upper oven broil element. Press the “BROIL” button. “500”” will appear in the display. Press the ‘START/ENTER” button to start the broil operation. In l-2 minutes, the upper element should glow red. The single or upper oven indicator light should be on and the oven should

be heating.


Press the “OFF/CANCEL”

button.

TEMPERATURE

SELECTOR

0

0

Check the operation of the lower oven broil element. Set the oven selector and oven temperature control knobs to “BROIL.” In l-2 minutes, the upper element should glow red. The lower oven indicator light should be on and the oven should be heating.

Turn the oven selector and temperature control knobs to “OFF.”

You have just finished

installing your new Whirlpool oven. To get the most efficient use from your new oven, read

f your Whirlpool Use & Care Guide.

I Congratulations! I

and Guide close to oven for easy

~~~~~~~

Panel E

Page 6
Image 6
Maytag 3183636 installation instructions Guide close to oven for easy ~~~~~~~

3183636 specifications

The Maytag 3183636 is a highly acclaimed component specifically designed for various Maytag appliances, particularly in the realm of laundry solutions. Known for its durability and reliability, this part plays a critical role in ensuring optimal performance and user satisfaction.

One of the standout features of the Maytag 3183636 is its robust construction. It is engineered to withstand the rigors of daily use, providing users with peace of mind that they can depend on their appliance to function seamlessly over the long term. Made from high-quality materials, the part is resistant to wear and tear, making it a smart investment for those looking to maintain the longevity of their washing machines or dryers.

In terms of compatibility, the Maytag 3183636 is designed to fit several models, making it a versatile option for consumers. This compatibility means that users do not have to worry about whether this part will function with their particular appliance, as it is suitable for a wide range of Maytag units. This adaptability is a significant advantage in households that value efficiency and convenience.

One notable technological advancement is its integration with the manufacturer's commitment to energy efficiency and eco-friendly designs. The Maytag 3183636 supports these initiatives by enabling appliances to operate more efficiently, thus reducing energy consumption. This not only contributes to lower utility bills but also aligns with contemporary environmental standards.

Another characteristic of the Maytag 3183636 is its ease of installation. Designed with the user in mind, it features a straightforward design that allows for quick and hassle-free replacement. This feature is especially beneficial for homeowners who prefer to conduct their own repairs rather than hire a professional. The clear instructions that accompany the product further simplify the installation process, giving users confidence in their ability to manage appliance maintenance.

Overall, the Maytag 3183636 represents a blend of innovation, durability, and user-friendliness. With its well-thought-out features and technologies, it not only enhances the performance of Maytag appliances but also embodies the brand's commitment to quality and customer satisfaction. Whether you are in need of a replacement part or looking to ensure the continued efficiency of your laundry appliances, the Maytag 3183636 stands out as an excellent choice for consumers.