Instructions for Installation (cont’d)
Wiring
![]() CAUTION
CAUTION
Never use this water heater unless it is completely full of water. To prevent damage to the tank and heating element, the tank must be filled with water. Water must flow from the hot water faucet before turning on power.
You must provide all wiring of the proper size outside of the water heater. You must obey local codes and electric company requirements when you install this wiring.
If you are not familiar with electric codes and practices, or if you have any doubt, even the slightest doubt, in your ability to connect the wiring to this water heater, obtain the service of a competent electrician. Call Maytag Customer Service at
![]() WARNING
WARNING
WATER HEATERS EQUIPPED FOR ONE VOLTAGE ONLY: This water heater is equipped for one type voltage only. Check the rating plate near the bottom access panel for the correct voltage. DO NOT use this water heater with any voltage other than the one shown on the model rating plate. Failure to use the correct voltage can cause problems which can result in DEATH, SERIOUS BODILY INJURY, OR PROPERTY DAMAGE. If you have any questions or doubts consult your electric company.
![]() CAUTION
CAUTION
If wiring from your fuse box or circuit breaker box was aluminum for your old water heater, replace it with copper wire. If you wish to reuse the existing aluminum wire, have the connection at the water heater made by a competent electrician. Call Maytag Customer Service at
1. Provide a way to easily shut off the electric power |
when working on the water heater. This could be with |
a circuit breaker or fuse block in the entrance box or |
a separate disconnect switch. |
2. Install and connect a circuit directly from the main |
fuse or circuit breaker box. This circuit must be the |
right size and have its own fuse or circuit breaker. |
Refer to the chart in the “Product Specifications” |
section for the correct size wire and fuse or circuit |
breaker. |
3. If metal conduit is used for the grounding conductor: |
A. The grounding electrode conductor shall be of |
copper, aluminum, or copperclad aluminum. The |
material shall be of one continuous length without |
a splice or joint. |
B. Rigid metal conduit, intermediate metal conduit, or |
C. Flexible metal conduit or 3 metallic tubing shall be permitted for grounding if all the following conditions are met:
1.The length in any ground return path does not exceed 6 feet.
2.The circuit conductors contained therein are protected by overcurrent devices rated at 20 amperes or less.
3.The conduit or tubing is terminated in fittings approved for grounding.
For complete grounding details and all allowable exceptions, refer to the current edition of the NEC - National Electrical Code, NFPA 70.
4.A standard 1/2” conduit opening has been made in the water heater junction box for the conduit connection.
5.Wiring Diagrams (See “Wiring Diagrams” Section) have been supplied showing the two most common types of connections between the water heater and the power supply. You can easily see which type connection you have by removing the junction box cover on top of the water heater.
A.Two Wire Connection Diagrams: is the most common requiring you to simply connect red to red, black to black, and the ground wire to the green ground screw in the junction box of the water heater.
B.Three Wire Connection Diagram: is used when you are connecting the water heater to power a supply that has a “Time Clock” or “Off Peak” Meter. To make these connections refer to block 1 or 2 in this wiring diagram for the type of system you have.
NOTE: If you have purchased a three wire connection water heater but you are not on a “Time Clock” or “Off Peak” meter and have a standard two wire connection power supply, simply follow the connection diagram in block 3 of the Three Wire Connection Diagram.
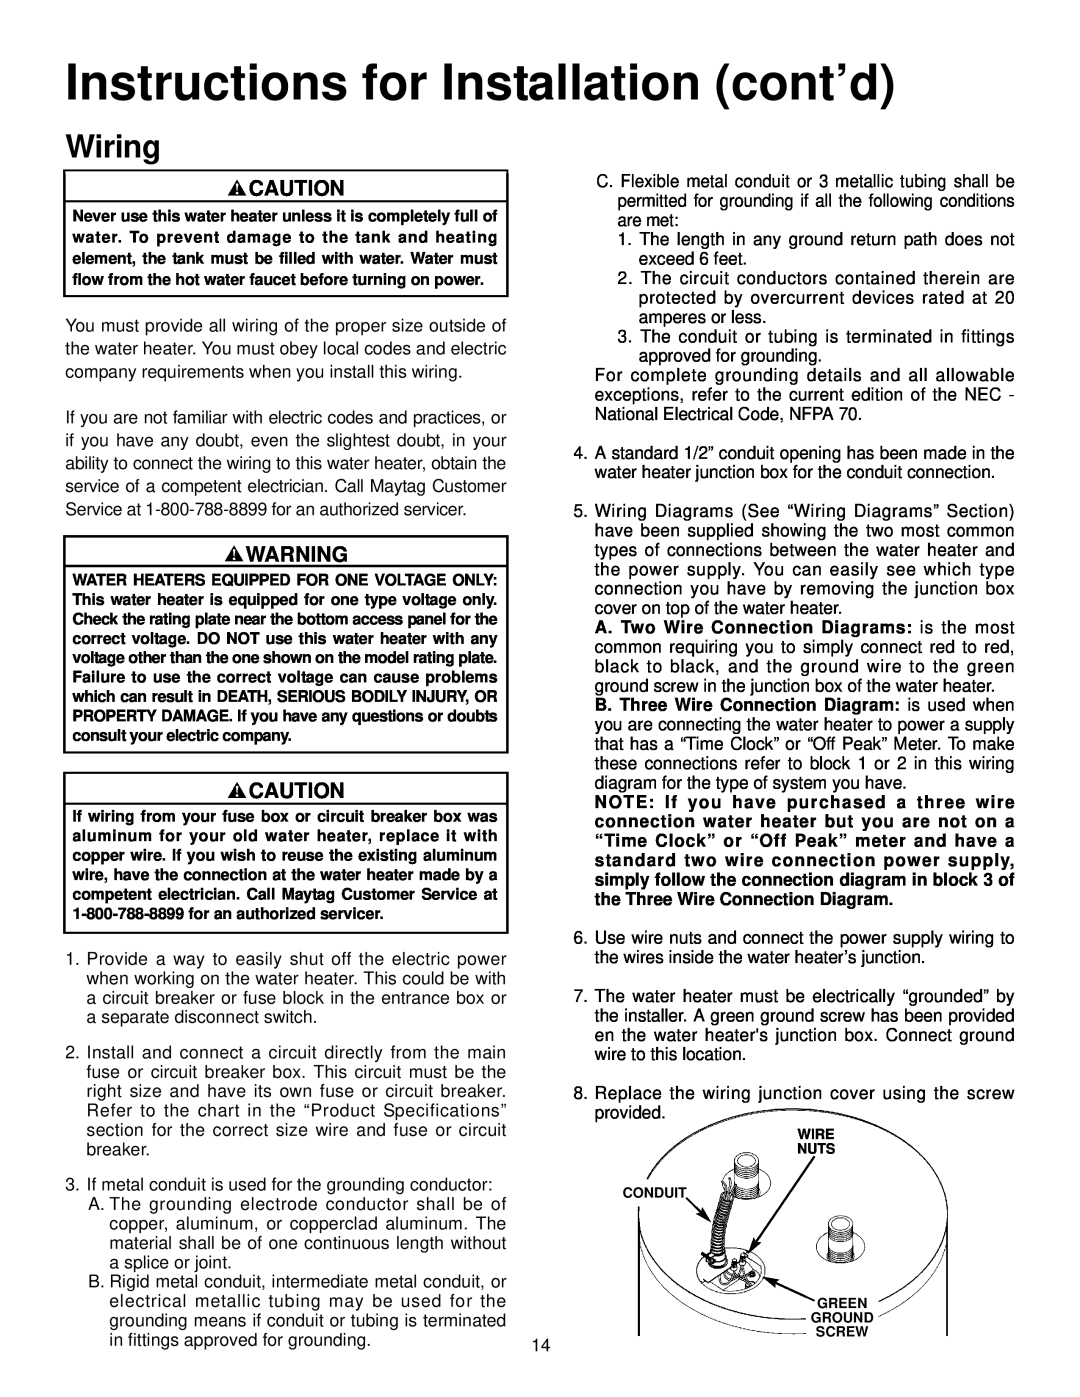
6.Use wire nuts and connect the power supply wiring to the wires inside the water heater’s junction.
7.The water heater must be electrically “grounded” by the installer. A green ground screw has been provided en the water heater's junction box. Connect ground wire to this location.
8.Replace the wiring junction cover using the screw provided.
WIRE
NUTS
CONDUIT
electrical metallic tubing may be used for the |
grounding means if conduit or tubing is terminated |
in fittings approved for grounding. |
14
![]() GREEN GROUND SCREW
GREEN GROUND SCREW