Troubleshooting Procedures
!WARNING
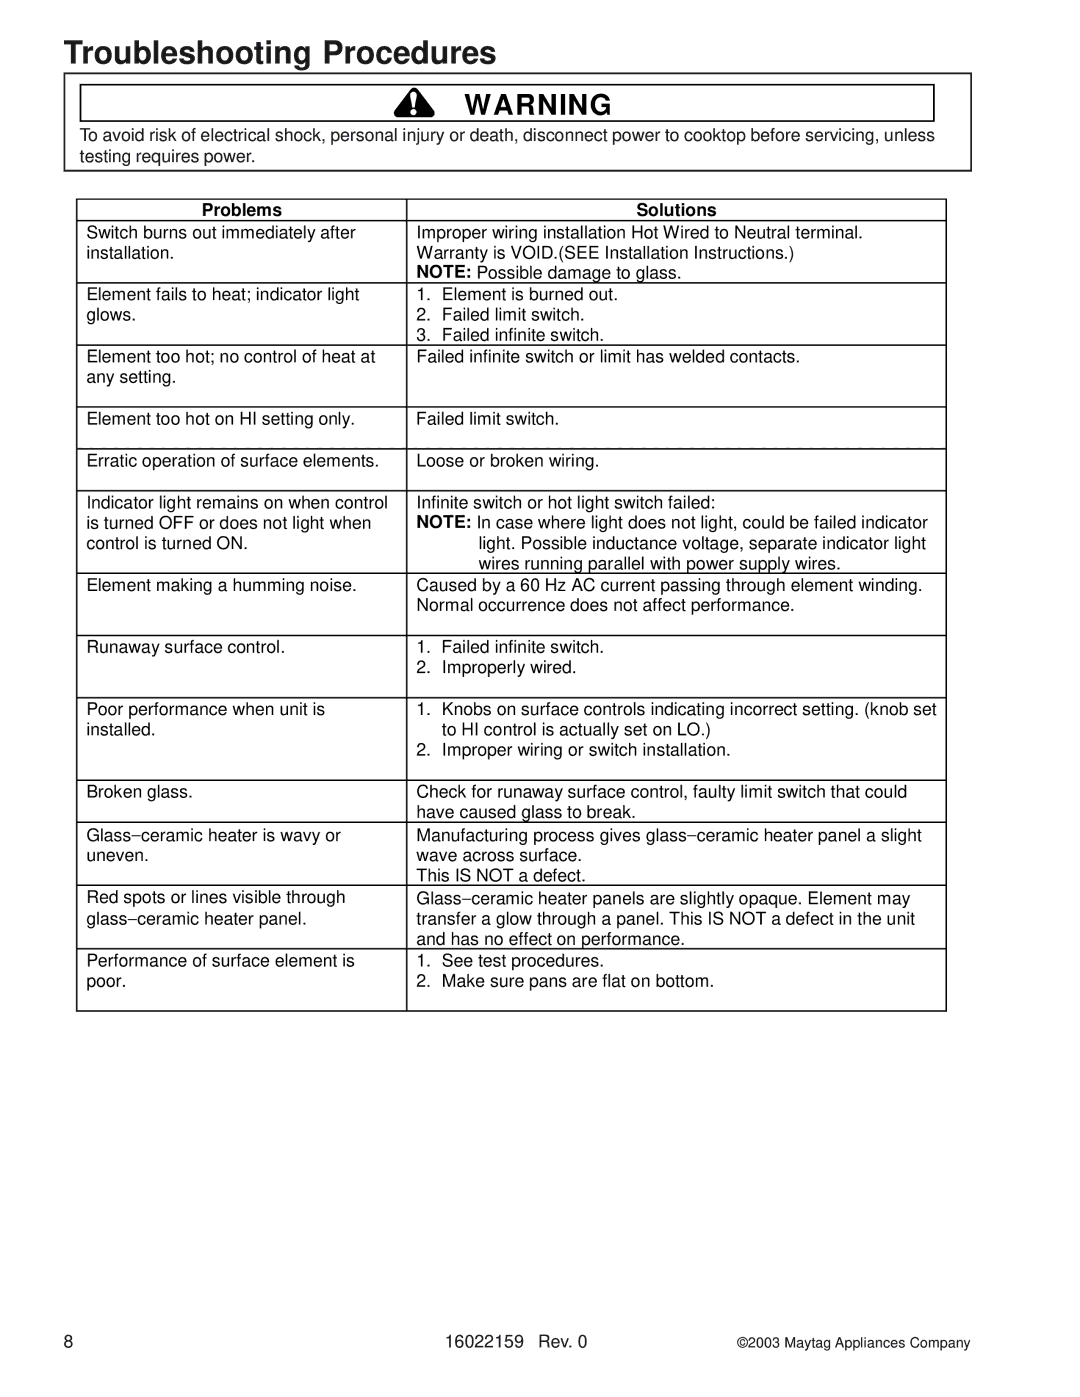
To avoid risk of electrical shock, personal injury or death, disconnect power to cooktop before servicing, unless testing requires power.
Problems |
| Solutions |
Switch burns out immediately after | Improper wiring installation Hot Wired to Neutral terminal. | |
installation. | Warranty is VOID.(SEE Installation Instructions.) | |
| NOTE: Possible damage to glass. | |
Element fails to heat; indicator light | 1. | Element is burned out. |
glows. | 2. | Failed limit switch. |
| 3. | Failed infinite switch. |
Element too hot; no control of heat at | Failed infinite switch or limit has welded contacts. | |
any setting. |
|
|
|
| |
Element too hot on HI setting only. | Failed limit switch. | |
|
| |
Erratic operation of surface elements. | Loose or broken wiring. | |
|
| |
Indicator light remains on when control | Infinite switch or hot light switch failed: | |
is turned OFF or does not light when | NOTE: In case where light does not light, could be failed indicator | |
control is turned ON. |
| light. Possible inductance voltage, separate indicator light |
|
| wires running parallel with power supply wires. |
Element making a humming noise. | Caused by a 60 Hz AC current passing through element winding. | |
| Normal occurrence does not affect performance. | |
|
|
|
Runaway surface control. | 1. | Failed infinite switch. |
| 2. | Improperly wired. |
|
|
|
Poor performance when unit is | 1. | Knobs on surface controls indicating incorrect setting. (knob set |
installed. |
| to HI control is actually set on LO.) |
| 2. | Improper wiring or switch installation. |
|
| |
Broken glass. | Check for runaway surface control, faulty limit switch that could | |
| have caused glass to break. | |
Glass−ceramic heater is wavy or | Manufacturing process gives glass−ceramic heater panel a slight | |
uneven. | wave across surface. | |
| This IS NOT a defect. | |
Red spots or lines visible through | Glass−ceramic heater panels are slightly opaque. Element may | |
glass−ceramic heater panel. | transfer a glow through a panel. This IS NOT a defect in the unit | |
| and has no effect on performance. | |
Performance of surface element is | 1. | See test procedures. |
poor. | 2. | Make sure pans are flat on bottom. |
|
|
|
8 | 16022159 Rev. 0 | ©2003 Maytag Appliances Company |
