Use & Care Guide
Table of Contents
Ice2OTM French Door Bottom Freezer
Recognize Safety Symbols, Words, Labels
Important Safety Instructions
What You Need to Know About Safety Instructions
DANGER
SAVE THESE INSTRUCTIONS
Quick Reference Guide
Quick Reference Guide
Measuring the Opening
Installation
Location
Transporting Your Refrigerator
Door and Drawer Removal
Door Reinstallation
Pullout Freezer Drawer
Freezer Handle
Handles
Plastic Handle
Connecting the Water Supply
Metal Handle
loop. Do not use plastic
Opening and Closing Your Fresh Food Doors
both doors. When both doors are closed, the hinged section
Adjusting the Control
Using the Controls
Initial Temperature Setting
Using the Controls
User Preferences
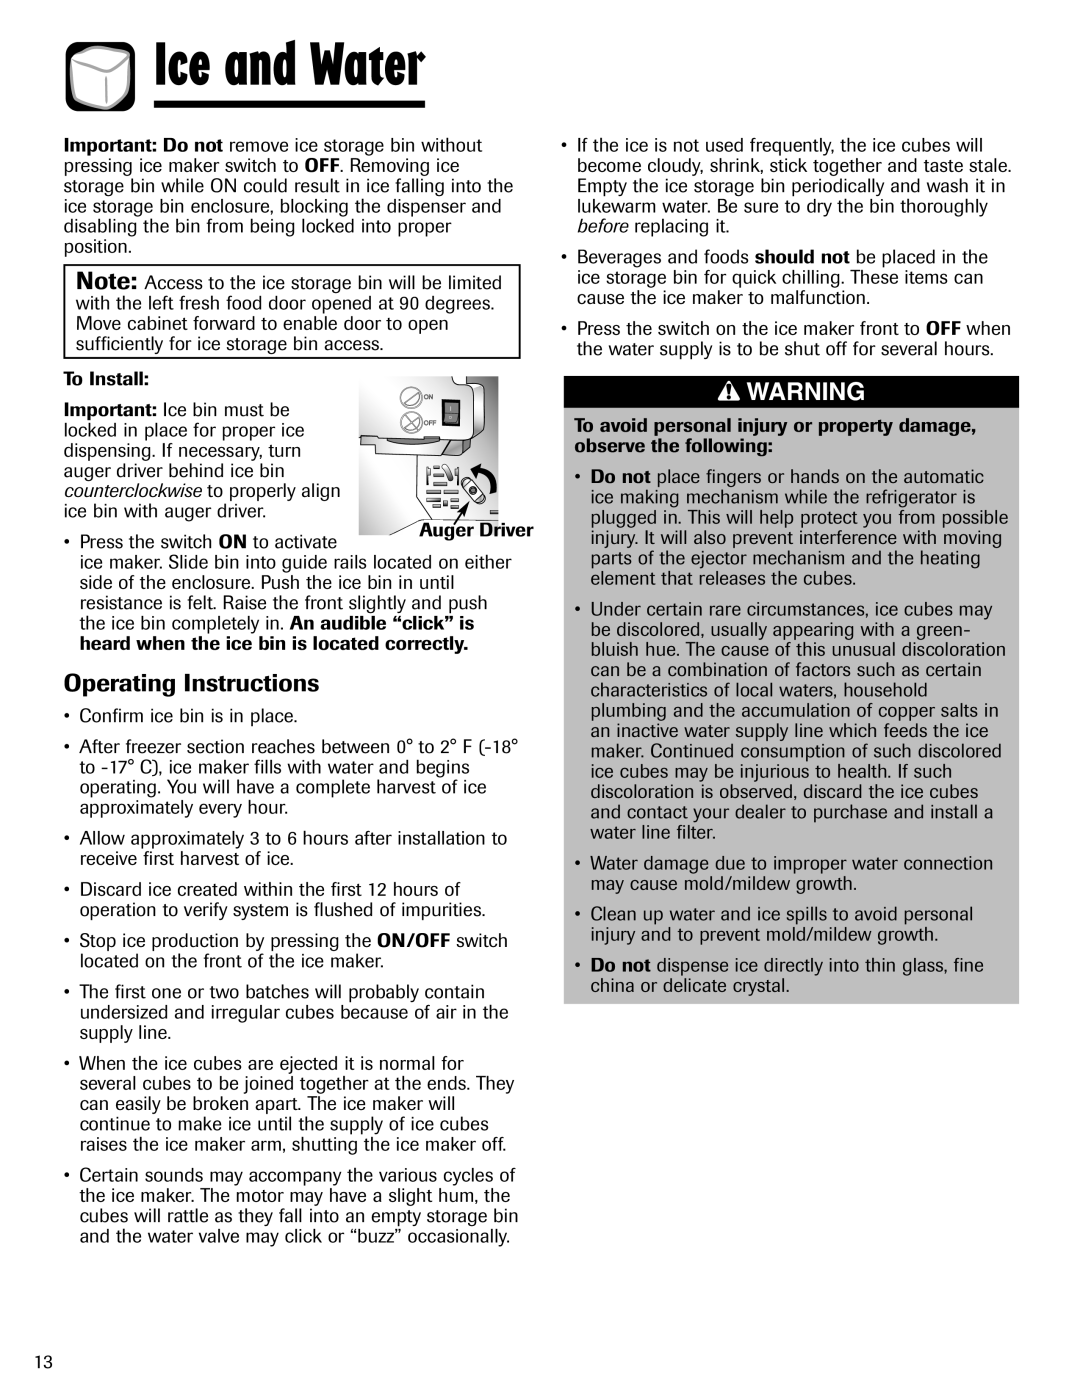
Automatic Ice Maker
Ice and Water
Ice and Water Dispenser
Warm Cabinet Surfaces
Operating Instructions
Water Filter
Water Filter Removal and Installation
Initial Installation
Replacing Water Filter
General Use Conditions
System Specification and Performance Data Sheet
Specifications
TM Refrigerator Water Filter Cartridge Model UKF8001AXX
Spill-CatcherTM Glass Shelves
Fresh Food Features
Shelves
Elevator Shelf select models
Dairy Center
Door Storage
Crisper Top
Door Buckets
Door
Accessories
Freezer Bin
Wine Trivet/Can Rack
Frozen Food Storage
Food Storage Tips
Fresh Food Storage
Fruits and Vegetables
Food Storage Chart
Food Storage Tips
POULTRY and FISH Store in Wide-N-Fresh TM Drawer or Freezer
cheese drawer. When freezing longer
Place in the meat and cheese drawer
MEATS Store in Wide-N-Fresh TM Drawer or Freezer
PART
Care and Cleaning
Refrigerator Cleaning Chart
DO NOT USE
Energy Saving Tips
Care and Cleaning
Removing Odors from Refrigerator
Freezer Light
Replacing Light Bulbs
Fresh Food Section
bulbs no greater than 40 watts
Upon your Return
Preparing for Vacation
Preparing to Move
Alarm
Operating Sounds
See page 11 for Door Alarm and Temp
Food Doors, page
Troubleshooting
WHAT TO DO
Troubleshooting
See Operating Sounds on page
Troubleshooting
Ice and Water
See Connecting the Water Supply page
See, Sabbath Mode, page
What is Not Covered By These Warranties
Warranty & Service
Warranty
If You Need Service
Guide d’utilisation et d’entretien
Congélateur inférieur Ice2OMC avec portes à deux battants
Table des matières
Ce que vous devez savoir sur les instructions de sécurité
Reconnaissez les étiquettes, phrases ou symboles sur la sécurité
Instructions de sécurité importantes
AVERTISSEMENT
CONSERVEZ CES INSTRUCTIONS
Guide de référence rapide
Transport du réfrigérateur
Implantation
Mesure de l’ouverture
Mise à niveau
Dépose des portes et du tiroir
Remise en place des portes
Tiroir de congélateur
Poignée de congélateur Remarques
Poignées
Poignée en plastique
Raccordement de l’arrivée d’eau
Poignée métallique
Ouverture et fermeture des portes du compartiment réfrigérateur
Réglage initial de température
Utilisation des commandes
Réglage de la commande
User Preferences Préférences de
l’utilisateur
Machine à glaçons automatique
Glaçons et eau fraîche
Distributeur de glaçons et d’eau fraîche
Échauffement des surfaces de la caisse
Mode d’emploi
Dépose et pose d’un filtre à eau
Remplacement du filtre à eau
Filtre à eau
Pose initiale
Spécifications
Conditions générales d’utilisation
Modèle UKF8001AXX
Clayettes en verre Spill-CatcherMC
Fonctions denrées fraîches
Clayettes
Compartiment pour produits laitiers
Conservation dans les portes
Dessus de bac à légumes
Tiroir Wide-N-FreshMC
Bac de congélateur
Accessoires
Fonctions congélateur
Porte-bouteilles de vin/canettes
Conservation des aliments surgelés
Conseils de conservation des denreés
Conservation de produits frais
Fruits et légumes
ALIMENTS
Conseils de conservation des denrées
Tableau de conservation des denrées
RÉFRIGÉRATEUR
53 Université d’état de l’Iowa
aliments dégageant une odeur et
Entretien et nettoyage
Tableau de nettoyage du réfrigérateur
Conseils d’économie d’énergie
Remplacement des ampoules
Entretien et nettoyage
Compartiment réfrigérateur
Lors du retour
Préparation aux vacances
Éclairage du congélateur
Préparation à un déplacement de l’appareil
Bruits de fonctionnement
détails, voir Machine à glaçons
Alarme de porte
et alarme de
automatique page
Dépannage
Voir Bruits de fonctionnement pages 57 et
Voir Bruits de fonctionnement page
Le fabricant recommande l’utilisation d’une tuyauterie en
responsable des dégâts matériels dus à une installation
Le contenu du tiroir ou la position des
position ON. Voir Machine à glaçons automatique page
Voir Témoin lumineux d’état du filtre page
Voir Raccordement de l’arrivée d’eau page
Celsius au lieu d’être en Fahrenheit
Pour activer les signaux sonores, reportez-vous à la page
L’affichage de la température est en
Ne sont pas couverts par ces garanties
Garantie et service après-vente
Garantie
Si vous avez besoin d’aide
Guía de uso y cuidado
Refrigerador Ice2OMR con puertas francesas y congelador inferior
Índice
Reconozca los símbolos, mensajes y etiquetas de seguridad
Medidas importantes de seguridad
Lo que necesita saber acerca de las medidas de seguridad
PELIGRO
GUARDE ESTAS INSTRUCCIONES
Guía de referencia rápida
Guía de referencia rápida
Cómo medir la abertura
Instalación
Ubicación
Transporte de su refrigerador
Retiro de la puerta y la gaveta
Reinstalación de la puerta
Gaveta del congelador
3. Baje el frente de la puerta a su posición final
Manijas
Manija del congelador Notas
4. Coloque y apriete los tornillos Phillips que retiró
Conexión del suministro de agua
Manija de metal
Apertura y cierre de las puertas de alimentos frescos
Ajuste del control
Uso de los controles
Ajuste inicial de temperatura
Uso de los controles
Preferencias del usuario
Máquina automática
Hielo y agua
Dispensador de hielo y agua
de hacer hielo
Instrucciones de uso
impulsor del tornillo
Sustitución del filtro de agua
Filtro de agua
Retiro e instalación del filtro de agua
Aparato para tratamiento de agua Número de certificado
filtrante del agua para refrigerador - Modelo UKF8001AXX
Filtro del agua
Condiciones de uso generales
Especificaciones
Repisas de vidrio ‘Spill-CatcherMR’
Compartimientos para alimentos frescos
Repisas
Repisa ‘ElevatorMR’ modelos selectos
Centro lácteo
Almacenamiento en la puerta
Cubierta de la gaveta de frutas y vegetales
Gaveta ‘Wide-N-FreshMR’
Organizador puerta
Compartimientos del congelador
deslice la Compartimientos para alimentos frescos
incorporado
Frutas y vegetales
Almacenamiento de alimentos frescos
Almacenamiento de alimentos congelados
Carnes y quesos
ALIMENTOS
Sugerencias para conservar los alimentos
Tabla de conservación de los alimentos
REFRIGERADOR
Extensión Cooperativa, Universidad Estatal de Iowa
Jamón, completamente cocido, entero
Cuidado y limpieza
Tabla de limpieza del refrigerador
Eliminación de los olores del refrigerador
Sugerencias para ahorrar energía
Luz del congelador
Sustitución de las bombillas de luz
Sección de alimentos frescos
A su regreso
Preparación para las vacaciones
Preparación para un traslado
Sonidos de funcionamiento
de averías
Localización
Localización solución de averías
Vea Sonidos de funcionamiento en la página
kPa 35 y 100 psi para que funcione correctamente
recomienda una presión mínima de 241 kPa 35 psi
Hielo y aqua
Localización y solución de averías
Lo que no cubren estas garantías
Garantía y servicio
Garantía
Si necesita servicio