,2,ustcrnerSepzice | ._111_ _ |
240EdwardsStrae[,SE
Cleveiand,Tennessee2731T
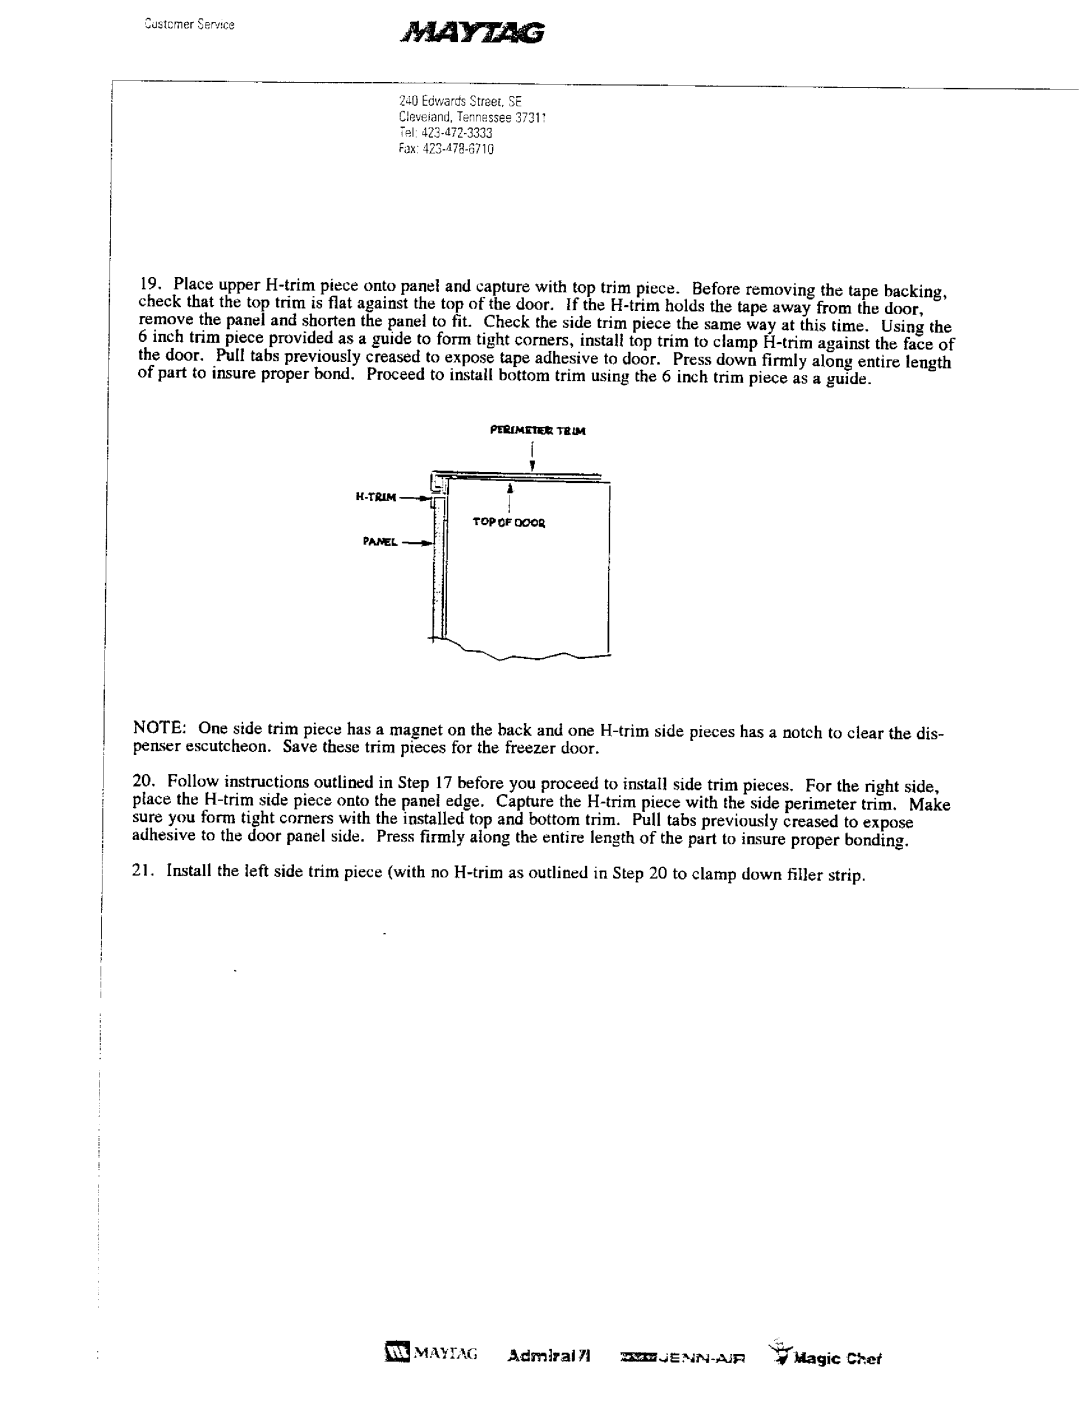
19.Place upper
check that the top trim is flat against the top of the door, If the
the door. Pull tabs previously creased to expose tape adhesive to door. Press down firmly along entire length of part to insure proper bond. Proceed to install bottom trim using the 6 inch trim piece as a guide.
|
| Ptlt//,_.tt_.4 lql111_ |
|
| i |
|
| A |
p | I | |
|
| I |
|
| TOP _F tlOOR |
P/_I_aE[. | - |
|
NOTE: One side trim piece has a magnet on the back and one
penser escutcheon. Save these trim pieces for the freezer door.
20.Follow instructions outtined in Step 17 before you proceed to install side trim pieces, For the right side,
place the
sure you form tight corners with the installed top and bottom trim. Pull tabs previously creased to expose adhesive to the door panel side. Press firmly along the entire length of the part to insure proper bonding.
21.Install the left side trim piece (with no
["_ ,MA'/L&G Adnllra171
