240EdwardsStreet,SE
C[eve!andrTennessee3731;
INSTALLATION OF PERIMETER TRIM
NOTE: Holes must be drilled in the face of the door to mount the lower
26. Carefully cut freezer door template from template edges of the template exactly line up with the edges of
sheet. Tape template to the face of the door so that the the door as printed on the template.
27. Install lower
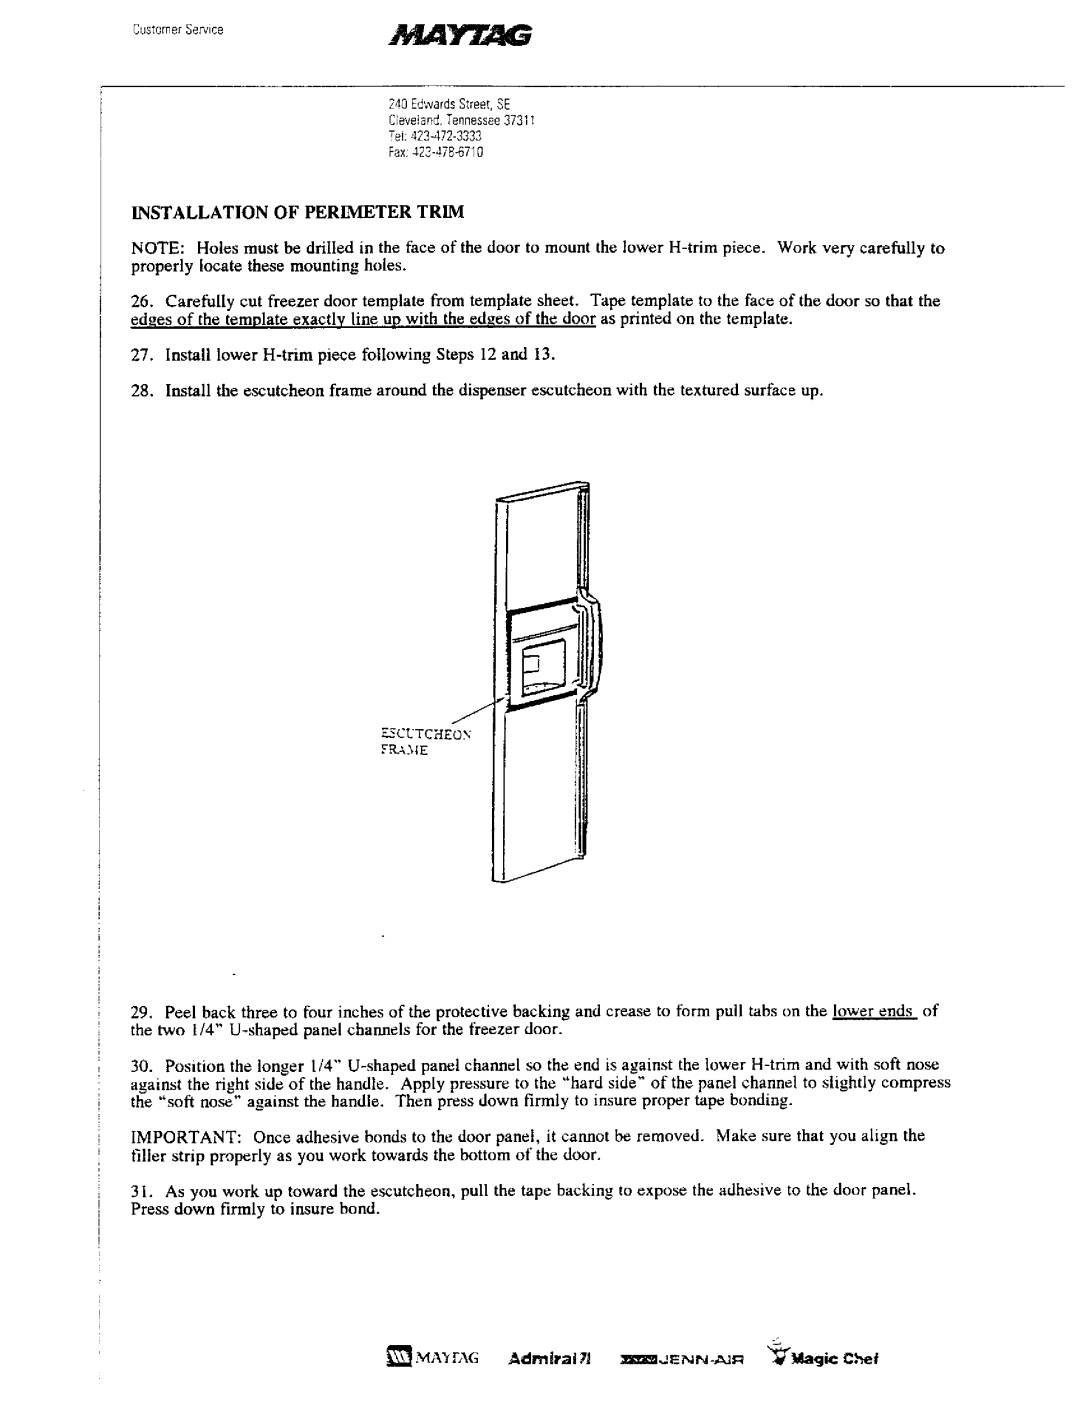
28. Install the escutcheon frame around the dispenser escutcheon with the textured surface up.
F-SCUTCHEOS
FRAME
J
29.Peel back three to four inches of the protective backing and crease to form pull tabs on the lower ends of the two 1/4"
30.Position the longer 1/4"
against the right side of the handle. Apply pressure to the "hard side" of the panel channel to slightly compress
the "soft nose" against the handle. Then press down firmly to insure proper tape bonding.
IMPORTANT: | Once adhesive bonds to the door panel, it cannot be removed. | Make sure that you align the |
filler strip properly as you work towards the bottom of the door. |
| |
31.As you work up toward the escutcheon, pull the tape backing to expose the adhesive to the door panel. Press down firmly to insure bond.
_ MA'_rAG | Admiral | _'_]Mlagic C.het |