C.RESET Resets all readings
D.CHANNEL SWITCH
Selects the desired transmission channel from 1 to 3
E. WALL-MOUNT RECESSED OPENING
Attaches the remote sensor to the wall
Note: Install the batteries and select the channel before mounting the sensor.
Battery installation
•Remove the screws from the battery compartment with a small Phillips screwdriver.
•Set the channel 1 through 3. The switch is located in the battery compartment. Channel 1 is typically selected if only one remote sensor is being used.
•Install 2 “AA” size alkaline batteries (not included) matching the polarities shown in the battery compartment.
•Replace the battery compartment door and secure the screws.
•Secure the
Mounting
•The remote
•Use the wall mount hardware and screws provided when mounting the
Placement tips:
•The remote
•Ideally, place the
•Avoid placing the
•Avoid any areas collecting and radiating a heat from the sun, such as metal, brick or concrete structures, paving, patios and decks.
•The international standard for the valid air temperature measurements is 4 feet (1.25meters) above the ground.
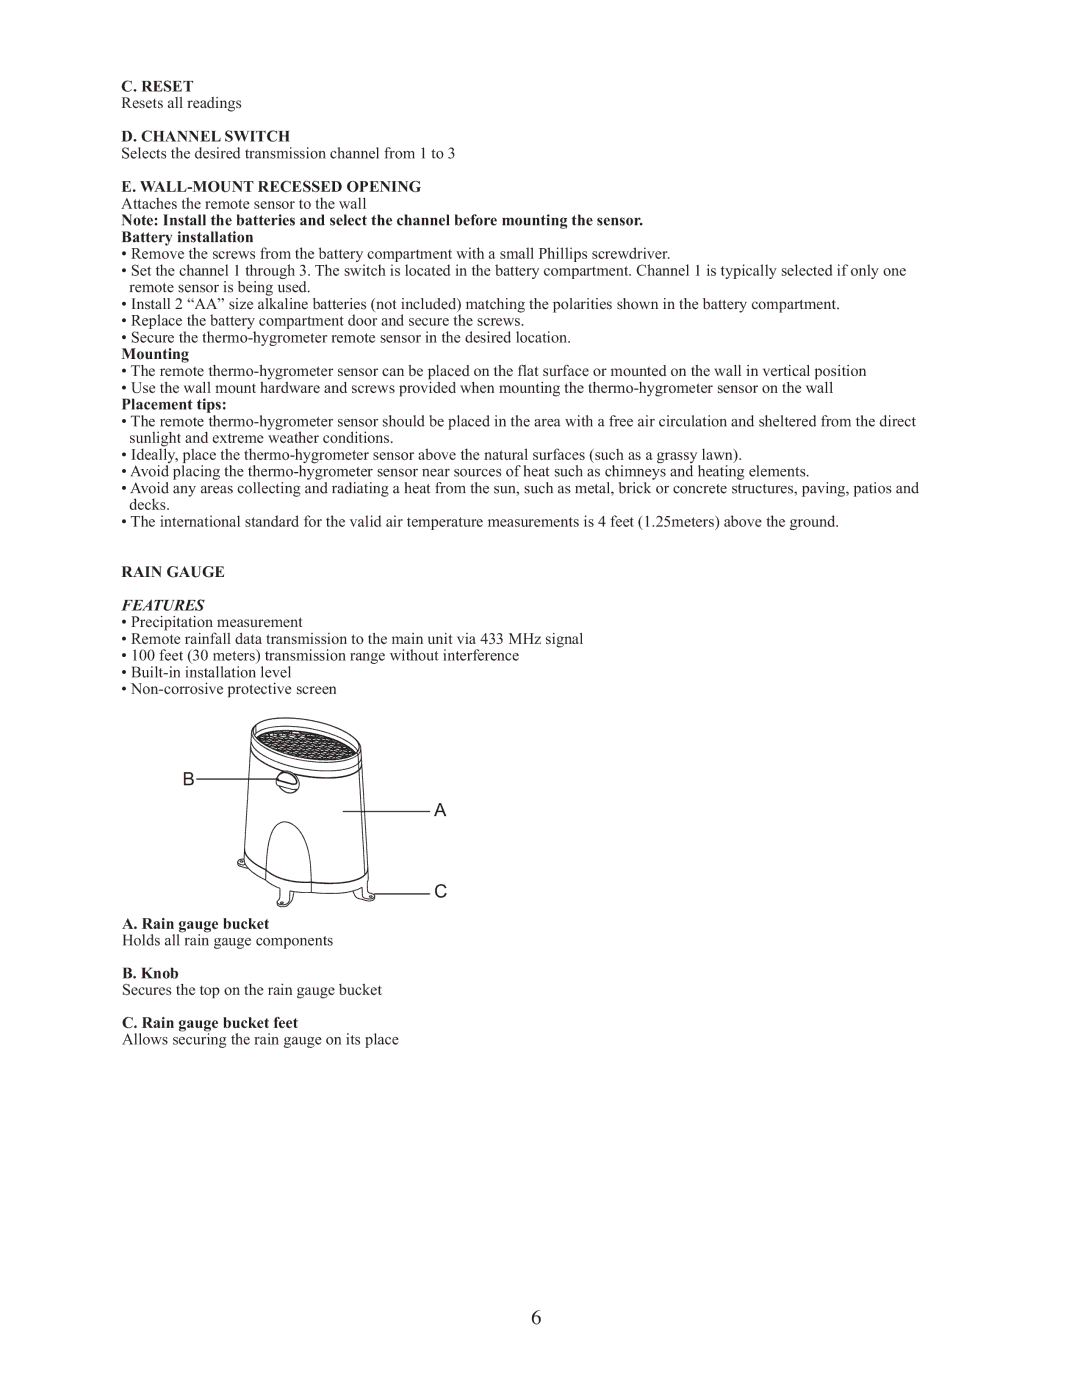
RAIN GAUGE
FEATURES
•Precipitation measurement
•Remote rainfall data transmission to the main unit via 433 MHz signal
•100 feet (30 meters) transmission range without interference
•
•
B
A
C
A. Rain gauge bucket
Holds all rain gauge components
B. Knob
Secures the top on the rain gauge bucket
C. Rain gauge bucket feet
Allows securing the rain gauge on its place
6
