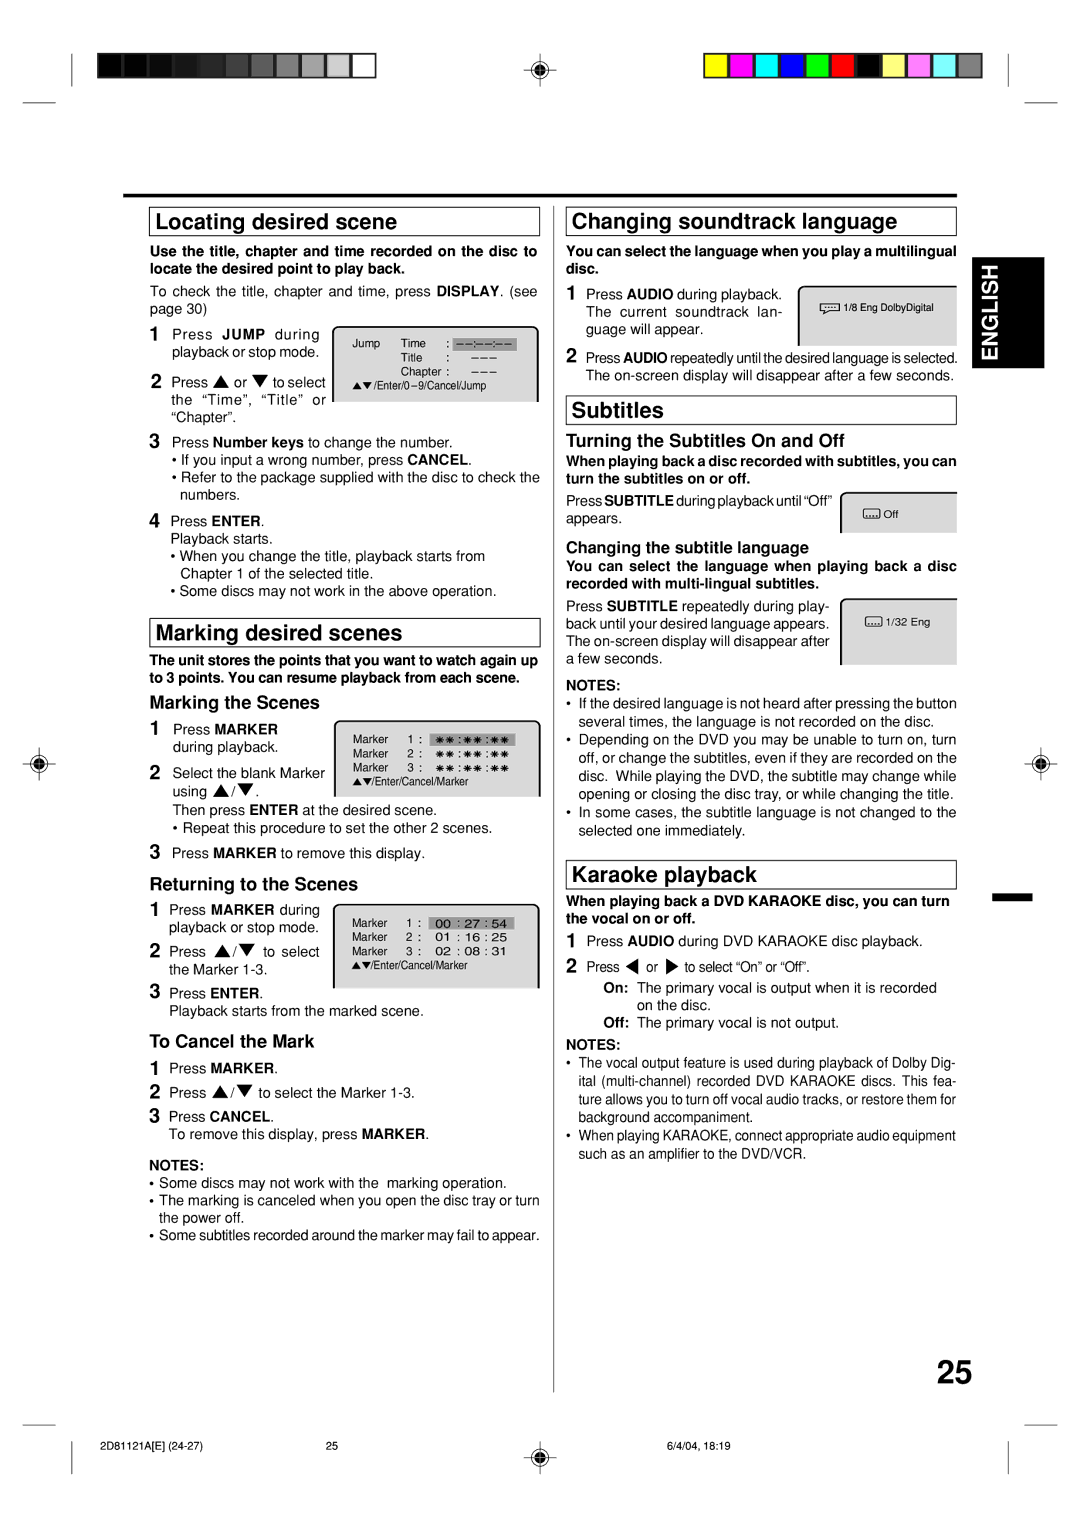
Locating desired scene
Use the title, chapter and time recorded on the disc to locate the desired point to play back.
To check the title, chapter and time, press DISPLAY. (see page 30)
1 | Press | JUMP during | Jump Time |
|
|
|
|
|
|
|
|
|
|
|
|
|
|
|
|
| |||
|
|
|
|
|
|
|
|
|
|
|
|
|
|
|
|
| |||||||
| playback or stop mode. |
|
|
|
|
|
|
|
|
|
|
|
|
|
|
|
|
| |||||
| Title |
|
|
|
|
|
|
|
|
|
|
|
|
| |||||||||
|
|
|
|
|
|
|
|
|
|
|
|
|
|
|
|
| |||||||
2 | Press | or | to select | Chapter |
|
|
|
|
|
|
|
|
|
|
| ||||||||
|
|
|
|
|
|
|
|
| |||||||||||||||
/Enter/0 |
| 9/Cancel/Jump |
|
|
|
|
|
|
| ||||||||||||||
|
|
|
|
|
|
|
| ||||||||||||||||
| the “Time”, | “Title” or |
|
|
|
|
|
|
|
|
|
|
|
|
|
|
|
|
|
|
|
| |
“Chapter”.
3Press Number keys to change the number.
•If you input a wrong number, press CANCEL.
•Refer to the package supplied with the disc to check the numbers.
4Press ENTER. Playback starts.
•When you change the title, playback starts from Chapter 1 of the selected title.
•Some discs may not work in the above operation.
Marking desired scenes
The unit stores the points that you want to watch again up to 3 points. You can resume playback from each scene.
Marking the Scenes
1 | Press MARKER | Marker | 1 |
|
|
|
|
|
|
|
|
|
|
|
|
|
|
|
|
|
|
|
|
|
|
|
|
| |
|
|
|
|
|
|
|
|
|
|
|
|
|
|
|
|
|
|
|
|
|
|
|
|
| |||||
2 | during playback. | Marker | 2 |
|
|
|
|
|
|
|
|
|
|
|
|
|
|
|
|
|
|
|
|
|
|
|
|
| |
Select the blank Marker | Marker | 3 |
|
|
|
|
|
|
|
|
|
|
|
|
|
|
|
|
|
|
|
|
|
|
|
|
| ||
/Enter/Cancel/Marker | |||||||||||||||||||||||||||||
|
| ||||||||||||||||||||||||||||
using / .
Then press ENTER at the desired scene.
•Repeat this procedure to set the other 2 scenes.
3Press MARKER to remove this display.
Returning to the Scenes
1Press MARKER during
playback or stop mode. | Marker | 1 | 00 | 27 | 54 | |||
Marker | 2 | 01 | 16 | 25 | ||||
2 Press | / | to select | ||||||
Marker | 3 | 02 | 08 | 31 | ||||
the Marker | /Enter/Cancel/Marker |
| ||||||
3Press ENTER.
Playback starts from the marked scene.
To Cancel the Mark
1Press MARKER.
2Press ![]() /
/ ![]() to select the Marker
to select the Marker
3Press CANCEL.
To remove this display, press MARKER.
NOTES:
•Some discs may not work with the marking operation.
•The marking is canceled when you open the disc tray or turn the power off.
•Some subtitles recorded around the marker may fail to appear.
Changing soundtrack language
You can select the language when you play a multilingual |
| ||
disc. | 1/8EngDolbyDigital | ENGLISH | |
1 | Press AUDIO during playback. |
| |
|
| ||
| The current soundtrack lan- |
|
|
| guage will appear. |
|
|
2 | Press AUDIO repeatedly until the desired language is selected. |
| |
| The |
| |
Subtitles
Turning the Subtitles On and Off
When playing back a disc recorded with subtitles, you can turn the subtitles on or off.
Press SUBTITLE during playback until “Off”
appears. | Off |
|
Changing the subtitle language
You can select the language when playing back a disc recorded with
Press SUBTITLE repeatedly during play-
back until your desired language appears. ![]() 1/32 Eng The
1/32 Eng The
a few seconds.
NOTES:
•If the desired language is not heard after pressing the button several times, the language is not recorded on the disc.
•Depending on the DVD you may be unable to turn on, turn off, or change the subtitles, even if they are recorded on the disc. While playing the DVD, the subtitle may change while opening or closing the disc tray, or while changing the title.
•In some cases, the subtitle language is not changed to the selected one immediately.
Karaoke playback
When playing back a DVD KARAOKE disc, you can turn the vocal on or off.
1Press AUDIO during DVD KARAOKE disc playback.
2 Press ![]() or
or ![]() to select “On” or “Off”.
to select “On” or “Off”.
On: The primary vocal is output when it is recorded on the disc.
Off: The primary vocal is not output.
NOTES:
•The vocal output feature is used during playback of Dolby Dig- ital
•When playing KARAOKE, connect appropriate audio equipment such as an amplifier to the DVD/VCR.
25
2D81121A[E] | 25 | 6/4/04, 18:19 |
