VII. Using Your Memorex® TravelDrive™:


Your new Memorex® TravelDrive™ is ready to use now. Follow the simple steps below to begin using your new portable storage device:
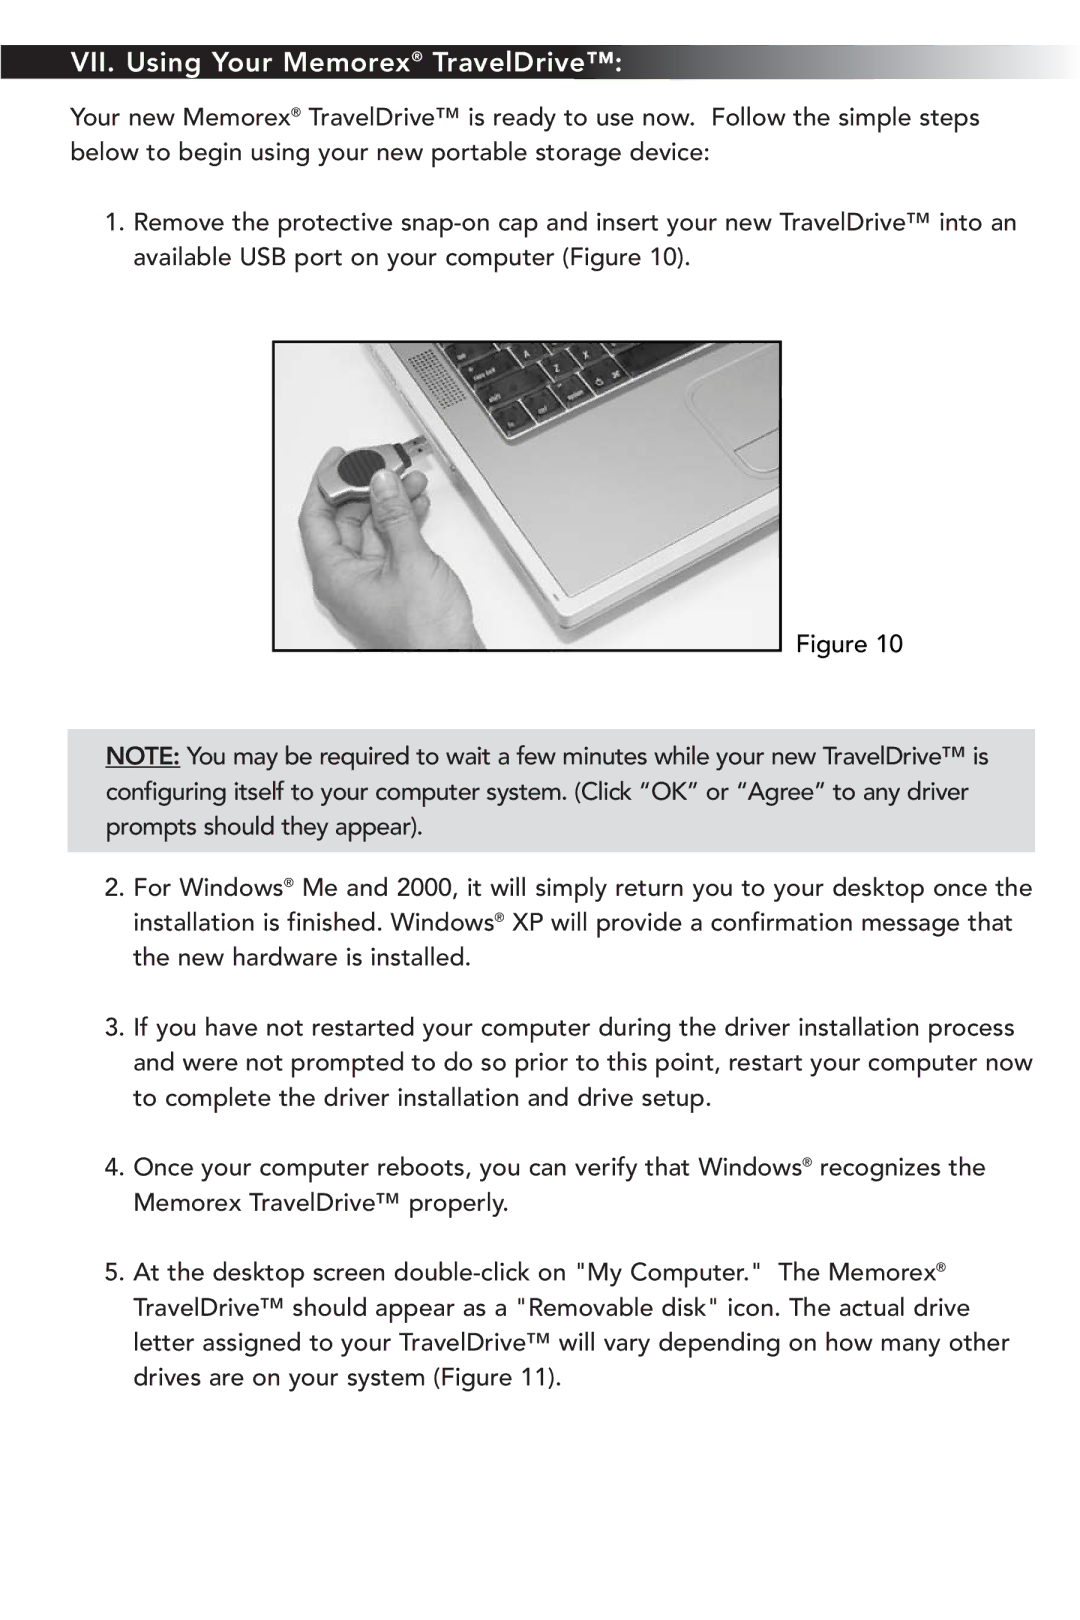
1.Remove the protective
Figure 10
NOTE: You may be required to wait a few minutes while your new TravelDrive™ is configuring itself to your computer system. (Click “OK” or “Agree” to any driver prompts should they appear).
2.For Windows® Me and 2000, it will simply return you to your desktop once the installation is finished. Windows® XP will provide a confirmation message that the new hardware is installed.
3.If you have not restarted your computer during the driver installation process and were not prompted to do so prior to this point, restart your computer now to complete the driver installation and drive setup.
4.Once your computer reboots, you can verify that Windows® recognizes the Memorex TravelDrive™ properly.
5.At the desktop screen