WARNING To reduce the risk of injury, the operator should be instructed in the
use, care and protection of accessories.
Typical Applications
A large variety of accessories are available for ap- plications such as grinding, sanding, and cutting.
Grinding/Sanding
Use sanding and grinding accessories that are:
•less than 2" in diameter.
•correct accessory type and grit for the job.
•rated at or above the RPM listed on the tool's nameplate.
Wheel Brushes
Wire wheel brushes are useful for removing rust, scale, burrs, weld slag, etc. A wide variety of wire brushes are available for many applications.
When applying brush to work, avoid using too much pressure. This causes over-bending of wires and heat build-up resulting in premature wire breakage, rapid dulling and reduced brush life. Instead of using more pressure, try a wire wheel brush with more aggressive cutting action (increased wire size, de- creased wire length or different brush type, i.e. knot type instead of crimped wire type).
Cutting
Always handle cutting wheels carefully to avoid damage. Before installing any wheel, always in- spect it for cracks. If wheel is cracked, discard it to prevent others from using it. Cutting wheels should be protected from:
•wetness and extreme humidity
•any type of solvent
•extreme changes in temperature
•dropping and bumping
If a cutting wheel encounters any of these situa- tions, discard the wheel immediately.
OPERATION
Fuel Gauge
To determine the amount of charge left in the bat- tery, turn the tool ON. The Fuel Gauge will light up for 2-3 seconds. When less than 10% of charge is left, 1 light on the fuel gauge will flash slowly.
To signal the end of charge, all lights on the fuel gauge will flash quickly for 2-3 seconds and the tool will not run. Charge the battery pack.
To prevent accidental starting, if the battery pack is inserted when the tool switch is in the "ON" position, all lights on the fuel gauge will flash twice and the tool will not run. Turn the tool off, then back on to begin work.
If the tool or battery becomes too hot, the fuel gauge lights will flash in an alternating pattern and the tool will not run. Allow the tool and battery to cool down.
To protect against high torque, binding, stalling, and short circuit situations, the tool will shut down and all the fuel gauge lights will flash. Release the trigger and restart.
WARNING Always remove battery pack before changing or removing ac- cessories. Only use accessories specifically recommended for this tool. Others may be
hazardous.
Selecting speed
To set the maximum speed, rotate the speed dial. Set the speed dial to "1" for the lowest speed (5000 RPM). Set the speed dial to "6" for the high- est speed (32000 RPM).
Accessory | Material | Speed |
Grinding/Sanding point | Wood | 2 |
| Steel | 3 |
| Aluminum | 2 |
Steel cutters | Wood | 6 |
| Plastic | 2 |
| Steel | 2 |
| Aluminum | 3 |
Grinding stone | Plastic | 2 |
| Steel | 6 |
| Aluminum | 1 |
Wire brushes | Steel | 2 |
| Aluminum | 2 |
Polishing point | Wood | 1 |
| Plastic | 1 |
| Steel | 1 |
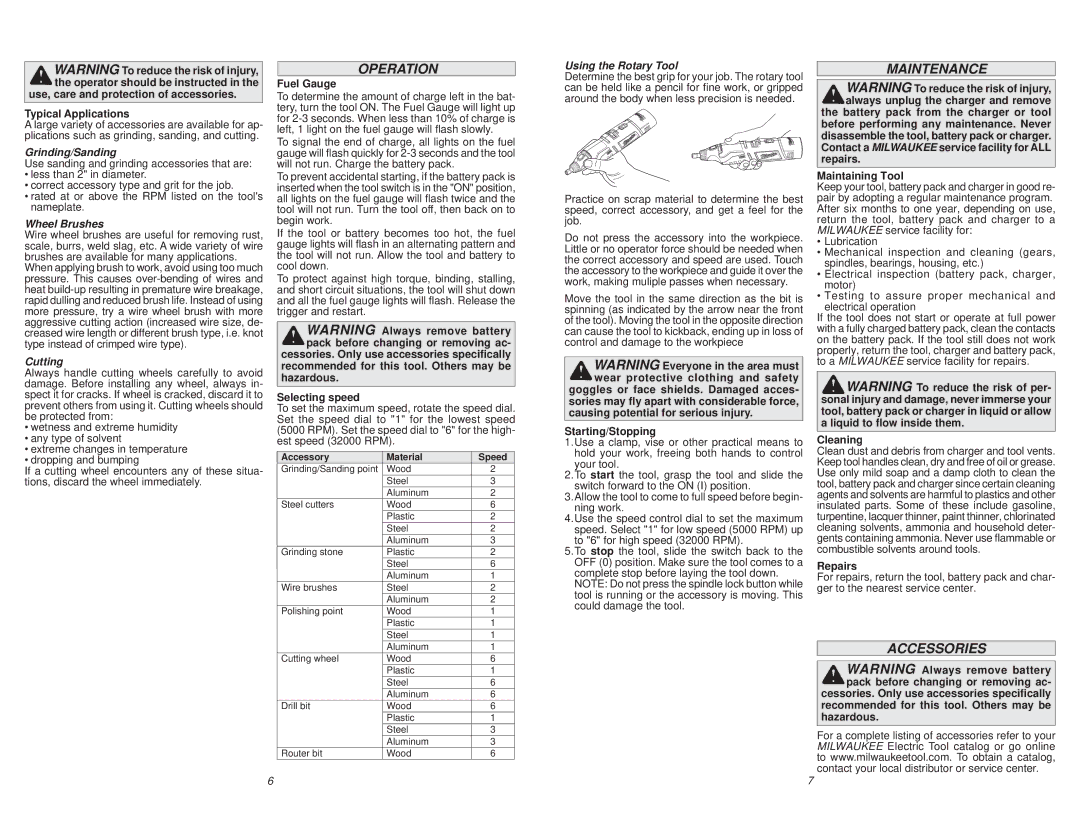
Using the Rotary Tool
Determine the best grip for your job. The rotary tool can be held like a pencil for fine work, or gripped around the body when less precision is needed.
Practice on scrap material to determine the best speed, correct accessory, and get a feel for the job.
Do not press the accessory into the workpiece. Little or no operator force should be needed when the correct accessory and speed are used. Touch the accessory to the workpiece and guide it over the work, making muliple passes when necessary.
Move the tool in the same direction as the bit is spinning (as indicated by the arrow near the front of the tool). Moving the tool in the opposite direction can cause the tool to kickback, ending up in loss of control and damage to the workpiece
WARNING Everyone in the area must wear protective clothing and safety goggles or face shields. Damaged acces- sories may fly apart with considerable force,
causing potential for serious injury.
Starting/Stopping
1.Use a clamp, vise or other practical means to hold your work, freeing both hands to control your tool.
2.To start the tool, grasp the tool and slide the switch forward to the ON (I) position.
3.Allow the tool to come to full speed before begin- ning work.
4.Use the speed control dial to set the maximum speed. Select "1" for low speed (5000 RPM) up to "6" for high speed (32000 RPM).
5.To stop the tool, slide the switch back to the OFF (0) position. Make sure the tool comes to a complete stop before laying the tool down.
NOTE: Do not press the spindle lock button while tool is running or the accessory is moving. This could damage the tool.
MAINTENANCE
WARNING To reduce the risk of injury, always unplug the charger and remove the battery pack from the charger or tool
before performing any maintenance. Never disassemble the tool, battery pack or charger. Contact a MILWAUKEE service facility for ALL repairs.
Maintaining Tool
Keep your tool, battery pack and charger in good re- pair by adopting a regular maintenance program. After six months to one year, depending on use, return the tool, battery pack and charger to a MILWAUKEE service facility for:
•Lubrication
•Mechanical inspection and cleaning (gears, spindles, bearings, housing, etc.)
•Electrical inspection (battery pack, charger, motor)
•Testing to assure proper mechanical and electrical operation
If the tool does not start or operate at full power with a fully charged battery pack, clean the contacts on the battery pack. If the tool still does not work properly, return the tool, charger and battery pack, to a MILWAUKEE service facility for repairs.
WARNING To reduce the risk of per- sonal injury and damage, never immerse your tool, battery pack or charger in liquid or allow a liquid to flow inside them.
Cleaning
Clean dust and debris from charger and tool vents. Keep tool handles clean, dry and free of oil or grease. Use only mild soap and a damp cloth to clean the tool, battery pack and charger since certain cleaning agents and solvents are harmful to plastics and other insulated parts. Some of these include gasoline, turpentine, lacquer thinner, paint thinner, chlorinated cleaning solvents, ammonia and household deter- gents containing ammonia. Never use flammable or combustible solvents around tools.
Repairs
For repairs, return the tool, battery pack and char- ger to the nearest service center.