BEFORE OPERATION
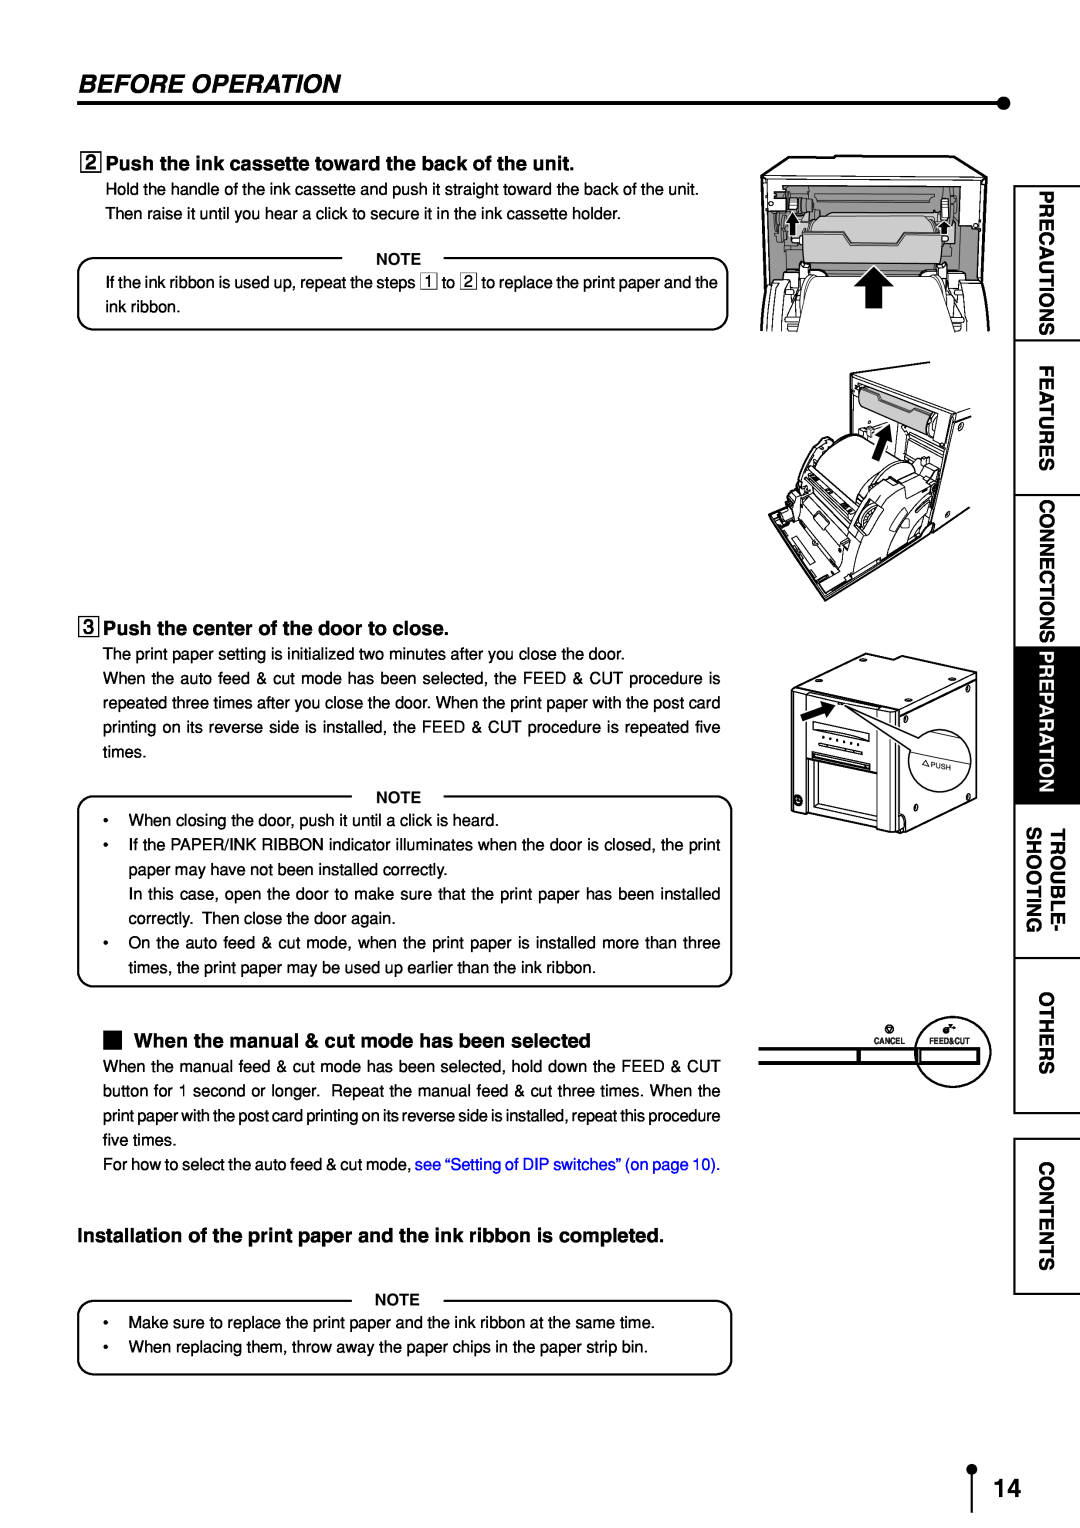
2Push the ink cassette toward the back of the unit.
Hold the handle of the ink cassette and push it straight toward the back of the unit.
Then raise it until you hear a click to secure it in the ink cassette holder.
NOTE
If the ink ribbon is used up, repeat the steps 1 to 2 to replace the print paper and the ink ribbon.
3Push the center of the door to close.
The print paper setting is initialized two minutes after you close the door.
When the auto feed & cut mode has been selected, the FEED & CUT procedure is repeated three times after you close the door. When the print paper with the post card printing on its reverse side is installed, the FEED & CUT procedure is repeated five times.
NOTE
•When closing the door, push it until a click is heard.
•If the PAPER/INK RIBBON indicator illuminates when the door is closed, the print paper may have not been installed correctly.
In this case, open the door to make sure that the print paper has been installed correctly. Then close the door again.
•On the auto feed & cut mode, when the print paper is installed more than three times, the print paper may be used up earlier than the ink ribbon.
2 When the manual & cut mode has been selected | CANCEL FEED&CUT |
|
When the manual feed & cut mode has been selected, hold down the FEED & CUT button for 1 second or longer. Repeat the manual feed & cut three times. When the print paper with the post card printing on its reverse side is installed, repeat this procedure five times.
For how to select the auto feed & cut mode, see “Setting of DIP switches” (on page 10).
Installation of the print paper and the ink ribbon is completed.
NOTE
•Make sure to replace the print paper and the ink ribbon at the same time.
•When replacing them, throw away the paper chips in the paper strip bin.
PRECAUTIONS | |
FEATURES | |
| |
CONNECTIONS | |
PREPARATION | |
|
|
SHOOTING | TROUBLE- |
| |
OTHERS | |
|
|
CONTENTS
14