DATA PROJECTOR specifications
Mitsubishi Electronics has been a prominent player in the realm of projector technology, consistently providing high-quality data projectors designed to meet the demands of both professional and educational environments. Their data projectors are known for their exceptional brightness, clarity, and advanced features, making them a significant choice for presentations, meetings, and lectures.One of the standout features of Mitsubishi data projectors is their high brightness capability. With luminous output reaching up to 5,000 ANSI lumens, these projectors ensure presentations remain clear and visible in various lighting conditions. This is especially crucial for large venues or rooms with significant ambient light. The powerful brightness is paired with high contrast ratios, delivering sharp and detailed images that bring content to life.
Mitsubishi projectors incorporate advanced LCD and DLP technologies, ensuring vibrant colors and excellent image quality. The use of 3LCD technology in some models provides a wider color gamut, resulting in more accurate color reproduction. This is beneficial for presentations that involve graphics and media, where color fidelity is essential to convey the right message.
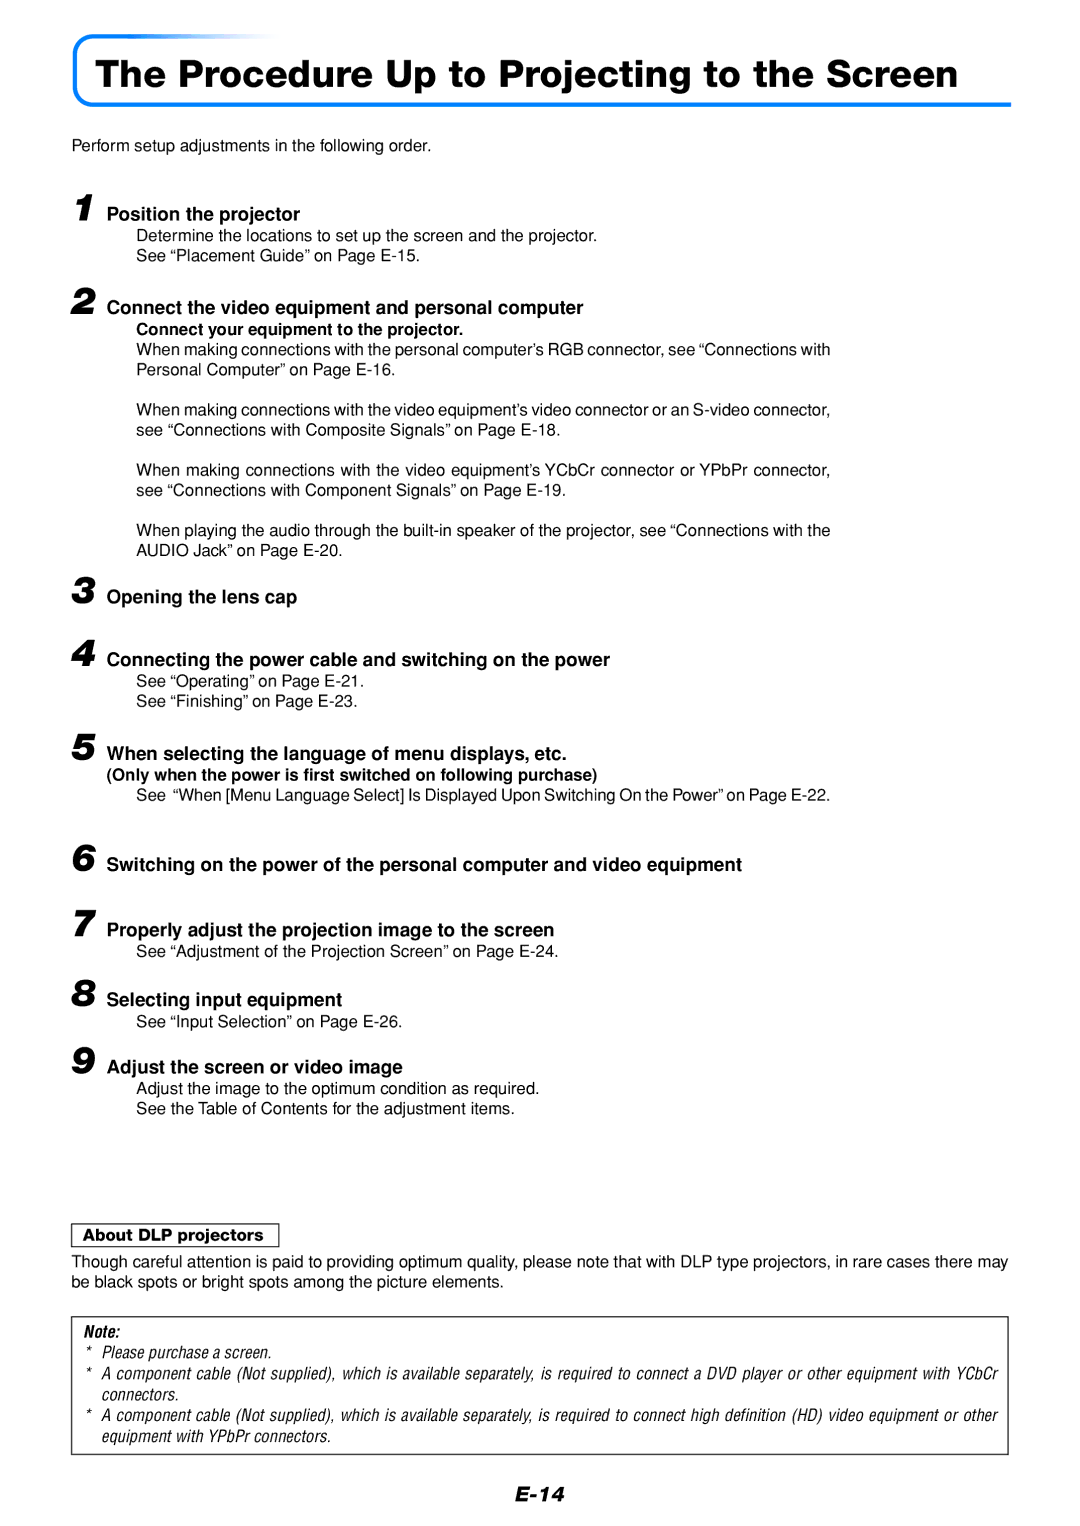
Portability is another key characteristic of Mitsubishi data projectors. Many models are designed to be lightweight and compact, allowing for easy transportation between different venues. Features such as quick startup and shutdown times enhance usability, making it convenient for users who require quick setup and takedown during events.
In terms of connectivity, Mitsubishi projectors offer versatile options, including HDMI, VGA, and USB ports. This diverse range of inputs ensures compatibility with various devices such as laptops, tablets, and smartphones. Some models even support wireless connectivity, allowing for seamless presentations without the hassle of cables.
Mitsubishi Electronics also emphasizes user-friendly interfaces in their data projectors. Often equipped with intuitive control panels and remote controls, these projectors allow users to easily adjust settings and switch between input sources. Additionally, features like automatic keystone correction help maintain image quality by ensuring the projected output remains straight and properly aligned.
Durability and energy efficiency are further notable attributes of Mitsubishi data projectors. Many models are designed with long-lasting lamp life, reducing the need for frequent replacements, which not only saves costs but also contributes to a lower environmental impact.
In conclusion, Mitsubishi Electronics’ data projectors blend advanced technology with user-friendly features to cater to varying presentation needs. Their projectors are engineered for brightness, excellent image quality, and convenience, making them an ideal choice for anyone looking for reliable projection solutions in professional and educational settings.

