Copying the recorded data (continued)
 Playback software
When copying the data to CD/DVD or USB memory, the needed PC playback software is automatically copied on to the disc. Refer to the following for using the software.
 System requirements
•OS: Microsoft Windows 2000 or Windows XP.
•CPU: IBM PC/AT compatible with an Intel Pentium series processor of at least 500 MHz.
•RAM: 256 MB or more.
•Hard disk drive: System drive with unused space of at least 200 MB.
•Display device: XGA (1024 pixels X 768 pixels) or higher.
 Starting up the application software
step1. Load the CD/DVD/USB memory to the personal computer which has been used for copy.
step2.
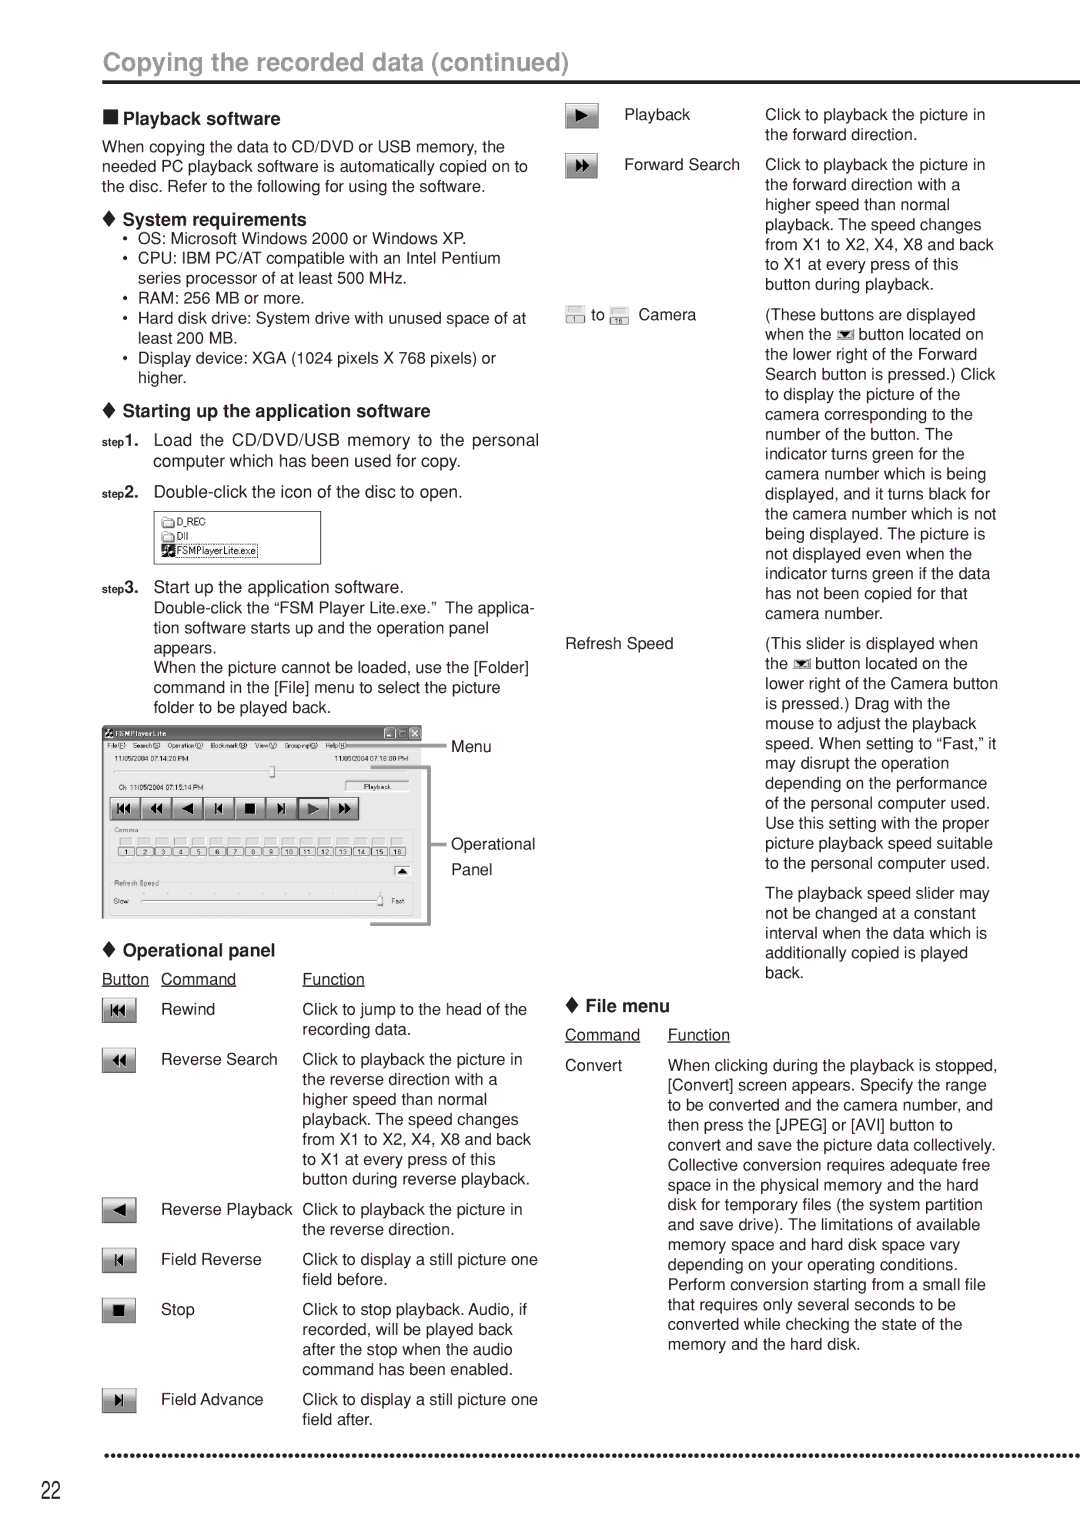
step3. Start up the application software.
When the picture cannot be loaded, use the [Folder] command in the [File] menu to select the picture folder to be played back.
Menu
|
|
|
| Operational |
|
|
|
| |
|
|
|
| Panel |
Operational panel |
|
|
|
|
|
|
|
| |
Button Command | Function | |||
Rewind | Click to jump to the head of the | |||
| recording data. | |||
Reverse Search | Click to playback the picture in | |||
| the reverse direction with a | |||
| higher speed than normal | |||
| playback. The speed changes | |||
| from X1 to X2, X4, X8 and back | |||
| to X1 at every press of this | |||
| button during reverse playback. | |||
Reverse Playback | Click to playback the picture in | |||
| the reverse direction. | |||
Field Reverse | Click to display a still picture one | |||
| field before. | |||
Stop | Click to stop playback. Audio, if | |||
| recorded, will be played back | |||
| after the stop when the audio | |||
| command has been enabled. | |||
Field Advance | Click to display a still picture one | |||
| field after. | |||
| Playback | Click to playback the picture in |
|
| the forward direction. |
| Forward Search | Click to playback the picture in |
|
| the forward direction with a |
|
| higher speed than normal |
|
| playback. The speed changes |
|
| from X1 to X2, X4, X8 and back |
|
| to X1 at every press of this |
|
| button during playback. |
to | Camera | (These buttons are displayed |
|
| when the button located on |
|
| the lower right of the Forward |
|
| Search button is pressed.) Click |
|
| to display the picture of the |
|
| camera corresponding to the |
|
| number of the button. The |
|
| indicator turns green for the |
|
| camera number which is being |
|
| displayed, and it turns black for |
|
| the camera number which is not |
|
| being displayed. The picture is |
|
| not displayed even when the |
|
| indicator turns green if the data |
|
| has not been copied for that |
|
| camera number. |
Refresh Speed | (This slider is displayed when | |
|
| the button located on the |
lower right of the Camera button is pressed.) Drag with the mouse to adjust the playback speed. When setting to “Fast,” it may disrupt the operation depending on the performance of the personal computer used. Use this setting with the proper picture playback speed suitable to the personal computer used.
The playback speed slider may not be changed at a constant interval when the data which is additionally copied is played back.
 File menu
Command | Function |
Convert | When clicking during the playback is stopped, |
| [Convert] screen appears. Specify the range |
| to be converted and the camera number, and |
| then press the [JPEG] or [AVI] button to |
| convert and save the picture data collectively. |
| Collective conversion requires adequate free |
| space in the physical memory and the hard |
| disk for temporary files (the system partition |
| and save drive). The limitations of available |
| memory space and hard disk space vary |
| depending on your operating conditions. |
| Perform conversion starting from a small file |
| that requires only several seconds to be |
| converted while checking the state of the |
| memory and the hard disk. |
••••••••••••••••••••••••••••••••••••••••••••••••••••••••••••••••••••••••••••••••••••••••••••••••••••••••••••••••••••••••••••••••••••••••••••••••••••••••••
22
