Communications by Web Browser (continued)
 Configuration Menu
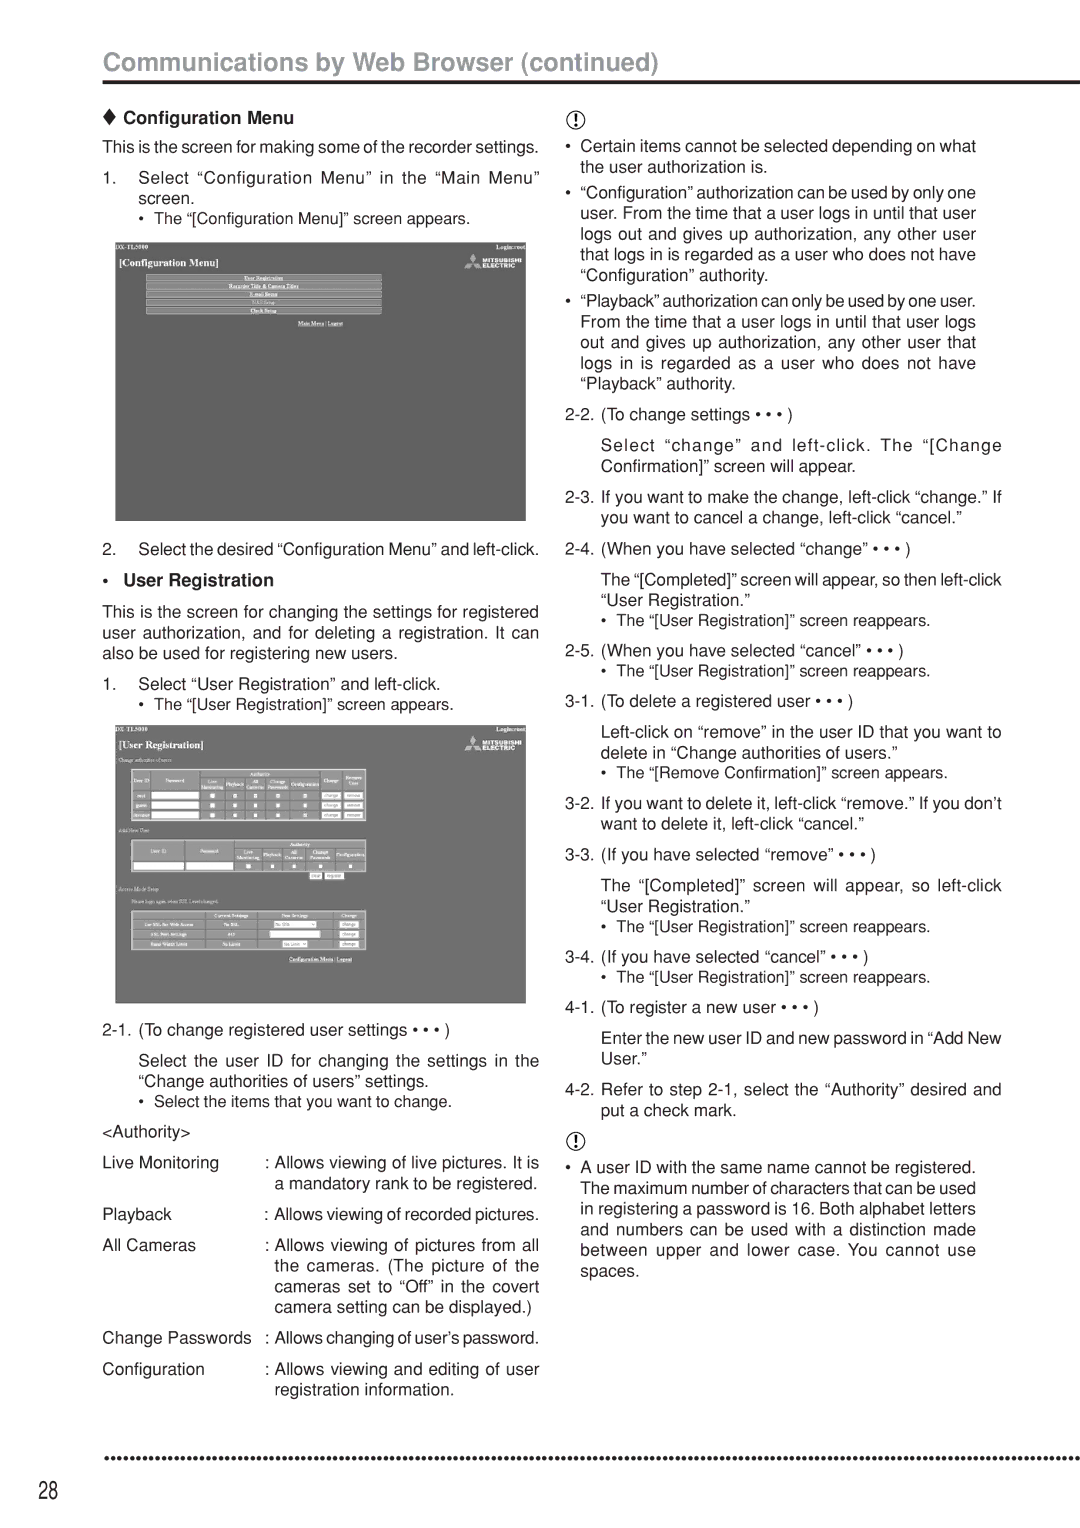
This is the screen for making some of the recorder settings.
1.Select “Configuration Menu” in the “Main Menu” screen.
• The “[Configuration Menu]” screen appears.
2.Select the desired “Configuration Menu” and
•User Registration
This is the screen for changing the settings for registered user authorization, and for deleting a registration. It can also be used for registering new users.
1.Select “User Registration” and
• The “[User Registration]” screen appears.
Select the user ID for changing the settings in the “Change authorities of users” settings.
•Select the items that you want to change.
<Authority> |
|
Live Monitoring | : Allows viewing of live pictures. It is |
| a mandatory rank to be registered. |
Playback | : Allows viewing of recorded pictures. |
All Cameras | : Allows viewing of pictures from all |
| the cameras. (The picture of the |
| cameras set to “Off” in the covert |
| camera setting can be displayed.) |
Change Passwords | : Allows changing of user’s password. |
Configuration | : Allows viewing and editing of user |
| registration information. |
•Certain items cannot be selected depending on what the user authorization is.
•“Configuration” authorization can be used by only one user. From the time that a user logs in until that user logs out and gives up authorization, any other user that logs in is regarded as a user who does not have “Configuration” authority.
•“Playback” authorization can only be used by one user. From the time that a user logs in until that user logs out and gives up authorization, any other user that logs in is regarded as a user who does not have “Playback” authority.
Select “change” and
The “[Completed]” screen will appear, so then
•The “[User Registration]” screen reappears.
•The “[User Registration]” screen reappears.
•The “[Remove Confirmation]” screen appears.
The “[Completed]” screen will appear, so
•The “[User Registration]” screen reappears.
•The “[User Registration]” screen reappears.
Enter the new user ID and new password in “Add New User.”
•A user ID with the same name cannot be registered. The maximum number of characters that can be used in registering a password is 16. Both alphabet letters and numbers can be used with a distinction made between upper and lower case. You cannot use spaces.
••••••••••••••••••••••••••••••••••••••••••••••••••••••••••••••••••••••••••••••••••••••••••••••••••••••••••••••••••••••••••••••••••••••••••••••••••••••••••
28