Menu operation (continued)
Basic operation
Several settings can be adjusted using the menu. Example : Brightness setting
1.Press the MENU button.
2.Press the S or T button to select Picture.
Menu Options
Set the following options provided in the respective menus.
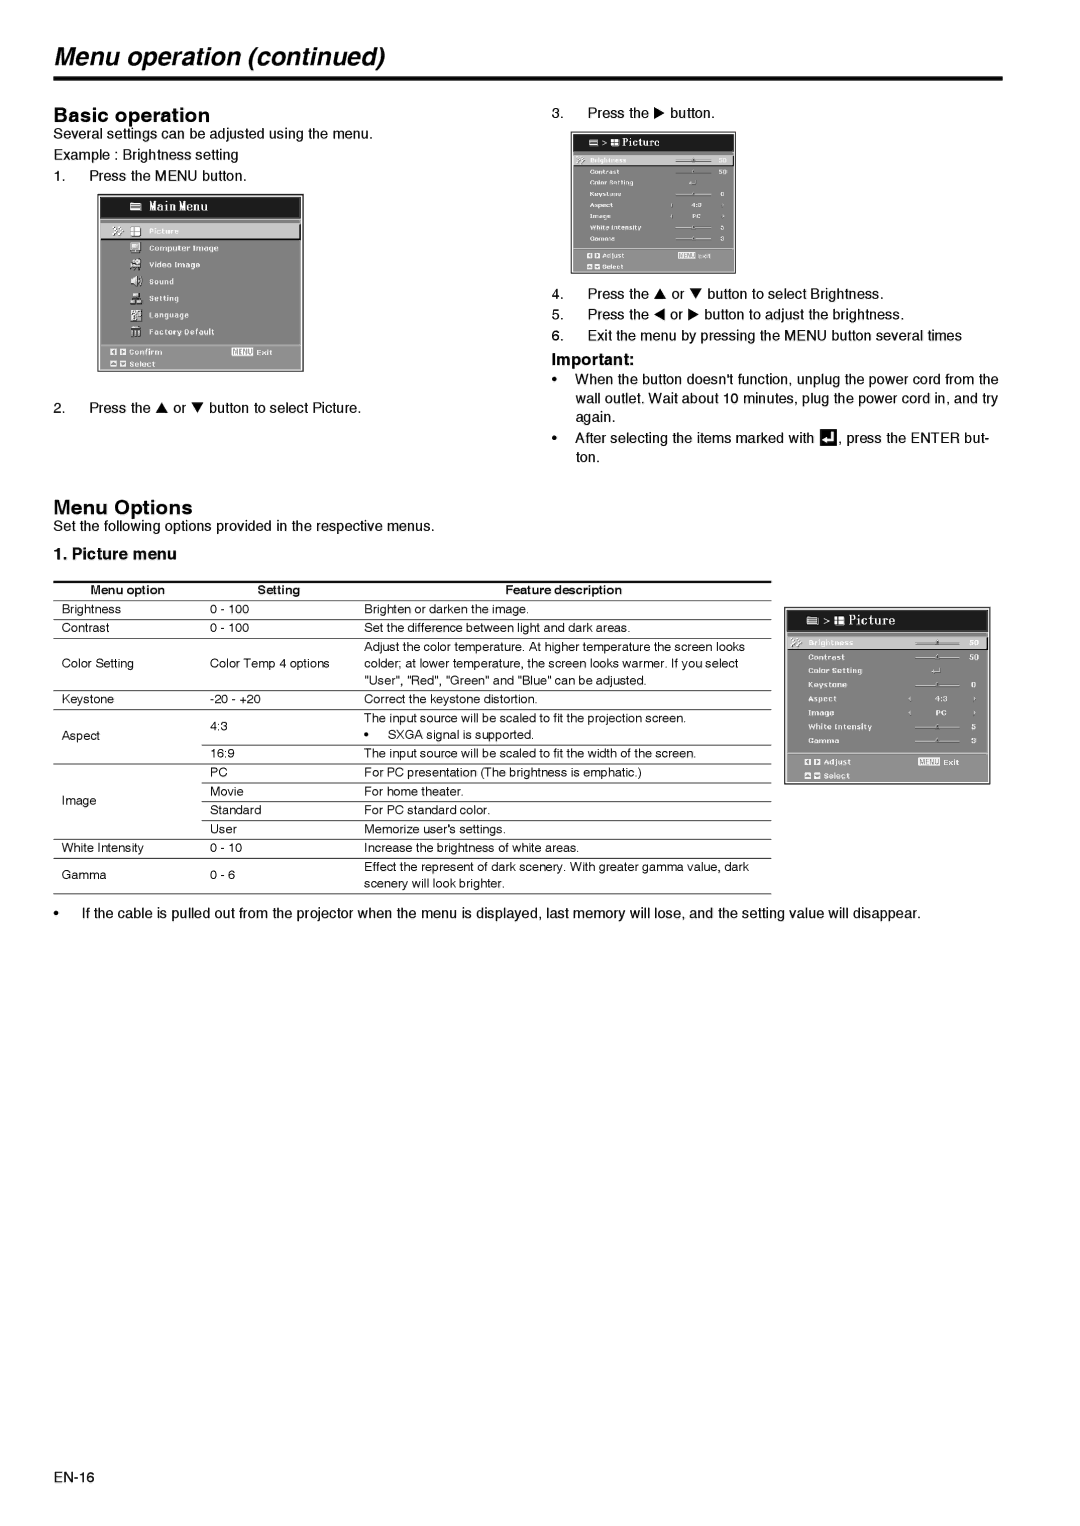
1. Picture menu
3.Press the X button.
4.Press the S or T button to select Brightness.
5.Press the W or X button to adjust the brightness.
6.Exit the menu by pressing the MENU button several times
Important:
• When the button doesn't function, unplug the power cord from the wall outlet. Wait about 10 minutes, plug the power cord in, and try again.
• After selecting the items marked with ![]() , press the ENTER but- ton.
, press the ENTER but- ton.
Menu option | Setting | Feature description | |
Brightness | 0 - 100 | Brighten or darken the image. | |
Contrast | 0 - 100 | Set the difference between light and dark areas. | |
|
| Adjust the color temperature. At higher temperature the screen looks | |
Color Setting | Color Temp 4 options | colder; at lower temperature, the screen looks warmer. If you select | |
|
| "User", "Red", "Green" and "Blue" can be adjusted. | |
|
|
| |
Keystone | Correct the keystone distortion. | ||
|
|
| |
| 4:3 | The input source will be scaled to fit the projection screen. | |
Aspect | • SXGA signal is supported. | ||
| |||
| 16:9 | The input source will be scaled to fit the width of the screen. | |
| PC | For PC presentation (The brightness is emphatic.) | |
Image | Movie | For home theater. | |
Standard | For PC standard color. | ||
| |||
| User | Memorize user's settings. | |
White Intensity | 0 - 10 | Increase the brightness of white areas. | |
Gamma | 0 - 6 | Effect the represent of dark scenery. With greater gamma value, dark | |
scenery will look brighter. | |||
|
|
•If the cable is pulled out from the projector when the menu is displayed, last memory will lose, and the setting value will disappear.
