Menu operation (continued)
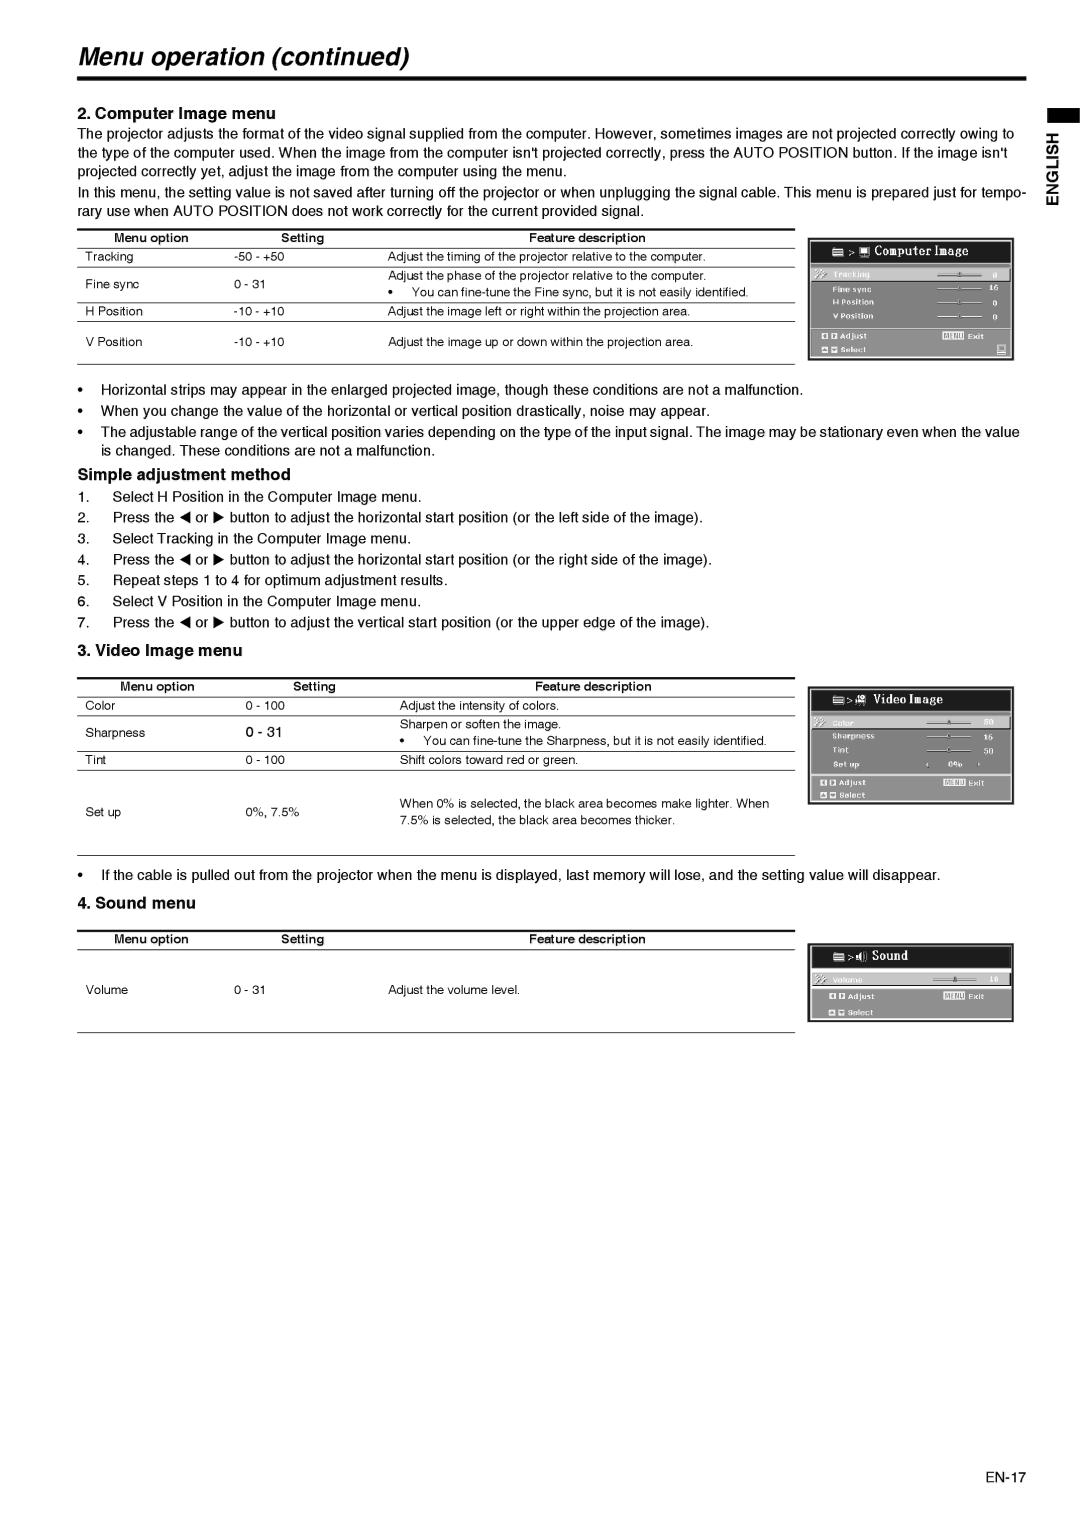
2. Computer Image menu
The projector adjusts the format of the video signal supplied from the computer. However, sometimes images are not projected correctly owing to the type of the computer used. When the image from the computer isn't projected correctly, press the AUTO POSITION button. If the image isn't projected correctly yet, adjust the image from the computer using the menu.
In this menu, the setting value is not saved after turning off the projector or when unplugging the signal cable. This menu is prepared just for tempo- rary use when AUTO POSITION does not work correctly for the current provided signal.
Menu option | Setting | Feature description | |
Tracking | Adjust the timing of the projector relative to the computer. | ||
|
|
| |
Fine sync | 0 - 31 | Adjust the phase of the projector relative to the computer. | |
• You can | |||
|
| ||
|
|
| |
H Position | Adjust the image left or right within the projection area. | ||
|
|
| |
V Position | Adjust the image up or down within the projection area. |
•Horizontal strips may appear in the enlarged projected image, though these conditions are not a malfunction.
•When you change the value of the horizontal or vertical position drastically, noise may appear.
•The adjustable range of the vertical position varies depending on the type of the input signal. The image may be stationary even when the value is changed. These conditions are not a malfunction.
Simple adjustment method
1.Select H Position in the Computer Image menu.
2.Press the W or X button to adjust the horizontal start position (or the left side of the image).
3.Select Tracking in the Computer Image menu.
4.Press the W or X button to adjust the horizontal start position (or the right side of the image).
5.Repeat steps 1 to 4 for optimum adjustment results.
6.Select V Position in the Computer Image menu.
7.Press the W or X button to adjust the vertical start position (or the upper edge of the image).
3. Video Image menu
Menu option | Setting | Feature description | |
Color | 0 - 100 | Adjust the intensity of colors. | |
|
|
| |
Sharpness | 0 - 31 | Sharpen or soften the image. | |
• You can | |||
|
| ||
Tint | 0 - 100 | Shift colors toward red or green. | |
Set up | 0%, 7.5% | When 0% is selected, the black area becomes make lighter. When | |
7.5% is selected, the black area becomes thicker. | |||
|
|
ENGLISH
•If the cable is pulled out from the projector when the menu is displayed, last memory will lose, and the setting value will disappear.
4. Sound menu
Menu option | Setting | Feature description |
Volume | 0 - 31 | Adjust the volume level. |
|
|
|