Image adjustment (continued)

BrilliantColorTM

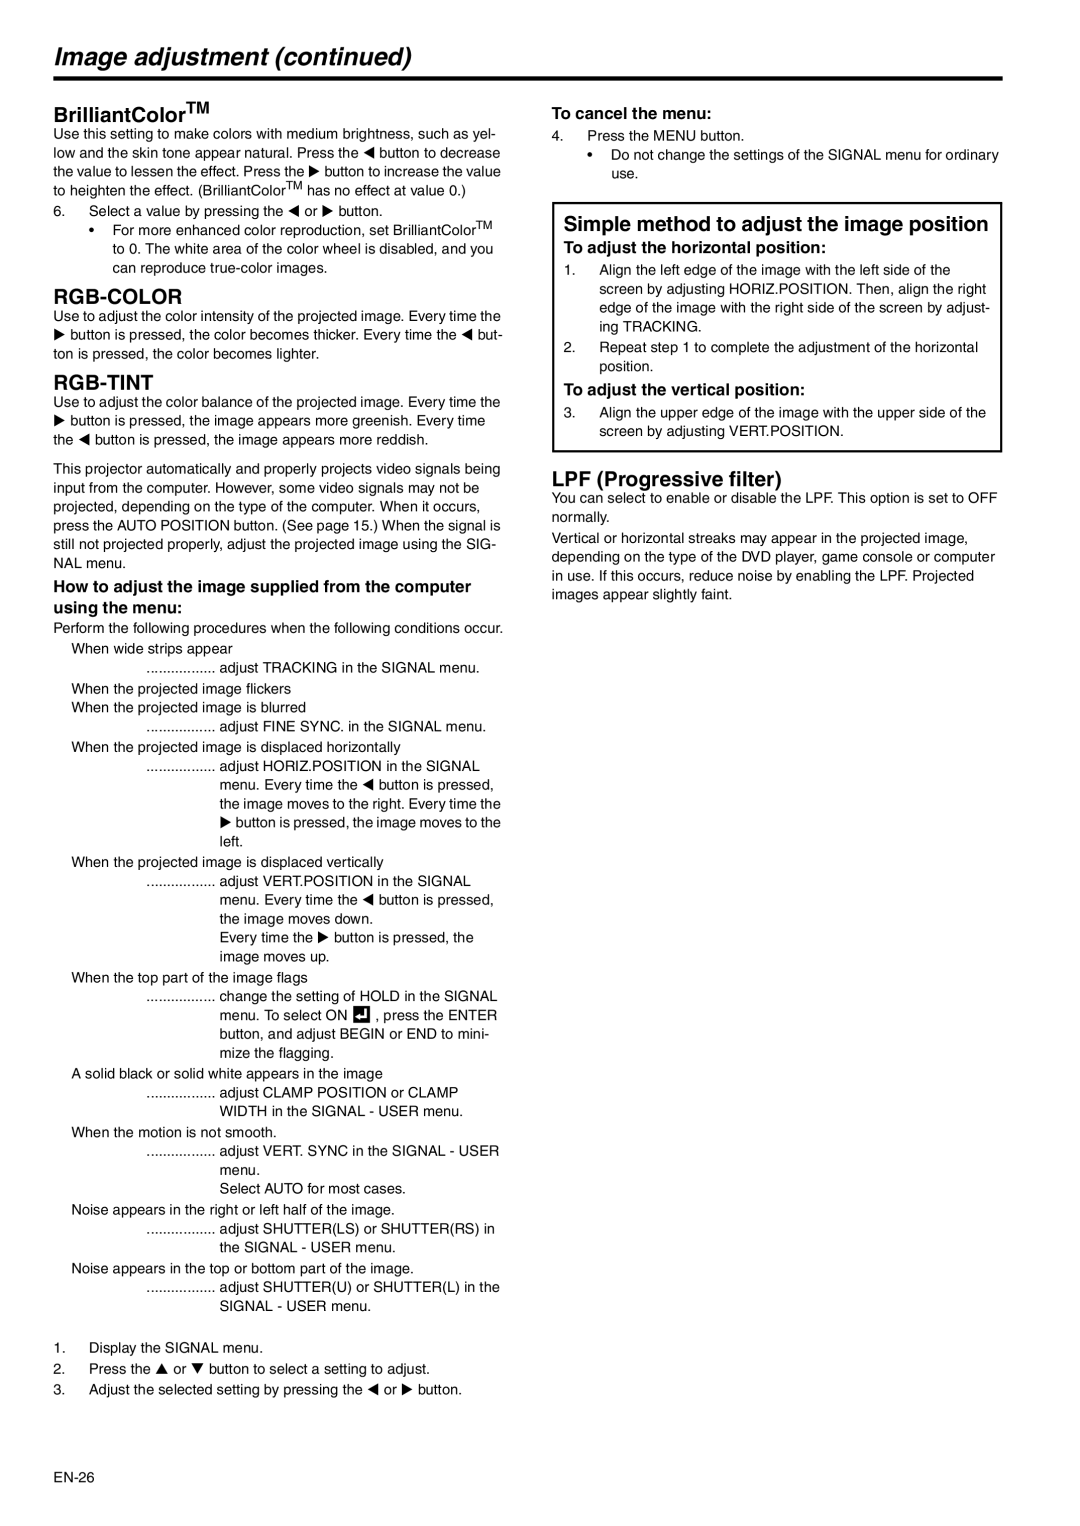
Use this setting to make colors with medium brightness, such as yel- low and the skin tone appear natural. Press the W button to decrease the value to lessen the effect. Press the X button to increase the value to heighten the effect. (BrilliantColorTM has no effect at value 0.)

6.Select a value by pressing the W or X button.

For more enhanced color reproduction, set BrilliantColorTM to 0. The white area of the color wheel is disabled, and you can reproduce true-color images.

RGB-COLOR

Use to adjust the color intensity of the projected image. Every time the

Xbutton is pressed, the color becomes thicker. Every time the W but- ton is pressed, the color becomes lighter.

RGB-TINT

Use to adjust the color balance of the projected image. Every time the

Xbutton is pressed, the image appears more greenish. Every time the W button is pressed, the image appears more reddish.

This projector automatically and properly projects video signals being input from the computer. However, some video signals may not be projected, depending on the type of the computer. When it occurs, press the AUTO POSITION button. (See page 15.) When the signal is still not projected properly, adjust the projected image using the SIG- NAL menu.

How to adjust the image supplied from the computer using the menu:

Perform the following procedures when the following conditions occur. When wide strips appear

................. adjust TRACKING in the SIGNAL menu.

When the projected image flickers When the projected image is blurred

................. adjust FINE SYNC. in the SIGNAL menu.

When the projected image is displaced horizontally

................. adjust HORIZ.POSITION in the SIGNAL

menu. Every time the W button is pressed, the image moves to the right. Every time the

Xbutton is pressed, the image moves to the left.

When the projected image is displaced vertically

................. adjust VERT.POSITION in the SIGNAL

menu. Every time the W button is pressed, the image moves down.

Every time the X button is pressed, the image moves up.

When the top part of the image flags

................. change the setting of HOLD in the SIGNAL

menu. To select ON , press the ENTER button, and adjust BEGIN or END to mini- mize the flagging.

A solid black or solid white appears in the image

................. adjust CLAMP POSITION or CLAMP

WIDTH in the SIGNAL - USER menu. When the motion is not smooth.

................. adjust VERT. SYNC in the SIGNAL - USER

menu.

Select AUTO for most cases.

Noise appears in the right or left half of the image.

................. adjust SHUTTER(LS) or SHUTTER(RS) in

the SIGNAL - USER menu.

Noise appears in the top or bottom part of the image.

................. adjust SHUTTER(U) or SHUTTER(L) in the

SIGNAL - USER menu.

1.Display the SIGNAL menu.

2.Press the S or T button to select a setting to adjust.

3.Adjust the selected setting by pressing the W or X button.

To cancel the menu:

4.Press the MENU button.

Do not change the settings of the SIGNAL menu for ordinary use.

Simple method to adjust the image position

To adjust the horizontal position:

1.Align the left edge of the image with the left side of the screen by adjusting HORIZ.POSITION. Then, align the right edge of the image with the right side of the screen by adjust- ing TRACKING.

2.Repeat step 1 to complete the adjustment of the horizontal position.

To adjust the vertical position:

3.Align the upper edge of the image with the upper side of the screen by adjusting VERT.POSITION.

LPF (Progressive filter)

You can select to enable or disable the LPF. This option is set to OFF normally.

Vertical or horizontal streaks may appear in the projected image, depending on the type of the DVD player, game console or computer in use. If this occurs, reduce noise by enabling the LPF. Projected images appear slightly faint.

EN-26

Page 26
Image 26
Mitsubishi Electronics XD250U-ST user manual Image adjustment, BrilliantColorTM, Simple method to adjust the image position

XD250U-ST specifications

The Mitsubishi Electronics XD250U-ST is a versatile and compact projector designed to meet the needs of various professional environments, including classrooms, conference rooms, and small theatres. With its remarkable features and advanced technologies, this projector offers exceptional performance and reliability.

At the core of the XD250U-ST is its impressive resolution. It boasts a native SVGA resolution of 800 x 600 pixels, providing clear and detailed images that are vital for presentations and educational purposes. The projector has a brightness rating of 2500 ANSI lumens, ensuring that even in well-lit rooms, your visuals remain vivid and easily visible. The contrast ratio of 2000:1 further enhances image quality, allowing for deeper blacks and brighter whites, making your content more engaging.

One of the standout features of the XD250U-ST is its ultra-short throw capability. This technology enables the projector to create a large display from a very short distance, reducing the need for extensive installation space. With a throw ratio of just 0.5:1, it can project a 100-inch image from only about 4 feet away. This makes it particularly suitable for smaller rooms where placement options might be limited.

The XD250U-ST also incorporates advanced color reproduction technologies. With Mitsubishi’s proprietary color management system, the projector delivers vibrant colors and accurate color separation. This ensures that presentations, videos, and images appear true to life, enhancing overall visual impact.

In addition to its performance characteristics, the XD250U-ST offers a variety of connectivity options. It comes equipped with multiple input ports, including VGA, HDMI, and composite video, allowing for easy connections to a wide range of devices such as laptops, DVD players, and document cameras. The inclusion of an RS-232 port also allows for integration with control systems, facilitating seamless use in automated environments.

The projector is designed with user convenience in mind. It features an intuitive interface, making navigation and setup straightforward. With its lightweight and portable design, the XD250U-ST can easily be transported between different locations, making it an ideal choice for mobile professionals.

In summary, the Mitsubishi Electronics XD250U-ST combines high-quality projection capabilities with user-friendly features and advanced technologies, making it a reliable choice for anyone looking to enhance their visual presentation experience. Its combination of brightness, resolution, ultra-short throw capabilities, and connectivity options ensures that it can meet the demands of various applications, from education to business environments.