How to use the administration screen (continued)
Changing the network settings
•For the setting items, ask your network administrator.
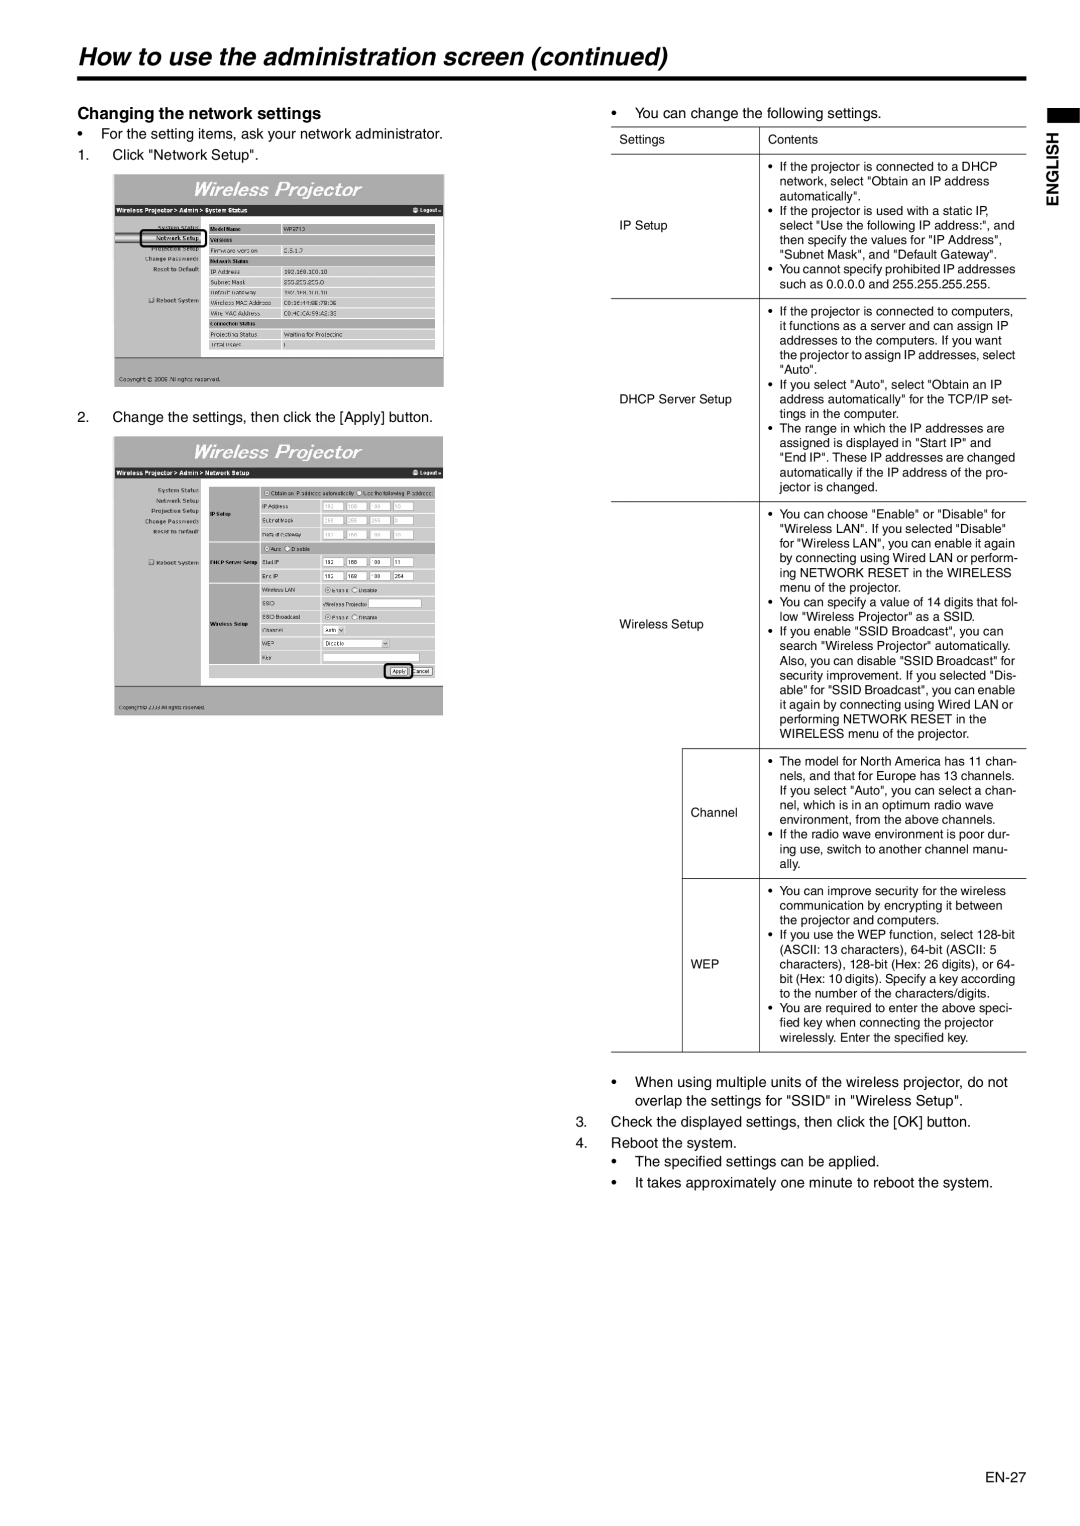
1.Click "Network Setup".
2.Change the settings, then click the [Apply] button.
•You can change the following settings.
Settings | Contents | |||
|
|
|
| |
|
| • | If the projector is connected to a DHCP | |
|
|
| network, select "Obtain an IP address | |
|
|
| automatically". | |
|
| • | If the projector is used with a static IP, | |
IP Setup |
| select "Use the following IP address:", and | ||
|
|
| then specify the values for "IP Address", | |
|
|
| "Subnet Mask", and "Default Gateway". | |
|
| • You cannot specify prohibited IP addresses | ||
|
|
| such as 0.0.0.0 and 255.255.255.255. | |
|
|
|
| |
|
| • | If the projector is connected to computers, | |
|
|
| it functions as a server and can assign IP | |
|
|
| addresses to the computers. If you want | |
|
|
| the projector to assign IP addresses, select | |
|
|
| "Auto". | |
|
| • | If you select "Auto", select "Obtain an IP | |
DHCP Server Setup |
| address automatically" for the TCP/IP set- | ||
|
|
| tings in the computer. | |
|
| • | The range in which the IP addresses are | |
|
|
| assigned is displayed in "Start IP" and | |
|
|
| "End IP". These IP addresses are changed | |
|
|
| automatically if the IP address of the pro- | |
|
|
| jector is changed. | |
|
|
|
| |
|
| • | You can choose "Enable" or "Disable" for | |
|
|
| "Wireless LAN". If you selected "Disable" | |
|
|
| for "Wireless LAN", you can enable it again | |
|
|
| by connecting using Wired LAN or perform- | |
|
|
| ing NETWORK RESET in the WIRELESS | |
|
|
| menu of the projector. | |
|
| • | You can specify a value of 14 digits that fol- | |
Wireless Setup |
| low "Wireless Projector" as a SSID. | ||
• | If you enable "SSID Broadcast", you can | |||
|
| |||
|
|
| search "Wireless Projector" automatically. | |
|
|
| Also, you can disable "SSID Broadcast" for | |
|
|
| security improvement. If you selected "Dis- | |
|
|
| able" for "SSID Broadcast", you can enable | |
|
|
| it again by connecting using Wired LAN or | |
|
|
| performing NETWORK RESET in the | |
|
|
| WIRELESS menu of the projector. | |
|
|
|
| |
|
| • | The model for North America has 11 chan- | |
|
|
| nels, and that for Europe has 13 channels. | |
|
|
| If you select "Auto", you can select a chan- | |
| Channel |
| nel, which is in an optimum radio wave | |
|
| environment, from the above channels. | ||
|
|
| ||
|
| • | If the radio wave environment is poor dur- | |
|
|
| ing use, switch to another channel manu- | |
|
|
| ally. | |
|
|
|
| |
|
| • | You can improve security for the wireless | |
|
|
| communication by encrypting it between | |
|
|
| the projector and computers. | |
|
| • | If you use the WEP function, select | |
|
|
| (ASCII: 13 characters), | |
| WEP |
| characters), | |
|
|
| bit (Hex: 10 digits). Specify a key according | |
|
|
| to the number of the characters/digits. | |
|
| • | You are required to enter the above speci- | |
|
|
| fied key when connecting the projector | |
|
|
| wirelessly. Enter the specified key. | |
|
|
|
| |
ENGLISH
•When using multiple units of the wireless projector, do not overlap the settings for "SSID" in "Wireless Setup".
3.Check the displayed settings, then click the [OK] button.
4.Reboot the system.
•The specified settings can be applied.
•It takes approximately one minute to reboot the system.