DCT6200, DCT5100 specifications
The Motorola DCT6200 and DCT6208 are advanced digital cable set-top boxes designed to enhance the television viewing experience by leveraging modern technology and user-friendly features. Both models are packed with a range of functionalities that enable users to enjoy high-quality digital content.The DCT6200 is known for its robust performance, supporting digital video broadcasting and a variety of media formats. It offers a decoding capability of MPEG-2, which allows for high-quality video playback. This model is equipped with an integrated electronic program guide (EPG) that simplifies content discovery, empowering viewers to browse channels easily, schedule recordings, and set reminders for their favorite shows. The DCT6200 is also compatible with video on demand (VOD), enabling users to access a vast library of programming.
On the other hand, the DCT6208 takes it a step further by including an integrated hard drive for personal video recording (PVR) functionality, allowing users to record live television for later viewing. With multi-stream capabilities, the DCT6208 can record multiple programs while simultaneously providing access to other live channels. This model also features an enhanced EPG, providing additional options, such as favorite channels and search functionalities that help users quickly find what they want to watch.
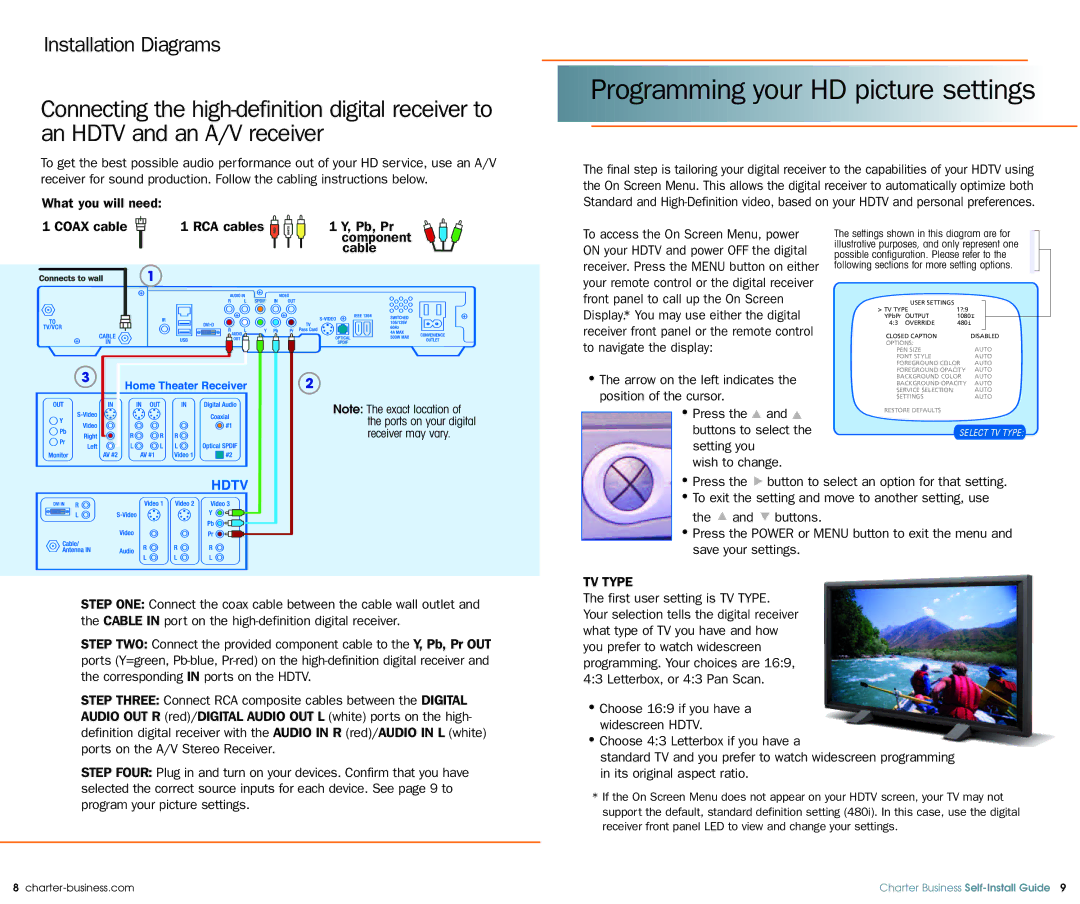
Both set-top boxes support various connectivity options, including HDMI, composite video, and component outputs, ensuring compatibility with a wide range of televisions and audio systems. The devices also incorporate advanced security features, such as conditional access and digital rights management, to safeguard content access and protect user privacy.
In terms of user experience, both models are designed with easy-to-navigate interfaces and remote controls, making it simple for anyone to operate, regardless of technical expertise. The sleek design of these devices allows them to blend seamlessly with home entertainment setups.
In conclusion, the Motorola DCT6200 and DCT6208 digital cable set-top boxes stand out with their excellent performance, support for high-definition content, and valuable features like PVR capabilities and user-friendly interfaces. These characteristics make them ideal choices for viewers looking to enhance their cable television experience.

