A PLOTSTALKER SOFTWARE INTRO
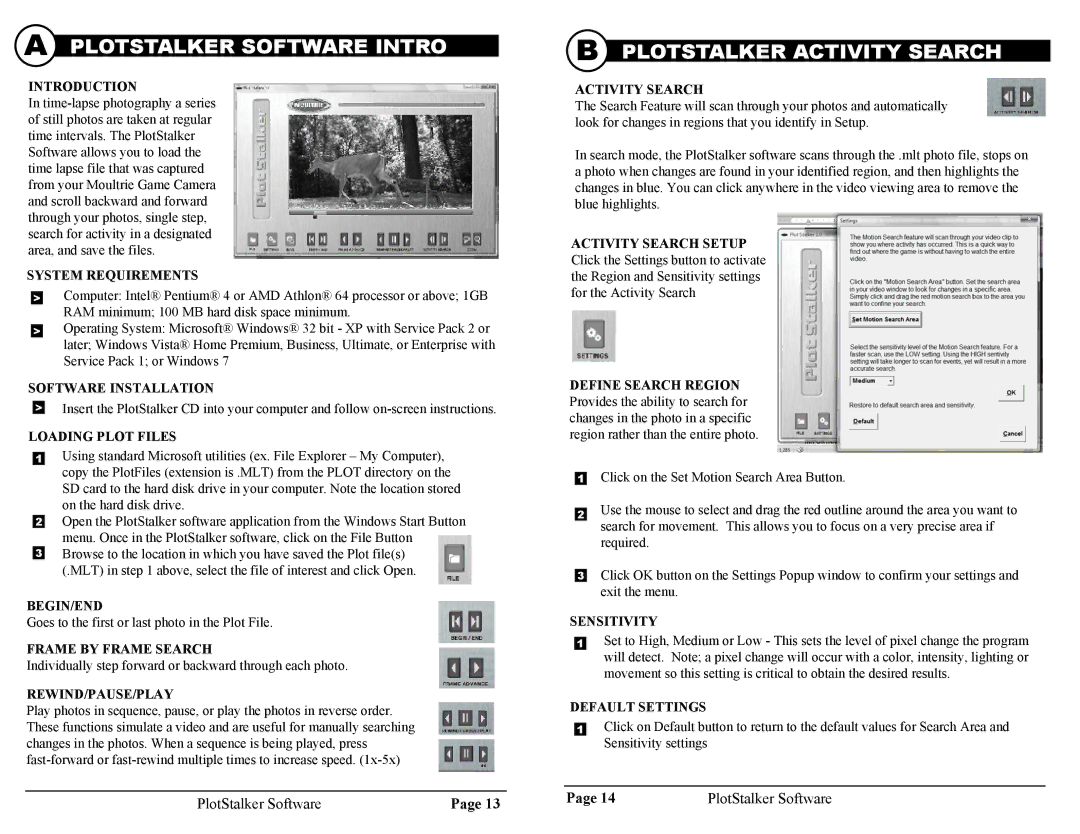
INTRODUCTION
In
SYSTEM REQUIREMENTS
>Computer: Intel® Pentium® 4 or AMD Athlon® 64 processor or above; 1GB RAM minimum; 100 MB hard disk space minimum.
>Operating System: Microsoft® Windows® 32 bit - XP with Service Pack 2 or later; Windows Vista® Home Premium, Business, Ultimate, or Enterprise with Service Pack 1; or Windows 7
SOFTWARE INSTALLATION
>Insert the PlotStalker CD into your computer and follow
LOADING PLOT FILES
1Using standard Microsoft utilities (ex. File Explorer – My Computer), copy the PlotFiles (extension is .MLT) from the PLOT directory on the SD card to the hard disk drive in your computer. Note the location stored on the hard disk drive.
2Open the PlotStalker software application from the Windows Start Button menu. Once in the PlotStalker software, click on the File Button
3Browse to the location in which you have saved the Plot file(s) (.MLT) in step 1 above, select the file of interest and click Open.
BEGIN/END
Goes to the first or last photo in the Plot File.
FRAME BY FRAME SEARCH
Individually step forward or backward through each photo.
REWIND/PAUSE/PLAY
Play photos in sequence, pause, or play the photos in reverse order. These functions simulate a video and are useful for manually searching changes in the photos. When a sequence is being played, press
B PLOTSTALKER ACTIVITY SEARCH
ACTIVITY SEARCH
The Search Feature will scan through your photos and automatically look for changes in regions that you identify in Setup.
In search mode, the PlotStalker software scans through the .mlt photo file, stops on a photo when changes are found in your identified region, and then highlights the changes in blue. You can click anywhere in the video viewing area to remove the blue highlights.
ACTIVITY SEARCH SETUP Click the Settings button to activate the Region and Sensitivity settings for the Activity Search
DEFINE SEARCH REGION Provides the ability to search for changes in the photo in a specific region rather than the entire photo.
1Click on the Set Motion Search Area Button.
2Use the mouse to select and drag the red outline around the area you want to search for movement. This allows you to focus on a very precise area if required.
3Click OK button on the Settings Popup window to confirm your settings and exit the menu.
SENSITIVITY
1Set to High, Medium or Low - This sets the level of pixel change the program will detect. Note; a pixel change will occur with a color, intensity, lighting or movement so this setting is critical to obtain the desired results.
DEFAULT SETTINGS
1Click on Default button to return to the default values for Search Area and Sensitivity settings
|
|
| Page 14 | PlotStalker Software | |
PlotStalker Software | Page 13 | ||||
|
|
|
