S E T T I N G T H E C L O C K A N D D E L A Y B R E W T I M E On programmable models CGX20/CGX23 & CGTX84/CGTX85 only

To Set the Clock:

1.

Plug the power cord into a standard electrical outlet. The clock will flash on the control panel to


indicate that the time has not been set yet.

2.

Press and hold the HOUR and MINUTE buttons until you


Water Filtration System (Not included. Available at your favorite retailer or on mrcoffee.com)

Your coffeemaker has been designed to use the MR. COFFEE® water filtration system. This carbon- based water filter improves the taste of your coffee by removing up to 97% of the chlorine from the water you may use to brew your coffee.

First look for the MR. COFFEE® Filtration Friendly symbol on the bottom of your filter basket. If you do not see this symbol, please call 1-800-672-6333.

reach the current time. The PM indicator will light on the left

of the display.

The clock is now set!

NOTE: Pressing any button before setting the clock will cause the clock to start keeping time from 12:00 a.m. You must set the clock if you want to use the Delay Brew feature.

To Set the Delay Brew Time:

After setting the clock, simply press and hold the SET DELAY

button (Figure 1), and set the brew time by pressing the HOUR(Figure 1 – Set Delay) and MINUTE buttons. The PM indicator will light up on the

clock display.

The Delay Brew Time is now set!

NOTE: To activate the DELAY BREW cycle, see the “Brewing Coffee Later” section.

To check the programmed time, push the SET DELAY button. The display will show the time you have programmed the coffee to brew.

P R E P A R I N G F O R U S E

Selecting and Measuring Ground Coffee

For best results, use a level tablespoon for ground coffee measurement. Make sure you use medium grind coffee for a perfect brew.

Suggested Coffee Measurement Chart

To use the water filtration system in your MR. COFFEE® Coffeemaker, please follow these steps:

1.Using the red indicator on the frame water filter, align the indicator to the letter on the frame that corresponds with the month that you are using the disk for the first time. This serves to remind you to change the disk every month (approx. 30 brewing cycles).

2.Place the MR.COFFEE® paper or permanent filter in the filter basket. Place coffee grounds in the paper or permanent filter.

NOTE: For optimum results, use the water filtration system with a permanent filter.

3.Place the MR. COFFEE® water filter in the filter basket, making sure that the side marked “this side up” faces you and that the water filter is level.

4.Close the filter basket lid. You are now ready to brew a great tasting coffee.

5.When you are done brewing your coffee, rinse the water filter with fresh water. Do not put your water filter in the dishwasher.

To replace the water filter disks: twist the gray disk cover from your water filtration system. Remove the used disk. Insert the new disk into the frame and twist the cover back into place.

Red

Indicator

Frame

Filter Disk

Disk Cover

To Brew

Ground Coffee


12 Cups

9 tbsp.


10 Cups

7.5 tbsp.


8 Cups

6.5 tbsp.


6 Cups

4.5 tbsp.


4 Cups

3 tbsp.

1 level tablespoon (tbps) = 5 gr./0.17 oz.

Adding Water and Ground Coffee

1.Lift and open the filter basket lid. For your convenience, you can lift out the removable filter basket.

2.Place a MR. COFFEE® brand 10-12 cup paper basket-style filter or a MR. COFFEE® permanent filter into the removable filter basket. (Figure 2)

NOTE: If using paper filters, it is important that the sides of the filter fit flush against the side of the filter basket. If filter collapse occurs, dampen the filter before

placing in the filter basket and adding ground coffee and water.

1 cup = 5 fl. oz. of brewed coffee

Use more or less coffee to suit your taste.

3.Add the desired amount of coffee and gently shake to level the coffee. See the Suggested Coffee Measurement Chart.

4.If using the Mr. Coffee® Water Filtration System: after following instructions in the Water Filtration System section, place the Mr. Coffee® water filter in the filter basket, making sure that the side marked “this side up” faces you and that the water filter is level.

5.Be sure the filter basket is properly centered and all the way down in the filter basket.

(Figure 2 – Adding water and ground coffee)

6

7

Page 4
Image 4
Mr. Coffee 114202 user manual E P a R I N G F O R U S E

114202 specifications

The Mr. Coffee 114202 is a popular coffee maker that combines ease of use with reliability, making it a favorite among coffee enthusiasts. Known for its straightforward design, this machine simplifies the brewing process while delivering a rich and flavorful cup of coffee.

One of the standout features of the Mr. Coffee 114202 is its user-friendly interface. With a simple on/off switch and an easy-to-read coffee level indicator, users can quickly prepare their brew without any complicated settings or buttons. This makes it particularly appealing for individuals who appreciate simplicity in their kitchen appliances.

The Mr. Coffee 114202 has a generous capacity, typically brewing up to 12 cups of coffee at a time. This makes it an excellent choice for large families or gatherings, ensuring that there is enough coffee to go around. The carafe is designed for easy pouring, with a drip-free spout that minimizes spills and messes, adding to the overall user experience.

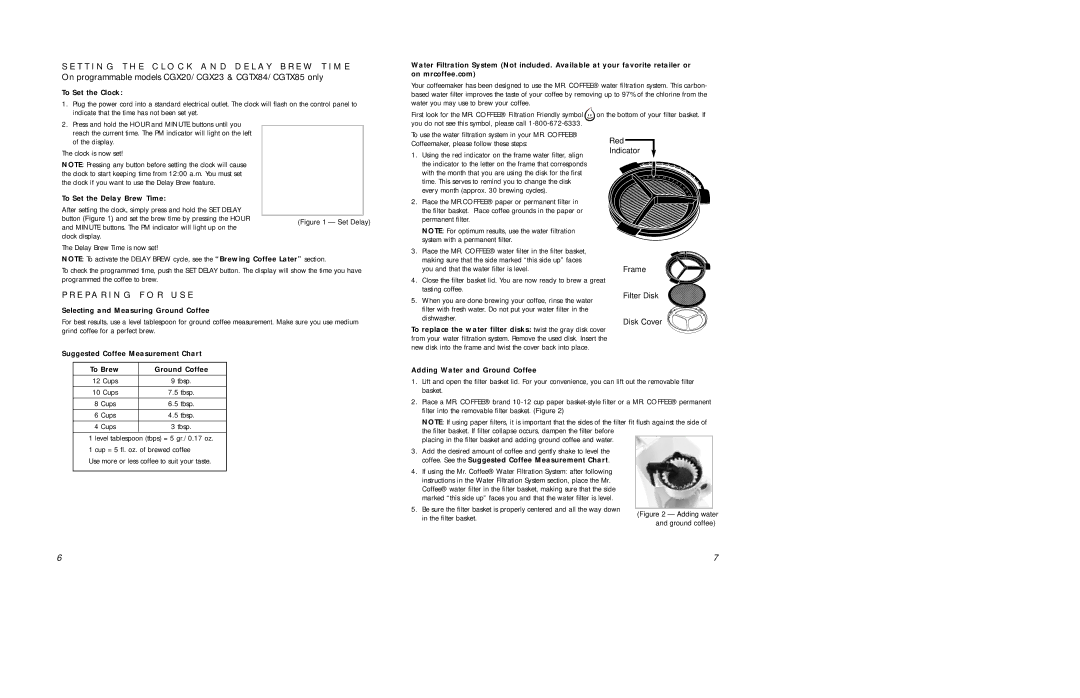
In terms of technology, this coffee maker features an advanced brewing system that extracts maximum flavor from the coffee grounds. Its optimal brewing temperature helps to ensure that each cup is rich and aromatic. The Mr. Coffee 114202 also includes a water filtration system that significantly reduces impurities, further enhancing the taste of the brewed coffee.

Another notable characteristic is the removable filter basket, which simplifies the cleaning process. Users can easily dispose of used coffee grounds and rinse the filter basket, maintaining the machine's hygiene and efficiency. Additionally, the coffee maker usually features a pause-and-serve function, allowing users to pour a cup of coffee before the brewing cycle has completed, without making a mess.

Overall, the Mr. Coffee 114202 is designed for convenience, performance, and ease of use. Its practical features, such as the capacity, brewing temperature controls, and easy cleanup options, make it a reliable choice for anyone looking to enjoy a perfect cup of coffee at home. Ideal for both novice coffee drinkers and seasoned connoisseurs, this coffee maker stands out as a dependable appliance in any kitchen.